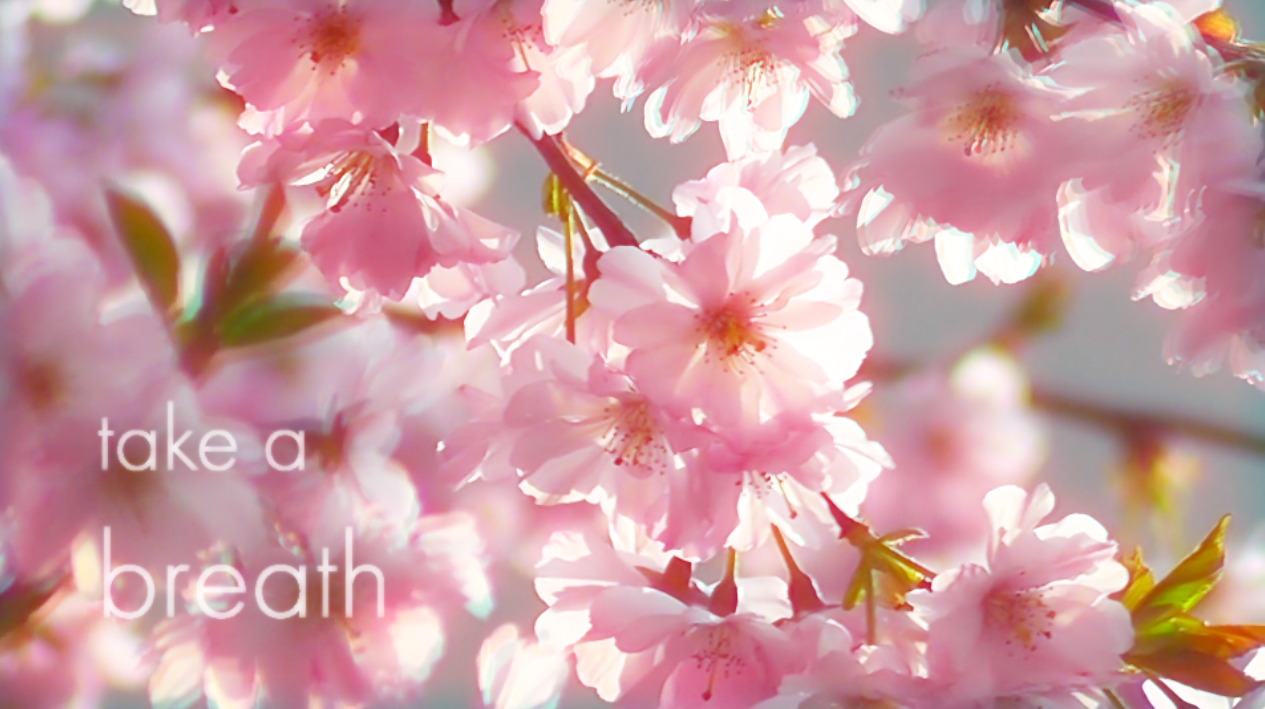
Learn how to create a unique ghost frame effect using Premiere Pro with our step-by-step guide. This article teaches you how to effectively use the Posterize Time, Channel Blur, and 4 Color Gradient effects to produce an eerie and captivating footage effect.
Key Insights
- This article provides a step by step guide on how to create a ghost frame effect using Premiere Pro.
- The process involves the use of three main effects: Posterize Time, Channel Blur, and a 4 Color Gradient.
- Posterize Time is used to create a frame displacement effect, creating a choppy look by limiting the footage to eight frames per second as compared to the usual 24 frames.
- Channel Blur is utilized to add color and motion blur, enhancing the eerie look of the footage.
- The 4 Color Gradient effect is used to blend the colors together, adding depth and complexity to the footage.
- Courses in Premiere Pro, After Effects, and other video editing topics are offered for those interested in pursuing a career in motion graphics and video editing.
The ghost frame effect—popular in music videos—is a simple technique made by using thePosterize Time effect to displace frames in the footage before blending clips together. It’s cool, eerie, and adds instant style to otherwise plain footage.
 Getting the Project Files
- Download the project files.
- After the download has finished, be sure to unzip the file if it hasn’t been done for you. You should end up with a Premiere Pro Ghost Frame Effects folder.
Overview
The first thing we’ll be doing is duplicating our base layer to add our effects to. The initial effect will be Posterize Time to make the main frame displacement, then Channel Blur to add some motion and color blur. After that, it’s a 4 Color Gradient to tie the colors together. Along the way, we’ll be modifying and altering settings to get just the right look for our footage. Let’s get started!
Posterize Time
- First, click the Selection tool.
- Then, select the flowers footage, called Nature. Don’t let go!
- Now, press and hold the ALT key on your keyboard while still holding onto the footage.
- With theALT key pressed down, drag the flower footage to a new track, V2, which should be above your current footage. You have a copy now!
- Then, go to the Effects panel on the left.

- Type in Posterize Time.
- Click and drag the effect onto the footage copy you just made, on track V2.
- Select track V2.
- In the top left, go to the Effect Controls panel.
- Scroll down until you see the new Posterize Time effect.
- Change the frame rate to 8. This will show only eight frames per second of the footage, compared to the usual24 frames. This will give the footage a “stuttering, ” choppy look.
- Then, go up to the Opacity settings in the Effect Controls panel.
- Change the Blend Mode to Screen.
- Hit the Spacebar to preview your work. You’ll see the new footage appearing as a transparent, “echo” of the initial footage. Looks cool already, huh? Let’s add another effect.
Channel Blur
- In theEffects panel, type in Channel Blur.
- Drag and drop it onto the V2 footage.
- In the Effect Controls panel, find the Channel Blur effect at the bottom.
- Change theRed Blurriness to 100.
- Check the box next toRepeat Edge Pixels.
- HitSpacebar to preview. Now you have a bit of a colored motion blur going on with your footage! It’s looking really awesome so far; we’ll be putting the last effect on.

Gradient Effect
- Alright, let’s go back to the Effects panel.
- Type in 4 Color Gradient.
- Drag and drop that onto the V2 track footage of flowers.
- In the Effect Controls panel, go down to the new effect you just applied.
- Click on the box next toColor 1.

- A color picker will appear. In the hex code box in the bottom right, put inEBED81.
- Hit OK.
- Click on the box next to Color 2.
- This hex code is A657EE.
With that, you’re done! Doesn’t it look great?
Conclusion
With just three effects, we have ourselves an eerie, gorgeous footage effect, the footage frames overlapping each other and blending together to make some ghostly clips. As usual, we like putting some color and blur effects in addition, making our project professional and slick to look at. You can alter the different channels in Channel Blur, maybe refrain from adding any color effects, or change the frame rate in Posterize Time to alter the interaction between footage clips.
Happy editing!
Learn Motion Graphics
Interested in a career in motion graphics and video editing? We offer the best training in NYC. Our expert instructors are top professionals with years of industry experience. Classes are available online as well as in-person at our Midtown office. See below for more details:


