
In the world of bright digital and flashy footage, sometimes heading back to the black and white days can be a nice change of pace.
Premiere Pro has a huge library of effects and tools to allow the user to create contemporary and modern looks. But what about heading back a few decades for a quiet, grainy, black and white effect?
In this tutorial, we’ll be combining some layered footage with a single adjustable effect in an easy and quick method.
Getting the Project Files
- Download the project files.
- After the download has finished, be sure to unzip the file if it hasn’t been done for you. You should end up with a Premiere Pro Black & White Effect folder.
Project Overview
This project actually just has two parts; three if you count the main footage itself. We’ll be dropping our footage onto the Timeline, adding a black and white effect with Calculations, and after we keyframe that, we’ll add in a final film grain effect on top to sell the old fashioned look. We’re using the Calculations effect in particular as opposed to other effects that might give the same appearance for its versatility and ability to be adjusted.
So let’s get to it!
Getting Started
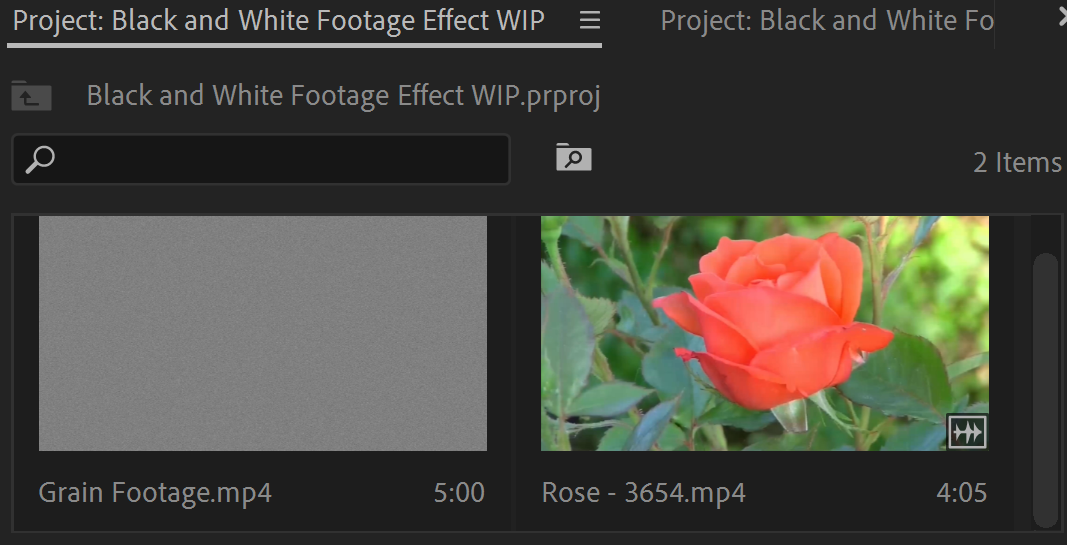
1. In the lower-left corner, you should see footage already loaded into theProject Bin.

2. Your program should also be in Editing mode, which you can check by looking at the top bar.

3. Drag and drop theRose footage into the Source window.
4. In the Source window, move the Playhead  to 00;00;04;00.
5. Hit I to mark the start point of the clip.
6. Move the Playhead to 00;00;07;00.
7. Now hitO to mark the endpoint of the clip.
8. Drag and drop the Rose footage clip into the bottom right Timeline to create a sequence.
9. In the Project Bin to the left, you should see your new Rose footage clip appear. Right-click on it.
10. Hit Rename.
11. Name the clip Rose Edited.
12. You should see an audio layer in the Timeline. Delete it, as it’s not necessary to the project and makes clutter.

Grain
1. In the Project Bin, find the Grain footage.
2. Drag and drop that onto the Timeline, above theRose footage.
3. Drag the end of theGrain footage to match theRose footage’s length.
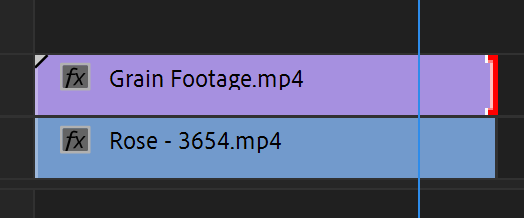
4. Select Grain Footage.
5. Go toEffect Controls in the top bar.

6. In Blend Mode, change it to Hard Light. Now the main footage has a cool, grainy effect as if shot on an older camera.
Black and White Effect
1. Select  theRose footage.
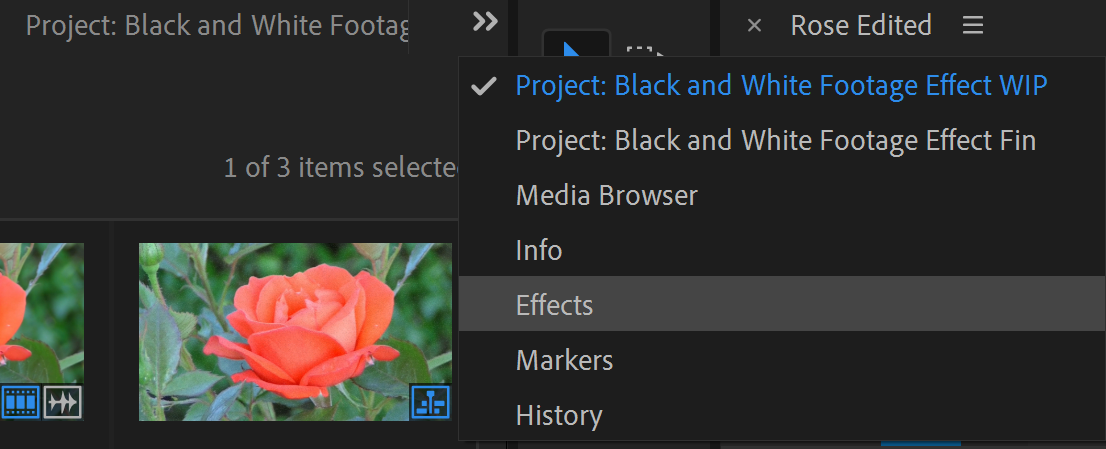
2. Open up theEffects panel by going to the arrows on the Project Bin, in the lower left.
3. Type in Calculations.
4. Drag and drop the Calculations effect onto theRose footage.
5. In the Effects panel, change the Input Channel to Gray.
6. Move the Playhead to00;00;01;10.
7. Hit the stopwatch next to Second Layer Opacity.
8. Move the Playhead to 00;00;02;08.
9. Change the Second Layer Opacity to 100%. This will fade yourRose footage back into full color.
Conclusion
That was quick! For ideas for future projects, you can alter which color channel to use in Calculations, add different grain footage, and alter keyframes. Try masking the Calculations effect and blurring the edges of the mask to make a black and white “window." You can even add other color effects underneath and keyframe them so the footage fades through different color schemes. Experiment, and happy editing!
Learn Motion Graphics
We offer the best motion graphics training in NYC. Our expert instructors offer years of industry experience and guide students step-by-step through projects with real-world applications. Classes are small, allowing for crucial feedback and individual attention. Sign up today and start growing your career!


