
Masking is a technique used to “hide” parts of an image or footage, in order that objects behind it can be seen. It’s incredibly versatile and is an oft-used tool in any video editor’s repertoire. In this tutorial, we’ll be getting down to the basics of masking so that you too, can have this handy dandy technique at your fingertips.

Getting the Project Files
- Download the project files.
- After the download has finished, be sure to unzip the file if it hasn’t been done for you. You should end up with a Premiere Pro Masking Technique folder.
Project Overview
We’ll start by marking out the points of the mask on some indicated footage. Basically, we’ll be drawing out a rectangle on a video clip. After that is some tiny tweaking to get it to look just how we want it. Then, we’ll be drawing out another identical rectangle on a provided adjustment layer, then adding a particular color effect onto that. We’ll alter some settings to get the right color balance we want, isolating the effect to just the mask we’ve drawn.
Footage Mask
- The first step is to Select theRiver footage.
- In the Timeline, toggle theVisibility of the Riverfootage off and on to see theBeach footage underneath. We’ll be masking the top footage so that the underlying clip can be seen.
- With the River footage still selected, head over to theEffect Controls panel on the top left.
- Scroll down until you see Opacity settings.
- There should be a pen icon, the Free bezier tool, under those. Click on it.
- It’s important to note that in the regular toolbar, there’s another pen icon. This is a little confusing, but keep in mind that one is for the Pen tool outright, which makes shapes. The Free bezier tool only appears under Opacity settings to make Masks, but shares the same fountain pen icon.
- Now you’ve got the Free bezier tool selected, click on the corners of the river itself in the River footage to make a rectangle. Remember to close your rectangle by clicking on your first point once you draw the other three. It’ll look like this:
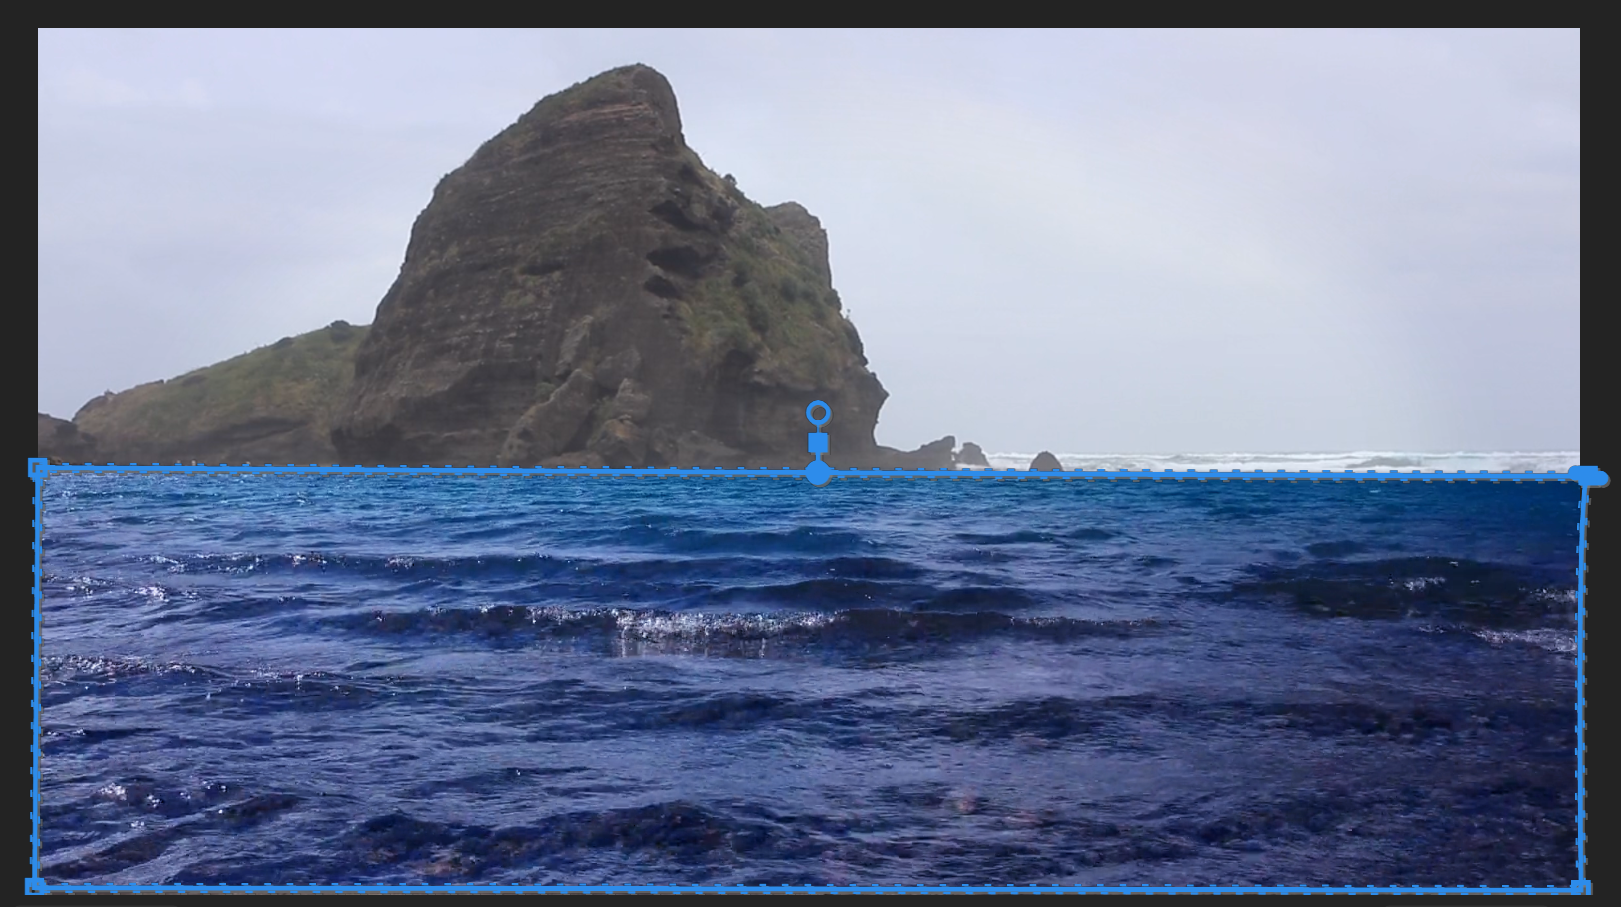
- To ensure that the mask covers the bottom of the footage, click on the lower-left point.
- Drag it down below the footage window into the grey border space.
- Do the same with the lower right point, so both bottom points are now below the footage window. It’ll look like this:
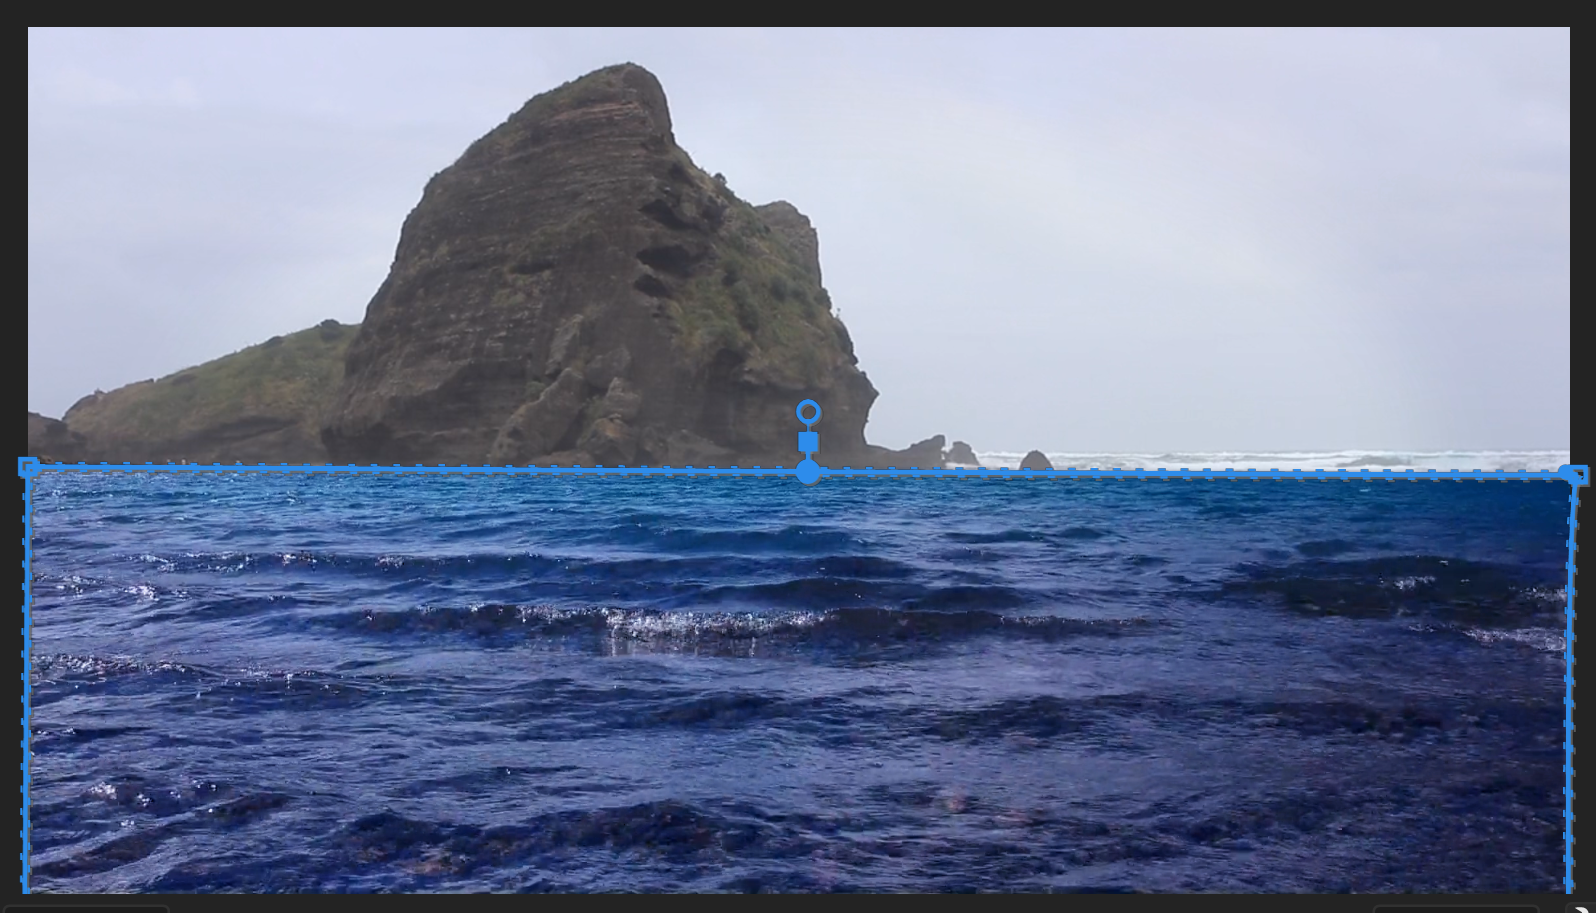
- In the Effect Controls panel, a new set of options should have appeared for your new Mask, including Invert. Click the box next toInvert.
- Change the Mask Feather to 15. This will soften the edges of your mask.
- The Playhead should be at 00;00;00;00.
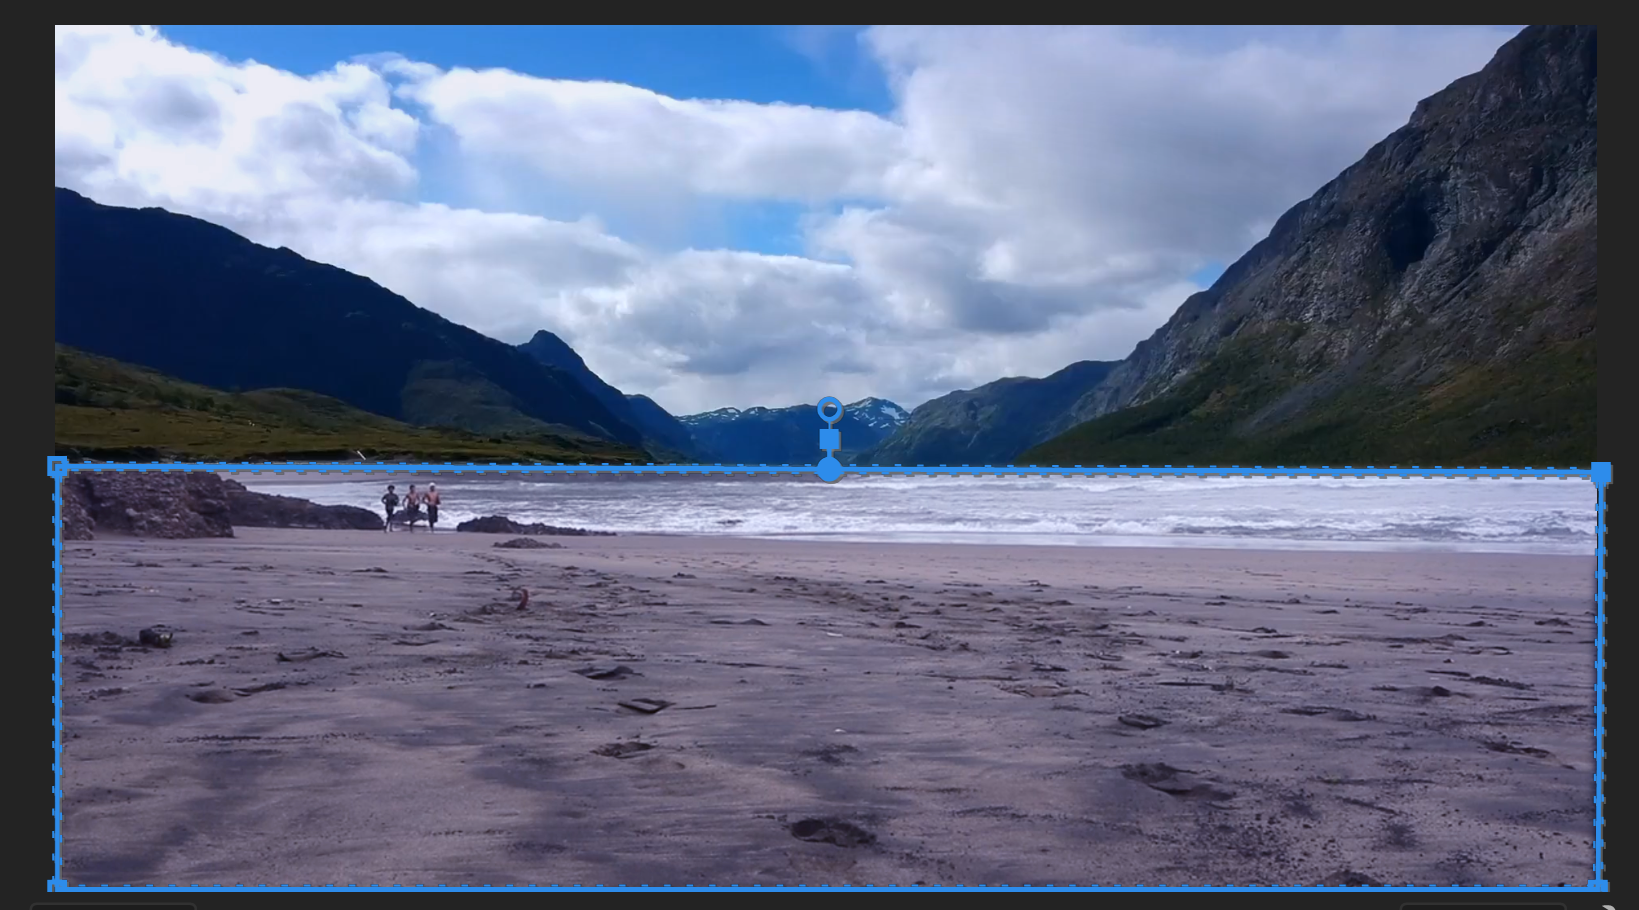
- HitSpacebar to preview your footage. You should now see the joggers going along a beach, but now their background is the mountains from the River footage. You’ve combined two videos with a mask!

Color Balance
- We’re going to adjust some of the hues in theBeach footage since they’re a bit too warm to truly match the new mountain background. Select the Adjustment Layer placed above the River footage.
- In Effects, type in Color Balance.
- Drag and drop the Color Balance effect onto yourBeach footage.
- In the Effect Controls panel, scroll down to your new Color Balance effect.
- Change Shadow Blue Balance to5.
- ChangeMidtone Blue Balance to 25.
- Change Highlight Blue Balance to 15.
- Now go up to the Opacity settings on this layer. Click on the Free draw bezier tool.
- Like before, draw out a rectangle on this layer, making sure it’s selected to do so. If need be, you can adjust the points after you’ve made the rectangle.
- Change Mask Feather to 10 to soften the edges.
Conclusion
That’s it! You now have in your hands one of the most powerful tools in Premiere’s video editing kit. Try masking out footage of different shaped objects to create cool, layered footage or to clip out unwanted items within a piece. You can mask adjustment layers with effects added to isolate certain effects to parts of the footage as well.
Happy editing!
Go Beyond Premiere Pro
We have the best motion graphics courses in NYC. Our expert instructors offer years of industry experience and are ready to help you launch your own career in motion graphics. Classes are available live online and in-person at our Midtown office. Check out our course selections below:


