Delve into this comprehensive tutorial on using GreenSock's TextPlugin to create dynamic animations, including a dramatic countdown sequence for a rocket launch simulation.
This exercise is excerpted from Noble Desktop’s past web development training materials created in partnership with GreenSock. It is compatible with GreenSock version 2. To learn current skills in web development, check out our coding bootcamps in NYC and live online.
Topics Covered in This GreenSock Tutorial:
Enabling & Testing TextPlugin, Coding the Ready-Set-GO Countdown, Creating a Dramatic Animation for “GO!”
Exercise Preview
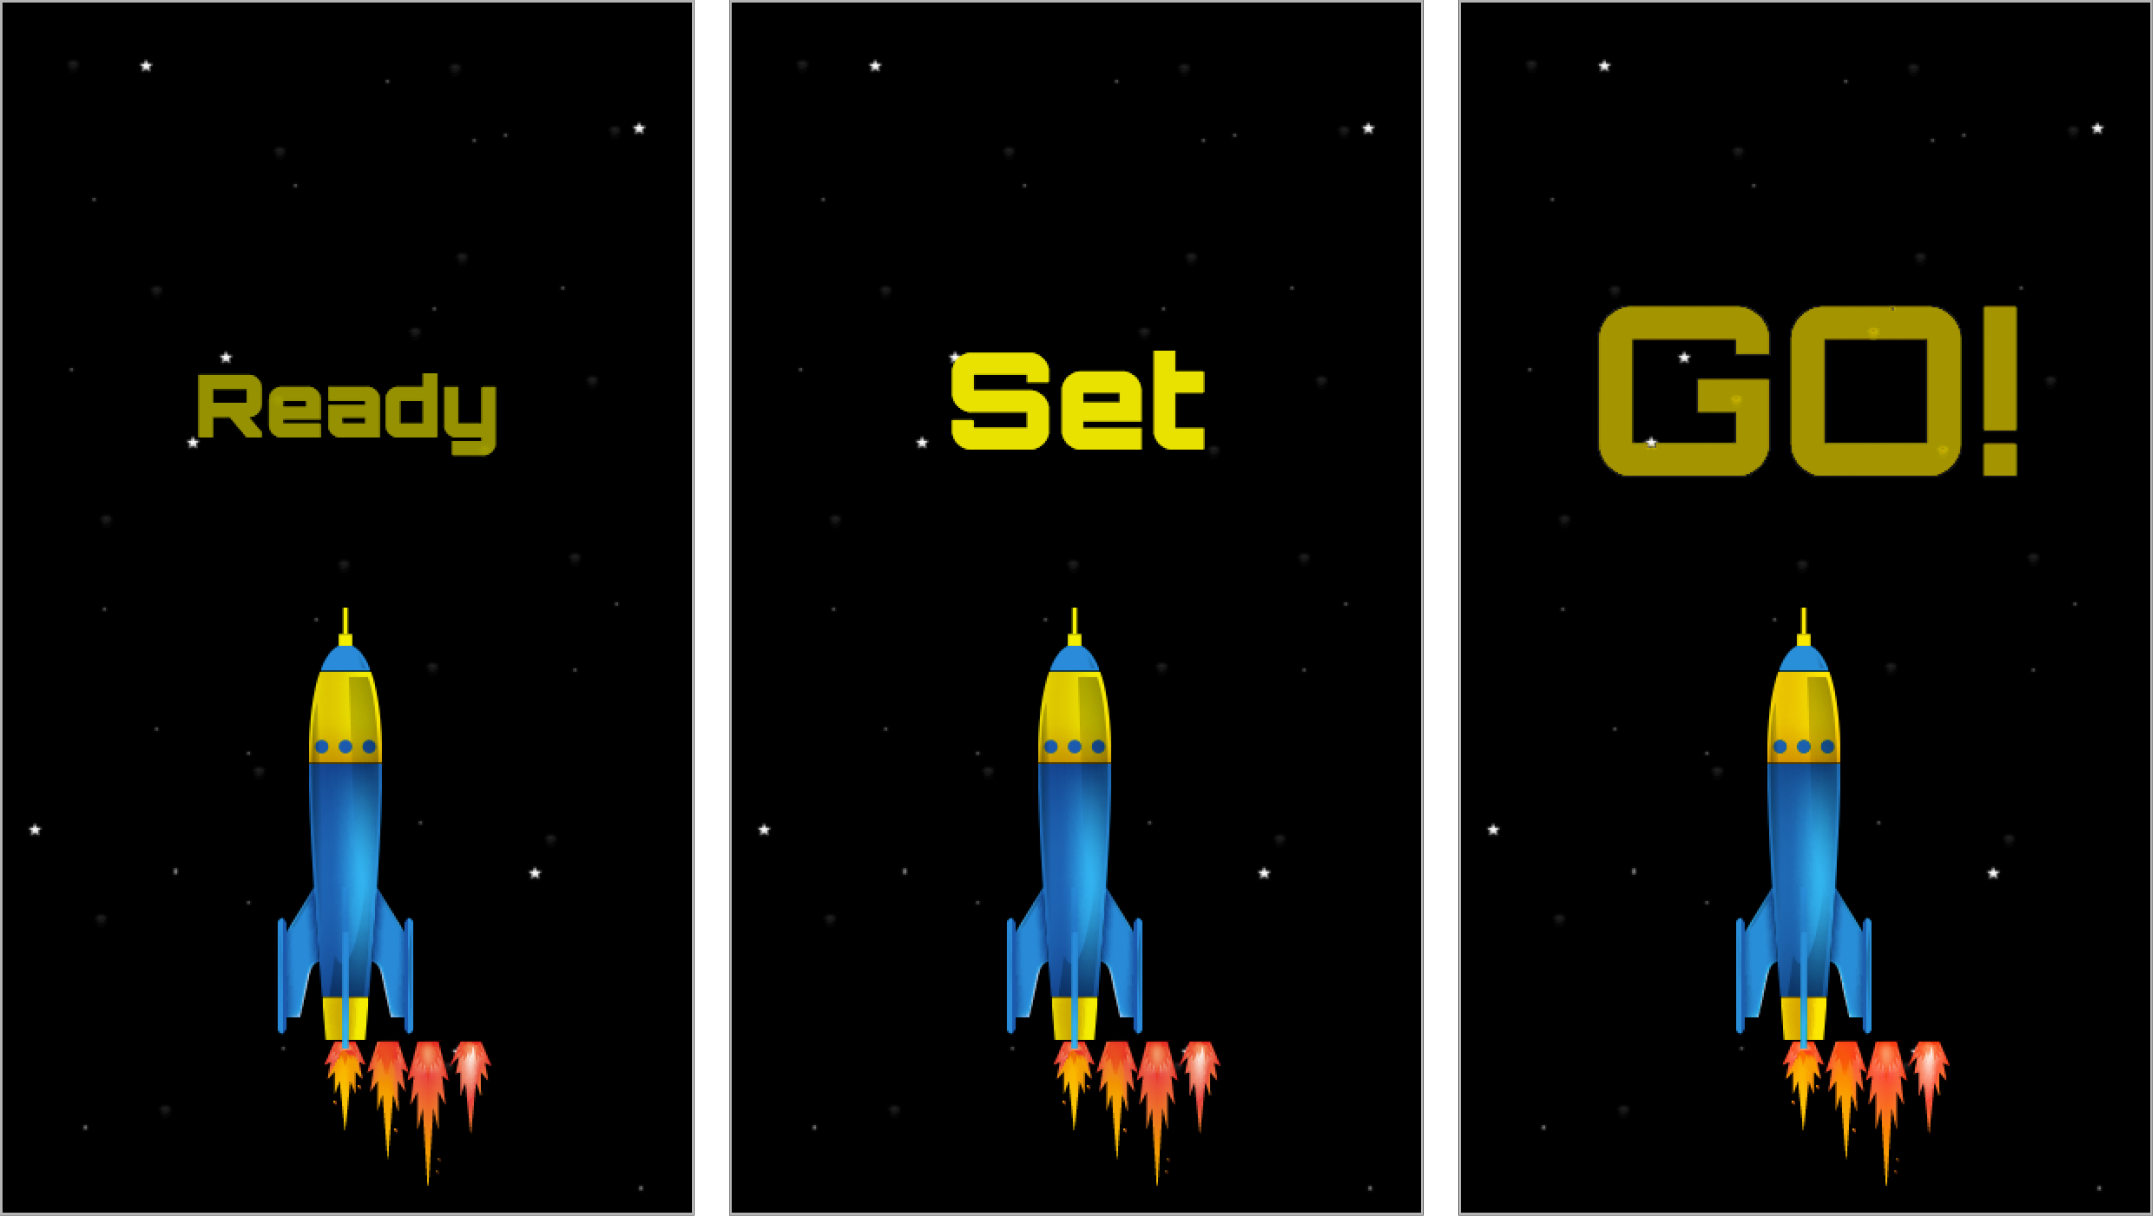
Image courtesy of istockphoto: visual go, Image #22009478

Exercise Overview
By now it should be clear that GSAP takes timing very seriously, ensuring that tweens run in the proper sequence and offering animators great flexibility with fine-tuning the subtleties of the pacing of their sequences.
In the real-world, there are few events where timing is more critical than a rocket launch. People, computers, and mechanical systems must be in perfect sync to achieve a successful launch. In the next two exercises, we will code a rocket launch. In this first exercise, we will reinforce the timing concepts you’ve already learned and introduce you to a new tool, GSAP’s TextPlugin. TextPlugin allows you to easily manage discrete sections of text while eliminating the need to create multiple DOM elements and apply tweens to individual pieces of text.
Previewing the Finished Animation
To take a look at the animation we’ll be building, open up Google Chrome.
Hit Cmd–O (Mac) or CTRL–O (Windows), navigate to Desktop > Class Files > yourname-GSAP Class > Rocket Launch Done, and double–click on index.html.
Take note of the animation sequence and its multiple elements: during a Ready, Set, GO! countdown, the rocket shudders and shakes in anticipation of takeoff, then its animated flames blast the rocket through the starfield.
Although the finished animation may look simple, it involves many elements and complex timing. Watch the animation a few times to get a sense of the sequence.
Examining the DOM Structure & JavaScript
In this exercise, we will focus on coding the text countdown. Let’s get to work!
In your code editor, open yourname-GSAP Class > Rocket Launch TextPlugin > start.html (or the entire Rocket Launch TextPlugin folder if your code editor allows).
-
Preview start.html in a browser.
Currently the page has several static elements: the Ready text, the rocket, the star background, and the four states of the rocket’s fire, which we will animate later with the background-position property.
-
Return to your code editor and check out the HTML setup on lines 56–62:
<div id="demo">
   <div id="rocket">
      <div id="flames"></div>
      <div id="rocketImage"></div>
   </div>
   <div id="countDown">Ready</div>
</div>
Notice that the rocket div contains the flames and rocketImage as separate divs so they can be animated independently. There is also a countDown div that currently contains the single word Ready. Everything is contained in a div called demo which has the starry background.
-
Take a look at the jQuery variables and the timeline on lines 72–76. As you can guess by their names, the variables target each of the key elements we just saw.
var $demo = $("#demo"),
    $flames = $("#flames"),
    $rocket = $("#rocket"),
    $countDown = $("#countDown"),
    tl = new TimelineLite();
Enabling & Testing TextPlugin
Now that we have looked at the structure of the page, let’s start using GSAP’s TextPlugin, which allows you to tween the text value of DOM elements.
-
TextPlugin is not included in the TweenMax library. To be able to access it, load its script by adding the following bold code on line 66:
<script src="js/gsap/TweenMax.js"></script>
<script src="js/gsap/plugins/TextPlugin.js"></script>
<script src="js/jquery/jquery-1.10.1.min.js"></script>
NOTE: The order in which GSAP scripts load does not affect their behavior.
-
Add the following bold code beneath the jQuery vars:
tl = new TimelineLite();

TweenLite.to($countDown, 1, {text: "hello", delay:0.5})
We are tweening the
$countDown element (which currently contains the single word Ready) over the course of 1 second with a 0.5 second delay. This element’s text property is being tweened to the value of hello. Let’s test it out. Save the file and preview the page in a browser. Cool, the letters changed character by character from Ready to hello.
-
Return to your code editor and make the following change:
TweenLite.to($countDown, 0.5, {text: "hello", delay:0.5}) Save the file and preview the page in a browser. The shorter tween duration makes the effect even zippier.
-
Return to your code editor and make the following change:
TweenLite.to($countDown, 0.5, {text: "hello, class", delay:0.5}) Save the file and preview the page in a browser. Neat, adding additional words makes it seem like a quick-and-easy typewriter effect.
Coding the Ready-Set-GO Countdown
The benefit of the TextPlugin is that we can reuse the same element over and over to show different text. In this exercise, we want to change the text from Ready to Set to GO. We will do this using a timeline—let’s set it up.
-
In your code editor, delete this line of experimental code:
TweenLite.to($countDown, 0.5, {text: "hello, class", delay:0.5}) -
In its place, type the following:
tl.from($countDown, 1, {scale:0, opacity:0})The Ready text (which is already in the countDown div) will simply tween from a scale and opacity of 0.
Save the file and preview the page in a browser. Looks good so far.
-
Return to your code editor and add the following bold code:
tl.from($countDown, 1, {scale:0, opacity:0})
  .set($countDown, {text:"Set"})
NOTE: Remember that set() tweens have a zero-second duration, so they’re a good choice for the sort of immediate change we want in this situation.
Save the file and preview the page in a browser. Good, the text changes instantaneously from Ready to Set. Plus, we didn’t have to create different DOM elements for each piece of text. Doesn’t TextPlugin make life so easy?
-
Return to your code editor and add the following bold code:
tl.from($countDown, 1, {scale:0, opacity:0}).set($countDown, {text:"Set"})
  .from($countDown, 1, {scale:0, opacity:0})
We are adding this tween because we want the word Set to tween from a scale and opacity of 0, just like the first piece of text.
-
Save the file and preview the page in a browser—oh no, the word Set never appears! Why does this happen? Well, it really requires a lengthy explanation, but we’ll try to sum up the problem as quickly as possible.
The culprit is a GSAP property called immediateRender. It is automatically set to true for all from() tweens. In 99% of cases, the immediateRender property is helpful in getting animations to play properly. Take this tween as an example:
TweenLite.from(element, 1, {opacity:0, delay:1});This tween is scheduled to fade in from an opacity of 0 with a 1 second delay. The delay is what makes immediateRender so important; if immediateRender was not set to true, the element would be fully visible for the second-long delay, abruptly disappear, then start fading in. That sort of behavior is really undesirable, therefore the automatic setting is immediateRender:true (as its name suggests) in order for the element’s initial opacity to render as 0 before any tweens start.
However, when a single element has multiple from() tweens associated with it, having the automatic immediateRender:true setting will backfire, as we just saw.
In our project, it backfires because the first from() tween sets the opacity of countDown to 0, and thanks to immediateRender, the second from() tween has its starting value recorded as 0. Therefore, the second from() tween is trying to tween from an opacity of 0 to an opacity of 0.
The solution to making our countDown element behave properly is to set immediateRender:false for that troublesome tween.
NOTE: For a more in-depth explanation of the immediateRender property, see the immediateRender reference at the back of this book.
-
Return to your code editor and make the following change:
tl.from($countDown, 1, {scale:0, opacity:0}).set($countDown, {text:"Set"}).from($countDown, 1, {scale:0, opacity:0, immediateRender:false}) Save the file and preview in the browser. Excellent, it works!
-
Return to your code editor and introduce the final word in the countdown by adding the following bold code:
tl.from($countDown, 1, {scale:0, opacity:0}).set($countDown, {text:"Set"}).from($countDown, 1, {scale:0, opacity:0, immediateRender:false})
  .set($countDown, {text:"GO!"})
Save the file and preview the page in a browser. Cool, the countdown is working with all three words. Let’s make the GO! part a little more dramatic.
Creating a Dramatic Animation for “GO!”
Let’s set the scale of GO! to 0 and then scale it up to 200% of its current size. That should provide the kind of punch our animation needs.
-
Return to your code editor and add the following bold code:
tl.from($countDown, 1, {scale:0, opacity:0}).set($countDown, {text:"Set"}).from($countDown, 1, {scale:0, opacity:0, immediateRender:false}).set($countDown, {text:"GO!", scale:0})Now that we’ve proven that we can successfully change the text to GO!, we are going to set its scale to 0 at the same instant it appears. This will make it too small to see—hence, invisible.
Save the file and preview the page in a browser. Yep, it’s invisible. This is all in preparation for the correct functioning of the next tween, which will double the size of GO!
-
Return to your code editor and add the following bold code:
tl.from($countDown, 1, {scale:0, opacity:0}).set($countDown, {text:"Set"}).from($countDown, 1, {scale:0, opacity:0, immediateRender:false}).set($countDown, {text:"GO!", scale:0})
  .to($countDown, 0.5, {scale:2, opacity:0})
Save the file and preview the page in a browser. Wow, that’s much more exciting! The countdown sequence is complete, and our rocket animation is well underway. In the next exercise we will focus on animating the flame, rocket, and starfield.