
In this article, we’ll be focusing on the very basics of the program: the interface. In particular, we’ll be focusing on the building blocks of Premiere’s interface, Panels.
Introduction to Premiere Pro
Premiere Pro is a powerful video editing tool developed by Adobe, jam packed with thousands of options for any aspiring editor to use. The great thing about this program especially is how accessible it is while at the same time maintaining a vast library of tools that allow anyone to turn their plain footage into a professional film.
In this article, we’ll be focusing on the very basics of the program: the interface. In particular, we’ll be focusing on the building blocks of Premiere’s interface, Panels.
While at a glance Premiere might seem intimidating, it’s assuredly the opposite. Once you become familiar with the topics included in this article, you’ll be ready and raring to go with your editing projects.
Panels
Panels are Premiere’s method of organizing its workspace. These are essentially windows that can be moved around and locked into different locations within the program’s interface according to how the user sees fit. This is easily accomplished simply by clicking and dragging on the top bar of each panel.

Each panel has a different function, which we’ll explain right here.
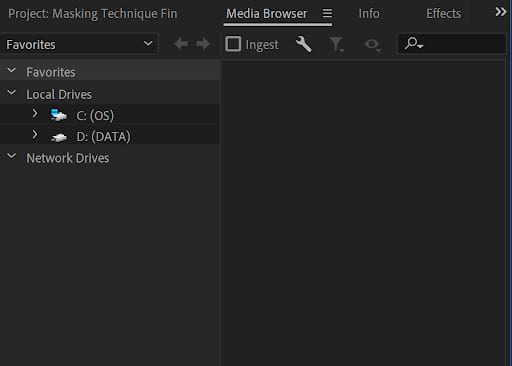
Media Browser Panel: When starting a new project, this is where the user can import the files they’ll need. These files will then be placed into the Project panel.
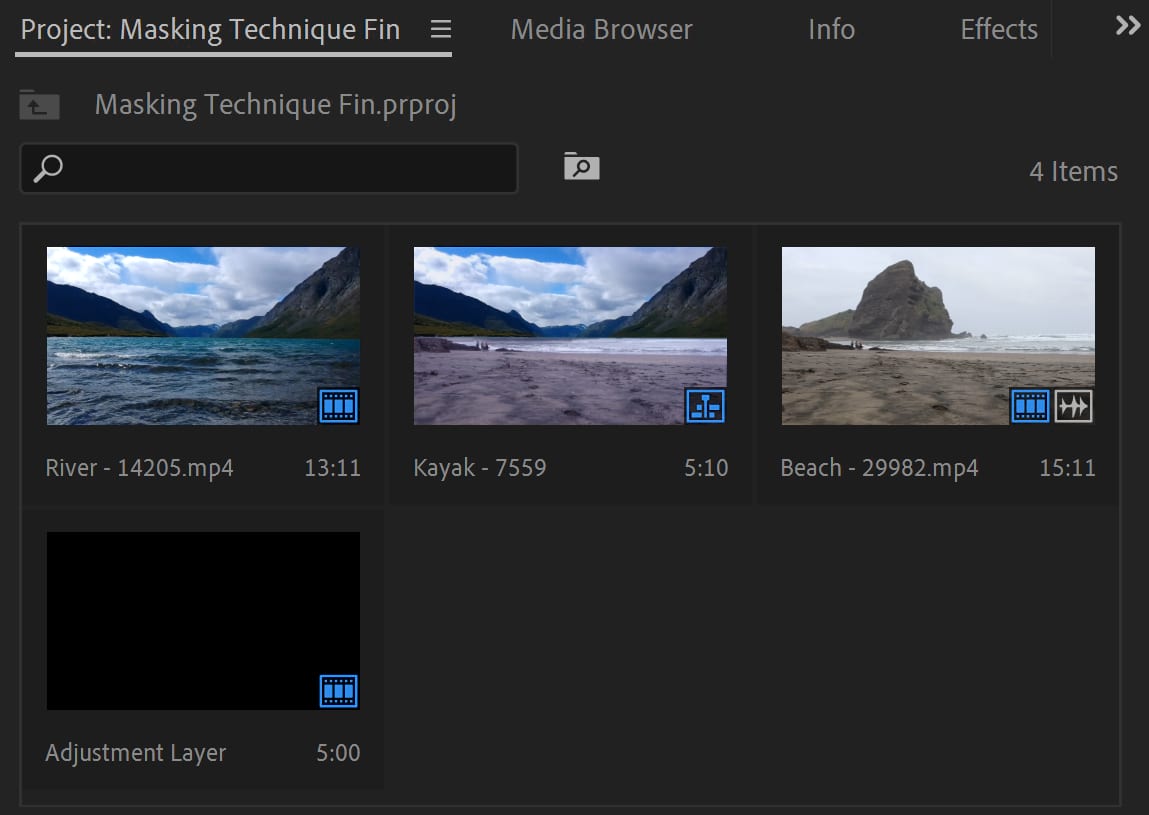
Project Panel: Here, the user can organize the project files into separate folders within the Media Browser. These folders are called Bins. There’s a variety of ways to customize the view of the files within the panel, like List view, Freeform view, or Icon view. By clicking and dragging on the files contained here, the user can then edit the files within a different part of Premiere.
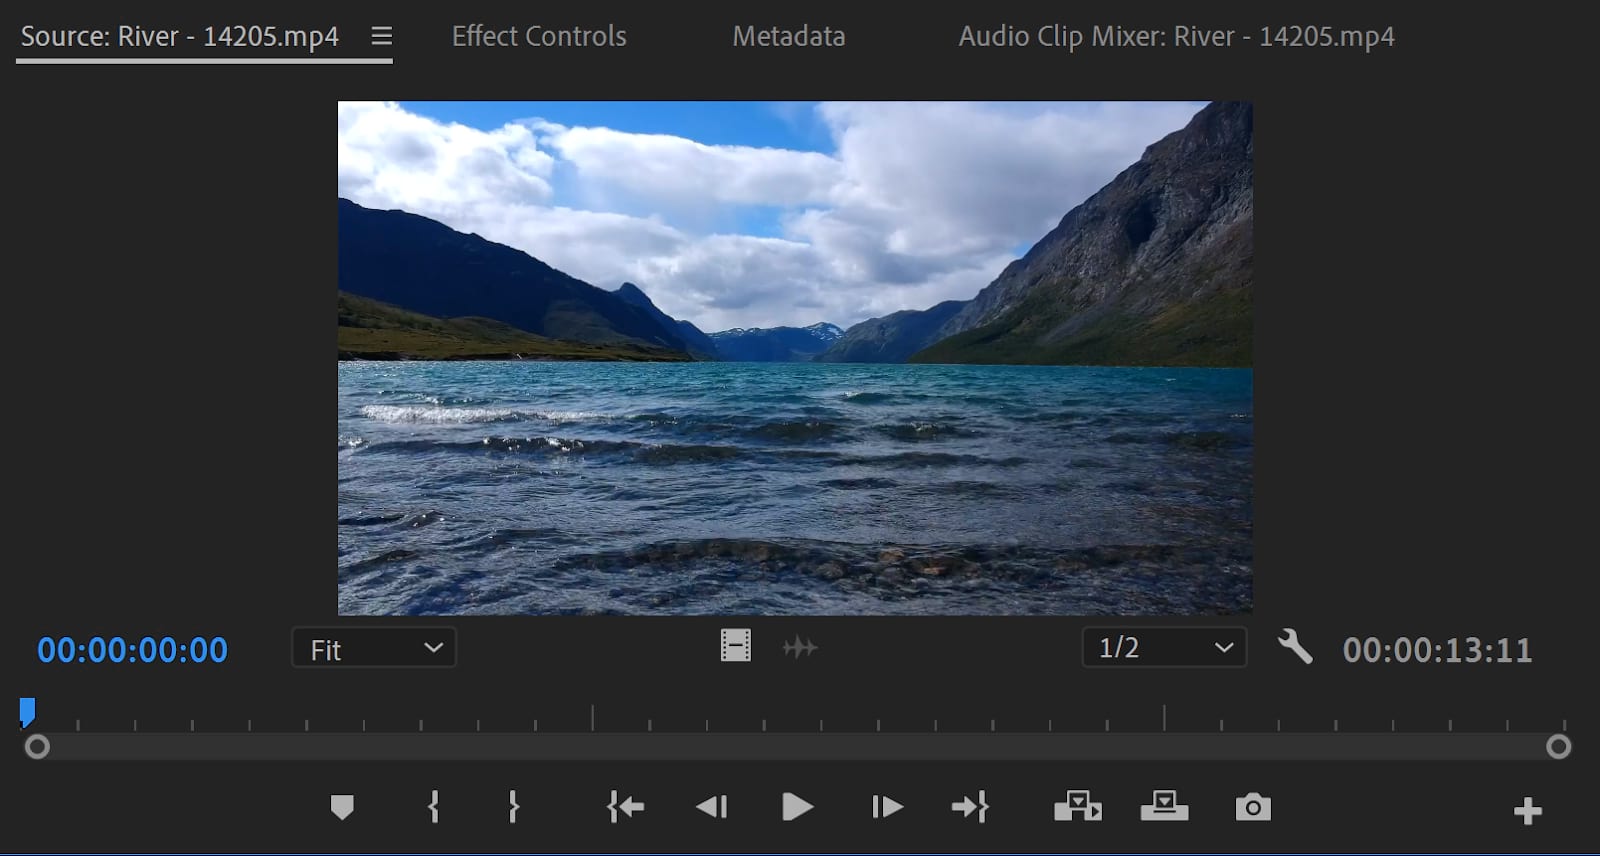
 Source Monitor Panel: This panel is for editing individual clips for a project. The user can define the length with In and Out points, with In being the start and Out being the end.
They can also decide the clip’s source track (audio or video). There is also the option to export a single frame from the footage.
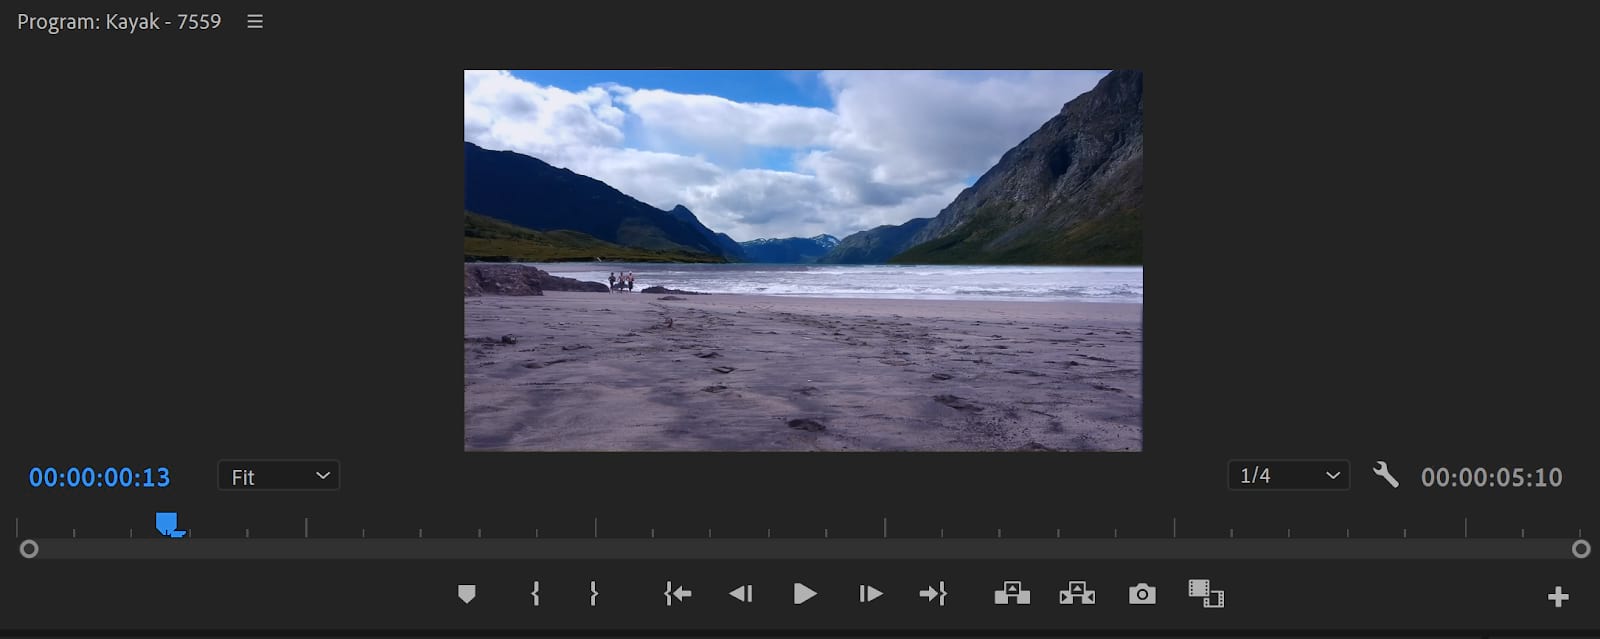
Program Monitor Panel: This panel is to the right usually of the Source Monitor. It’s used for the overall timeline of the project, with all the clips and layers together. The user can play their project back in real-time to preview how their video looks.
Timeline Panel: Usually located under the Program Monitor panel, the Timeline is an overview of all the clips, layers, and audio layers together. The Playhead is used to slide up and down the Timeline. There are options to lock layers to keep them from being edited, a mute button to quiet audio tracks, and the ability to resize the labels by extending the scrollbar on the right side.
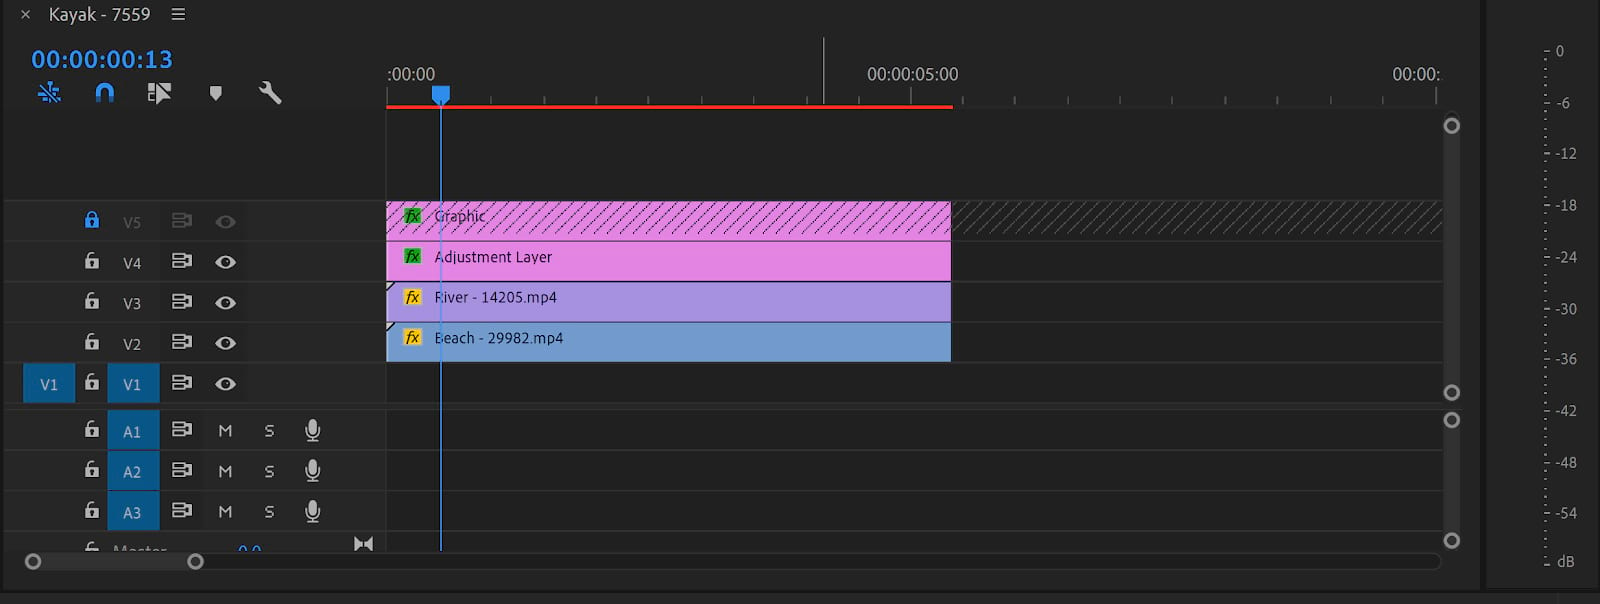
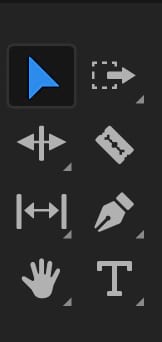
Tool Panel: A compact panel that contains all the tools used for editing. The Select, Ripple Edit, Rolling Edit, Crop, Track Select Forward, Razor, Pan, Pen, Text tools, and more are accessed from here.
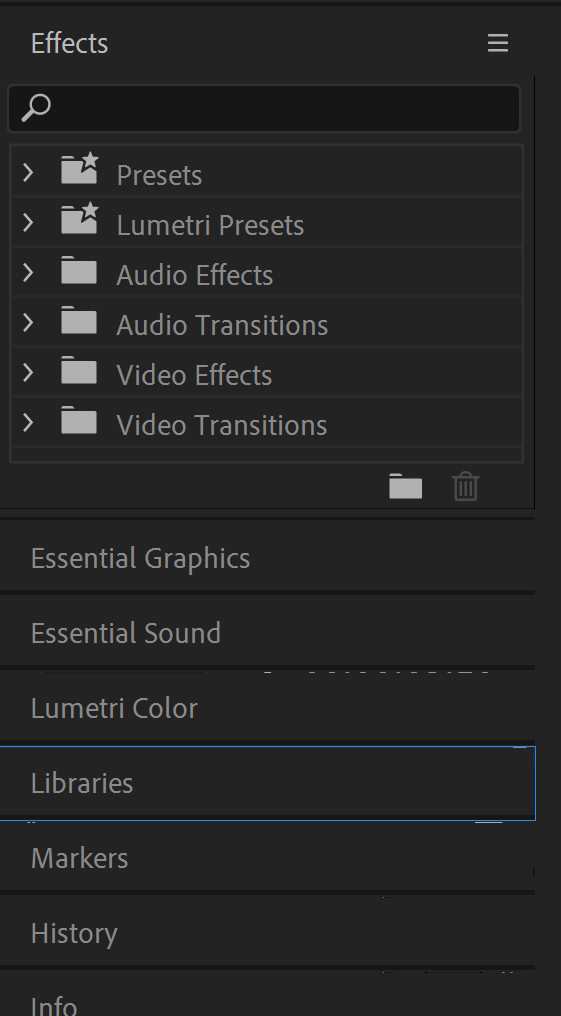
Effects Panel: This panel is where all the effects in Premiere can be accessed. They’re organized by type into folders. Any effect can be applied by dragging and dropping the name onto the desired layer in the Timeline.
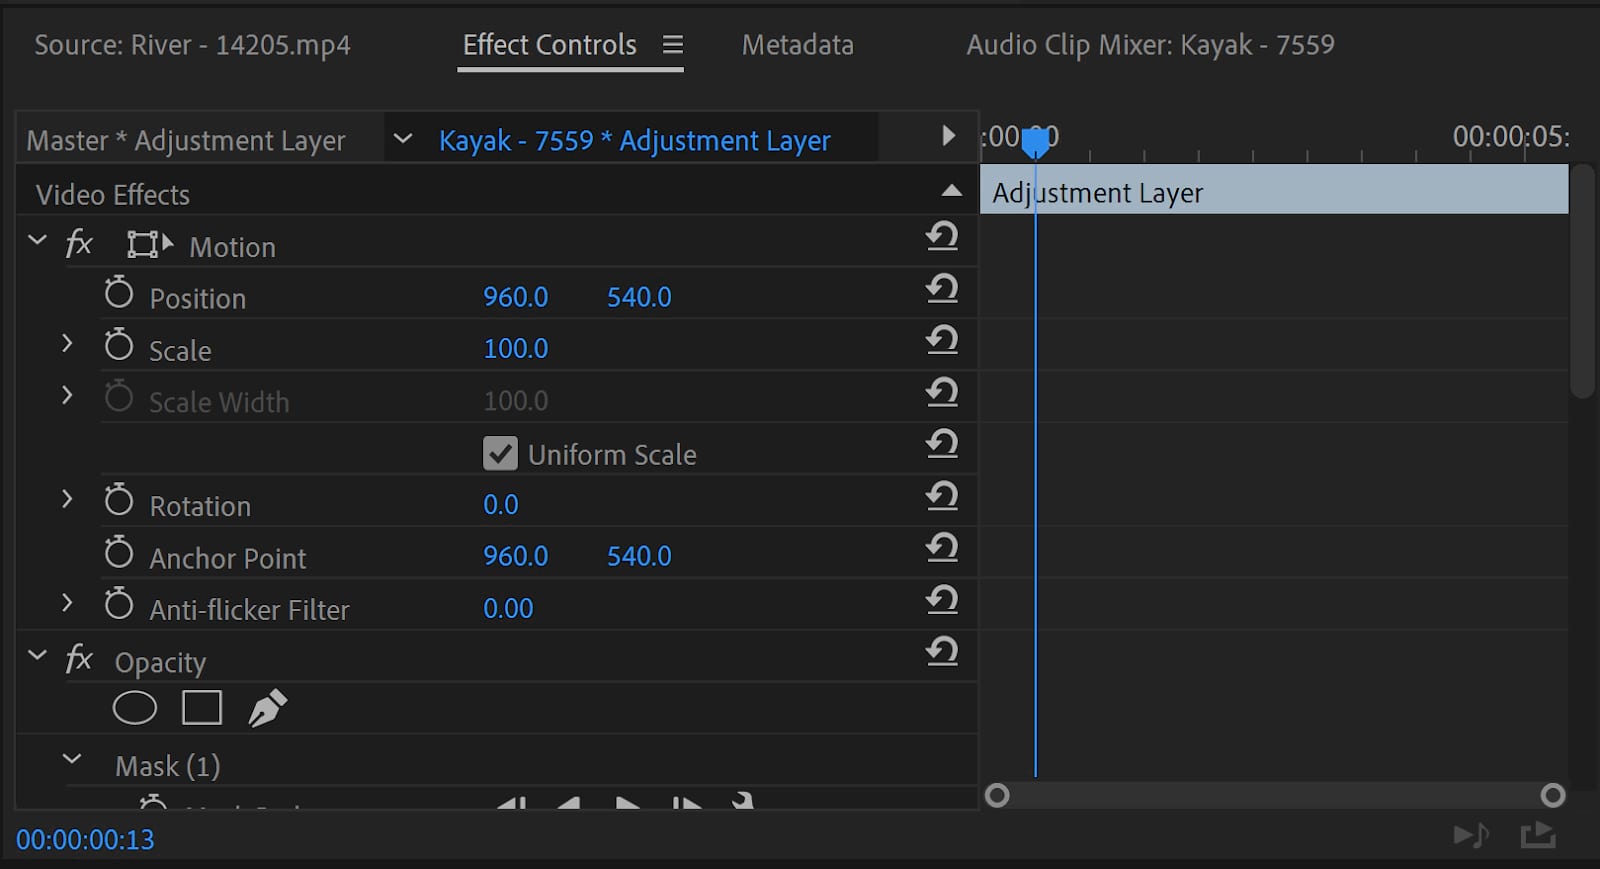
Effect Controls Panel: This panel is usually nested within the same area as the Source Monitor panel. Here is where the user can adjust and control any effects applied to layers from the Effects panel.
Conclusion
Now you have it! All anyone needs to get started is a little familiarity with the Panel system, some footage, and an idea. Feel free to restack Panels to create the editing interface that is most comfortable for your needs. Even on the fly during a project, you can reshape the program to best suit whatever you need at the moment.
Just drop some files into the Media Browser, drag them onto the Timeline, add and adjust effects with the Effect Controls, and with the help of some tools, you’ll be an editing master in no time.
Happy editing!
