Master the essentials of JavaScript and jQuery through this comprehensive tutorial covering functions, calling functions, defining parameters, and passing arguments.
This exercise is excerpted from Noble Desktop’s past JavaScript training materials. Noble Desktop now teaches JavaScript and the MERN Stack in our Full Stack Development Certificate. To learn current skills in web development, check out our coding bootcamps in NYC and live online.
Topics Covered in This JavaScript & JQuery Tutorial:
Defining Functions, Calling Functions, Defining Parameters & Passing Arguments
Exercise Preview
Exercise Overview
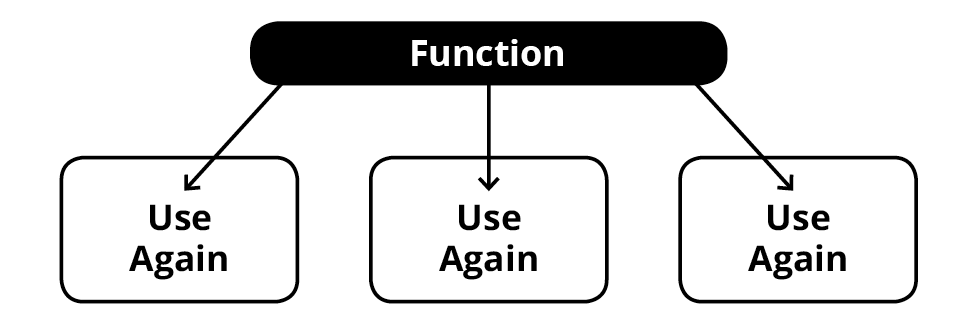
A function is a group of reusable code that performs a specific task (or tasks) at a desired time. The function can be run repetitively, potentially using different information each time it runs. Methods such as alert() are similar to functions, but they’re predefined. We can do multiple alerts with varying text, but it’s essentially doing the same task again. Functions, however, are defined by you. You decide what they will do, so in this exercise, you’ll learn how to make a custom function.

Defining Functions
- Open your code editor if it isn’t already open.
- Close any files you may have open.
- In your code editor, hit Cmd–O (Mac) or CTRL–O (Windows) to open a file.
- Navigate to the Desktop and go into the Class Files folder, then yourname-JavaScript jQuery Class folder, then Functions.
- Double–click on index.html to open it.
-
Add the following bold code before the closing
</head>tag (on line 6):<title>Functions</title> <script> </script> </head> -
In the script tag, add the following bold code to define a function:
<script> function displayName() { alert('Dan Rodney'); } </script> - Let’s break this down. We just declared a function named displayName(). The function will perform everything between the curly braces { }, which is to alert() the name Dan Rodney. Keep in mind that JavaScript is case-sensitive. We used a capital N for our function’s name, displayName(). Later we’ll need to match that case or else things could break.
- Save the file.
-
Preview index.html (from the Functions folder) in a browser.
NOTE: If you’re using Visual Studio Code with the open in browser extension installed, hit Option–B (Mac) or ALT–B (Windows) to open the saved HTML document in a browser.
If your using another code editor or don’t have that keystroke set up, you can open the pages from your browser window to preview it. In your browser, you can hit Cmd–O (Mac) or CTRL–O (Windows) to open index.html. Navigate to the yourname-JavaScript jQuery Class folder and then Functions to find the file.
- Notice that nothing happens. Code inside functions is only executed when the function is called. Let’s see how to do that.
Leave index.html open in the browser, so you can reload the page to see the changes you make in your code.
Calling Functions
- Switch back to your code editor.
-
We want to run this function when the user clicks a button. In the body section, type the following text in bold:
<body> <button>Show a Name</button> </body> -
Now we need the button to “talk” to JavaScript. HTML elements do not listen for events by default. Instead, we need to tell them to listen for events (such as the click of a button). Here we’ll add the onclick attribute and set it equal to the function we want to trigger. Add the following bold code:
<body>
   <button onclick="displayName();">Show a Name</button>
</body>
NOTE: Adding onclick will tell the button to listen for a click event, and only execute the code within the function at that time. The onclick event handler is one of many, and we’ll see more in the coming exercises.
Now when the user clicks the button, our displayName() function will run. Let’s check it out. Save the file and preview in a browser.
Click the Show a Name button. An alert should appear with the name Dan Rodney in it. Click OK to close the alert, then click the button again to see that the alert appears again. We’re reusing the code!
Defining Parameters & Passing Arguments
An alert that always displays the same thing isn’t very flexible. Let’s make it work with different names. Switch back to your code editor.
-
In order to make a function reusable, we give it parameters. Then when we call the function, we can pass information into it. Around line 7 add these two parameters to the function:
function displayName(firstName, lastName) { alert('Dan Rodney'); } -
Now edit the alert to use those parameters:
function displayName(firstName, lastName) { alert(firstName + ' ' + lastName); } -
While a function’s parameters ask for information, the pieces of info we pass to it are called arguments. Below, change the button to pass the arguments
'Dan'and'Rodney'to the displayName() function.<button onclick="displayName('Dan', 'Rodney');">Show a Name</button>IMPORTANT! Notice that Dan and Rodney are surrounded by single quotes, not double quotes. JavaScript doesn’t care which are used, but HTML does. For HTML, the double quotes must wrap the onclick attribute’s value. If we used double quotes, HTML would think the onclick attribute would end too early and things would break.
- Save and preview index.html in a browser.
- Click the Show a Name button. Again, it should alert Dan Rodney, but this time those names were passed into the function.
- Click OK to close the alert.
- Switch back to your code editor.
-
Make a second button by copying and pasting the first one.
<button onclick="displayName('Dan', 'Rodney');">Show a Name</button> <button onclick="displayName('Dan', 'Rodney');">Show a Name</button> </body> -
Alter the second button so it looks as shown below:
<button onclick="displayName('Dan', 'Rodney');">Show a Name</button> <button onclick="displayName('Trevor', 'Sammis');">Another Name</button> - Save and preview the file in a browser.
-
Click each of the buttons. They should give you two different alerts. That is one flexible function!
NOTE: If you want to refer to our final code example, go to Desktop > Class Files > yourname-JavaScript jQuery Class > Done-Files > Functions.
