Dive into an in-depth HTML & CSS tutorial covering embedding SVG, styling SVG using CSS, and using currentColor, complete with detailed step-by-step instructions and exercises.
This exercise is excerpted from Noble Desktop’s past front-end web development training materials and is compatible with updates through 2022. To learn current skills in web development, check out our coding bootcamps in NYC and live online.
Topics Covered in This HTML & CSS Tutorial:
Embedding SVG (instead of Linking), Styling SVG Using CSS, Using CurrentColor
Exercise Preview
Exercise Overview
In the previous exercise we introduced you to SVG, but you can do more than just use SVG as a linked image. If you embed the SVG code into HTML, you gain some interesting new functionality that you’ll learn about in this exercise.

Getting Started
The files for this exercise are very similar to where the previous exercise left off, but we’ve added some new files.
- In your code editor, close any files you may have open.
- For this exercise we’ll be working with the Tahoe Embedding SVG folder located in Desktop > Class Files > Advanced HTML CSS Class. You may want to open that folder in your code editor if it allows you to (like Visual Studio Code does).
- Open index.html from the Tahoe Embedding SVG folder.
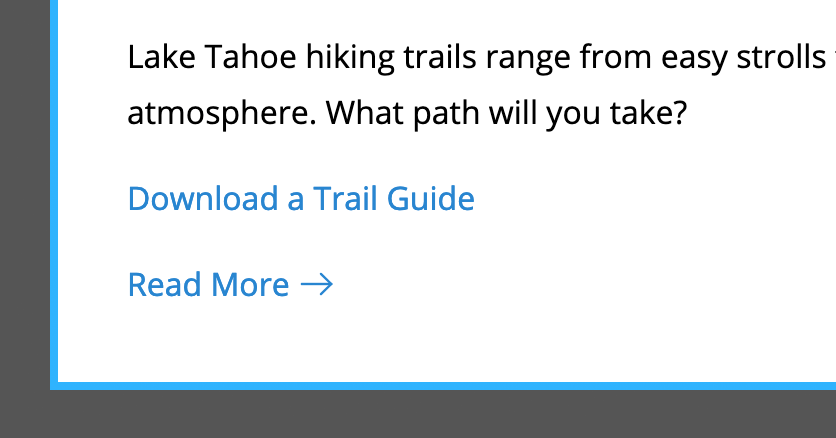
- On line 29 notice the Read More link has an arrow.svg after the text.
- Preview index.html in a browser.
-
In the Take a Hike section notice the Read More link has a black arrow on the right. It’s too far down, needs some space between it and the text, and we don’t like that it’s black.
In an earlier exercise we aligned all images to the bottom to prevent extra space below them, so that’s why the arrow is that far down. Let’s fix the positioning and then change the color.
Leave the page open in the browser and return to your code editor.
Positioning the Arrow
- Open main.css from the css folder.
-
Near the bottom, after the header img rule, add the following new rule:
.read-more img {
   vertical-align: baseline;
   margin-left: 5px;
}
Save main.css and reload index.html in the browser. Now the arrow is better positioned.
Embedding SVG (Instead of Linking)
While we could edit the SVG directly to change the color, if we use CSS we’ll have greater flexibility such as changing the color on hover! To be able to style SVG with CSS though, it can’t be used as an img tag, the SVG code must be embedded into the HTML.
- Return to your code editor.
- Open arrow.svg from the img folder.
-
Look over the code and notice the following:
- There are three elements that have an ID (arrow, line, and tip) which correspond to the layer/object name in the graphics app that created these.
- The arrow contains two nested elements: tip and line.
Our webpage has three Read More buttons, so we’ll need to use this arrow three times. An ID can only be used once within a page, so we need to change the IDs to classes (which can be used multiple times).
-
Open the Find and Replace feature (your menu options may be named differently depending on your code editor):
- In Visual Studio Code, choose Edit > Replace.
- In Sublime Text, choose Find > Replace.
- In Atom, choose Find > Find in Buffer.
-
Enter the following (the options may be named differently in your code editor):
Find:
id=Replace:class= - Proceed to Replace All, and a total of 3 replacements should be made.
- Save the file.
- Select all code.
- Copy it.
- Close this file (arrow.svg).
- Switch to index.html here in your code editor.
-
On line 29 delete the img tag for arrow.svg so you end up with the following:
<p><a href="#" class="read-more">Read More</a></p> - Make sure the cursor is after Read More (so it’s before
</a>). - Paste the SVG code.
- Save the file.
- Return to the browser and reload index.html.
- In the Take a Hike section, after the Read More link you should still see the black arrow, but it’s lost the space between the text. That’s because our CSS targets an img tag, not the svg tag we now have. Let’s fix that.
- Return to main.css in your code editor.
-
In the .read-more img selector, change img to svg as shown below:
.read-more svg { - Save main.css and reload index.html in the browser. The arrow should once again be positioned correctly.
- We need the arrow in two more places, so switch back to index.html in your code editor.
- Around line 38, put the cursor after Read More (so it’s before
</a>). - Paste the SVG code.
- Around line 47, put the cursor after Read More.
- Paste the SVG code again.
Save the file and reload index.html in the browser. All three of the Read More links should have an arrow after them. Now let’s work on styling them.
Styling SVG Using CSS
- Switch back to index.html in your code editor.
-
Look at the code for any of the three SVG arrows and notice:
- The line and tip elements each have
stroke=",000"which makes the black. SVG elements can have fill, stroke, and other settings. These are lines, so they have a stroke, but no fill. - Those two elements are nested inside a container svg element.
- The line and tip elements each have
- We can use CSS to style SVG elements, so switch to main.css.
-
We currently have a rule that targets the svg element, but that’s not the element that has the stroke. We’ll have to target all the elements inside the svg. After the .read-more svg rule, add the following new rule:
.read-more svg * {
   stroke: red;
}
The asterisk (
*) selector targets all elements (in this case all elements within the svg, which are in a read-more class).The stroke property will override the stroke attribute in the SVG. If you needed to change fill color, you’d use the fill property.
- Save the file and reload index.html in the browser. The 3 arrows should now be red! It’s good to see our CSS works, but let’s use the same blue as the text links.
- Switch back to main.css in your code editor.
-
We could look up the hex color we used on the text links, but there’s an easier and better way. As shown below, change red to currentColor:
.read-more svg * {
   stroke: currentColor;
}
NOTE: CSS values are typically hyphenated (like current-color). The capitalization style of currentColor comes from the original SVG specifications it was derived from. CSS is case-insensitive though, so it doesn’t matter whether you write it as currentColor or currentcolor or any other case.
-
Save the file and reload index.html in the browser to see:
- The arrow should be the same color as the Read More link!
- The arrow is a bit too thick when compared to the text.
- Switch back to index.html in your code editor.
-
In the SVG code for the line and tip elements, notice the
stroke-width="2"While we could change the attributes here, we can also change them via CSS!
- Switch to main.css.
-
As shown below, add a new CSS property to override the SVG’s attribute:
.read-more svg * {
   stroke: currentColor;
   stroke-width: 1.2;
}
Save the file and reload index.html in the browser to see the arrows are thinner, which between matches the thickness of the text.
Adding a Hover
Let’s change the color of the Read More link on hover and see what happens to the SVG arrow.
- Switch back to main.css in your code editor.
-
Above the .read-more svg rule, add the following new rule:
.read-more:hover { color: red; } - Save the file and reload index.html in the browser.
-
Hover over a Read More link to see the color of the text and the SVG arrow both change! That’s because the arrow still picks up on the current color!
Users who keyboard navigate a page (such as tabbing through elements), won’t see this hover effect. It would be nice if they saw the same appearance when this link is selected (called focus in CSS and JavaScript), so it’s often a best practice to include a focus style whenever you have a hover style.
- Switch back to main.css in your code editor.
-
In the .read-more:hover selector, add .read-more:focus following new rule:
.read-more:hover, .read-more:focus { - Save the file and reload index.html in Chrome (which we know you can keyboard navigate).
- Hit Tab to see the logo at the top becomes highlighted.
-
Hit Tab a couple more times until the Read More link is highlighted.
Now you should see it looks the same as when you hover. Nice!
Naming SVG Elements
- Many graphics apps turn object/layer names into IDs or classes in the SVG file they export. It’s a good habit to name things before exporting SVG, and then look at the SVG code to make sure its clean.
- If you’ll only be embedding SVG once on a page, you can keep the IDs (you don’t have the change them to classes). Just be careful that the IDs do not conflict with other IDs you have used in HTML. To help ensure the IDs are unique, you could start each name with a unique prefix. For example, every element in a logo could start with logo- so the IDs would be logo-something and logo-another-thing
