Dive into the power of CSS variables and the concept of inheritance in our comprehensive HTML and CSS tutorial, providing detailed steps and examples to enhance your web development skills.
This exercise is excerpted from Noble Desktop’s past front-end web development training materials and is compatible with updates through 2022. To learn current skills in web development, check out our coding bootcamps in NYC and live online.
Topics Covered in This HTML & CSS Tutorial:
Defining & Using CSS Variables, the Power of Inheritance
Exercise Preview
Exercise Overview
In this exercise you’ll learn about CSS variables (also called custom properties). Variables are found in many programming languages (such as JavaScript), and are also in CSS.

We often reuse something (a font, a size, or an amount of padding) many times throughout a CSS file. Changing those values everywhere can be tedious. Variables let us store a value in one place and refer to that by name. When we update the variable’s original value, all places are updated. That’s powerful!
Getting Started
- Open the file variables.html which is located in Desktop > Class Files > Advanced HTML CSS Class.
-
Preview variables.html in Chrome (we’ll be using its DevTools).
For this exercise we’re going to work in a basic page so it will be easier to focus on the code required for this technique.
Leave the page open in Chrome so you can come back to it and reload as you make changes.
Defining a CSS Variable
-
Switch back to variables.html in your code editor.
We embedded the CSS in this file for simplicity, but everything would work the same if it’s in a linked CSS file.
-
Let’s create a variable for the main font that we want to use (a Google font named Coiny which we’ve already linked the page to). This will allow us to easily change the font later. At the start of the style tag, add the following code shown in bold:
<style>
   :root {—primary-font: Coiny, sans-serif;
   }
   body {
What is :root? Mozilla’s MDN web docs say “The :root CSS pseudo-class matches the root element of a tree representing the document. In HTML, :root represents the
<html>element and is identical to the selector html, except that its specificity is higher.” tinyurl.com/css-var-rootWe can declare a variable (custom property) on any element, but if no value is set on an element, the value of its parent/ancestor is used. Declaring a variable in :root makes it available to all elements (because :root is the ancestor of all elements).
When creating variables you choose the name, so primary-font is a name we created, not something special given to us by CSS.
Using the Variable
-
From now on we can refer to the Coiny font using our variable. In the h1, h2 rule, replace the font name with a reference to our variable, as shown below in bold:
h1, h2 { font-family: var(—primary-font); font-weight: normal; -
Do the same thing again in the .product-name rule:
.product-name {
   font-family: var(—primary-font);
   font-size: 18px;
}
Save the file, then reload the page in Chrome. If your code is correct, nothing should change, but now it will be easier to update that font. Let’s do that next!
Updating the Variable
- Return to your code editor.
-
Change Coiny to Bungee (another Google font we’ve loaded) as shown below:
:root {—primary-font: Bungee, sans-serif; } -
Save the file, then reload the page in Chrome. The font for the headings and product names should have both changed.
On such a basic page this might not seem as impressive, but on a large site (where the font is referenced many times) this makes updates much easier and faster.
Doing More with Variables
Let’s create another variable and we’ll see more things we can do with them.
- Return to your code editor.
-
Throughout our design we want to consistently use the same amount of space (or increments of that amount). Create a variable for that, as shown below in bold:
:root {—primary-font: Coiny, sans-serif; —standard-spacing: 15px; } -
In the .card rule replace the margin’s pixel value with a reference to the variable we just created:
.card {Code Omitted To Save Space
margin: var(—standard-spacing);Code Omitted To Save Space
} -
In the previous exercise we learned how calc() can perform math in CSS. We can combine that with variables! For h2 tags we want to use double the amount of standard spacing, so we can multiply our standard space variable by 2.
In the h2 rule, replace the pixel value with calc() as shown below in bold:
h2 { margin-top: calc(); } -
Inside calc() add the following code shown in bold (pay close attention to spaces):
h2 { margin-top: calc( var(—standard-spacing) * 2 ); } -
Save the file, then reload the page in Chrome and notice:
- Everything should still look the same if your code is correct.
- The padding inside each card (colored box) visually looks correct, but to achieve that we had to make the vertical padding (top and bottom) 5 pixels less than the horizontal padding (left and right), which compensated for some space added by the text’s line height. In our current CSS, we did the math ourselves. Now that we’re using variables, we’ll want to use CSS calc() to do it.
- Return to your code editor.
- In the .card rule notice the padding amount is 10px (vertical) and 15px (horizontal).
-
In the .card rule, replace the padding’s 15px with a reference to our variable:
.card {Code Omitted To Save Space
padding: 10px var(—standard-spacing);Code Omitted To Save Space
} -
Replace the padding’s 10px with calc() as shown below:
.card {Code Omitted To Save Space
padding: calc() var(—standard-spacing);Code Omitted To Save Space
} -
Inside calc() add the code shown below in bold (pay close attention to spaces):
.card {Code Omitted To Save Space
padding: calc( var(—standard-spacing)—5px ) var(—standard-spacing);Code Omitted To Save Space
} - Save the file, then reload the page in Chrome. The page should still look the same if your code is correct, but we’re now ready to see how powerful this variable is.
- CTRL–click (Mac) or Right–click (Windows) anywhere on the page and select Inspect to open Chrome’s DevTools.
- In DevTools’ Element panel, select
<html lang="en">. - In Styles panel you should see the :root selector and our 2 variables.
- Next to
—standard-spacing click on the 15px value to select it. -
Press the Up Arrow key multiple times to increase the value and watch how the page updates!
The 15px we were using is a bit small, somewhere around 30px seems better.
- Return to your code editor.
-
As shown below in bold, change the –standard-spacing value to 30px:
:root {—primary-font: Coiny, sans-serif;—standard-spacing: 30px;
}
The Power of Inheritance
In HTML we nest elements inside of others. We often refer to the containing elements are parents/ancestors, and the nested elements as children/descendants. In CSS, descendants inherit settings from their ancestors. For example setting a font on body gets inherited to headings and paragraphs within the body.
CSS variables also work with inheritance. Let’s see how we can redefine the value stored in a variable for one a specific part of a page.
-
In the :root rule, add a new variable as shown below in bold:
:root {—primary-font: Bungee, sans-serif;—standard-spacing: 30px; —card-bgcolor: #45e; } -
In the .card rule, update the background-color’s value to use our new variable, by changing the code shown below in bold:
.card {
   background-color: var(—card-bgcolor);
Code Omitted To Save Space
} -
Define one more variable, as shown below in bold:
:root {—primary-font: Bungee, sans-serif;—standard-spacing: 30px;—card-bgcolor: #45e; —card-text-color: white; } -
In the .card rule, replace the color’s value with a reference to our new variable:
.card {
   background-color: var(—card-bgcolor);
   color: var(—card-text-color);
Code Omitted To Save Space
} -
Let’s also use the color in the border, so replace the border’s white with a reference to our variable:
.card {
   background-color: var(—card-bgcolor);
   color: var(—card-text-color);
   border: 4px double var(—card-text-color);
Code Omitted To Save Space
} - Save the file, then reload the page in Chrome. If your code is correct, the color of the card should still look the same (white text on a blue background).
- Return to your code editor.
-
Change the value of
—card-text-color as shown below in bold::root {—primary-font: Bungee, sans-serif;—standard-spacing: 30px;—card-bgcolor: #45e;—card-text-color: #8f3; } -
Save the file, then reload the page in Chrome.
- Notice the text and border color changed from white to green.
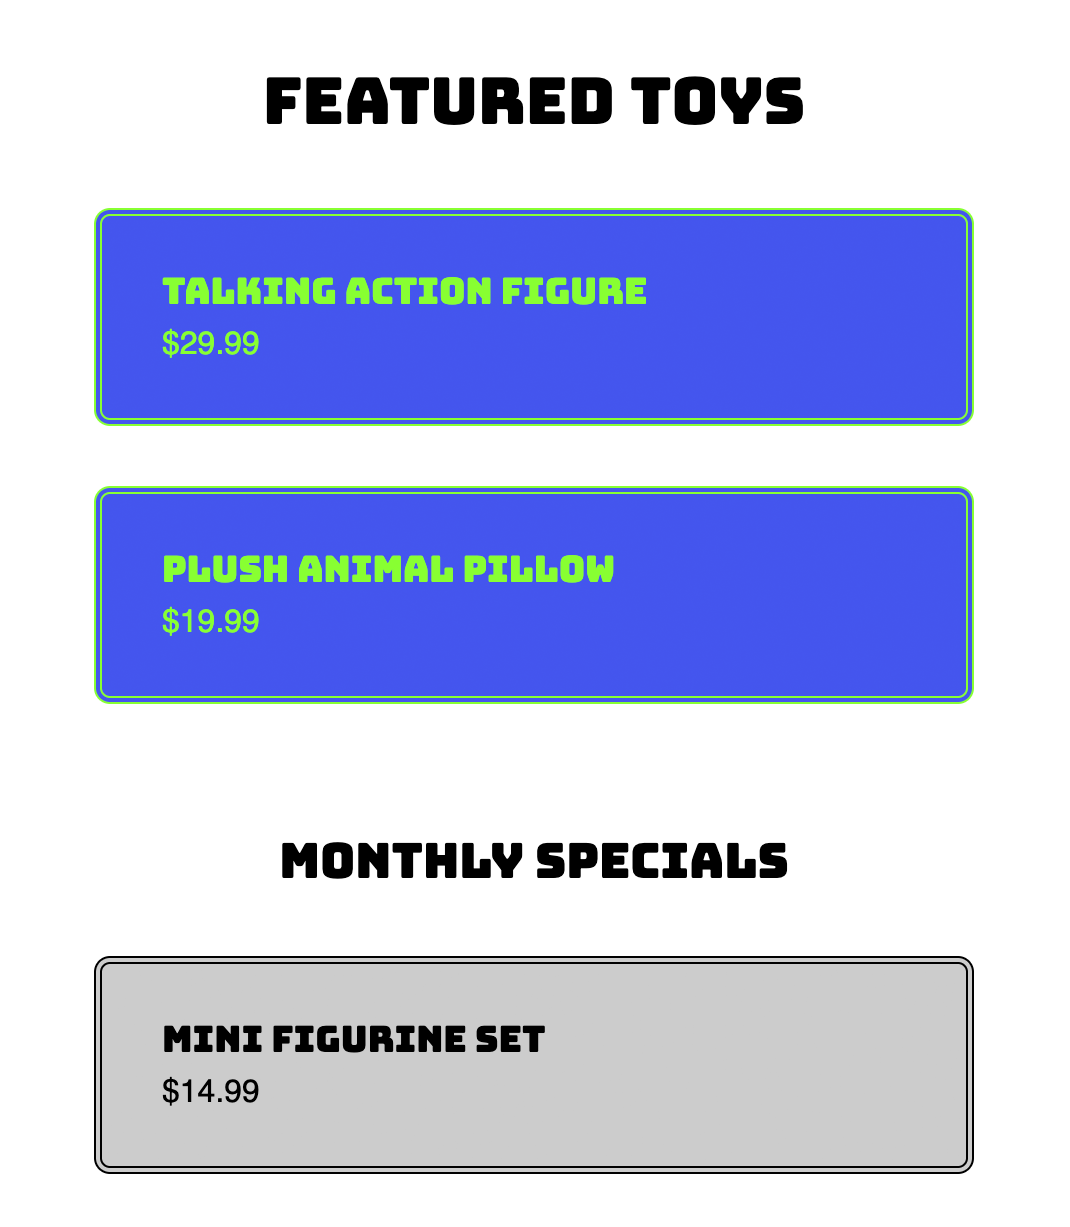
- Now that we have these variables, let’s make the two products under Monthly Specials look different.
- Return to your code editor.
-
In the HTML, notice:
- There are 4 links which share the same card class.
- The card links are grouped into two divs: featured and specials.
- The links we want to change the color of are in the specials div.
-
In the CSS, below the :root rule, add the following new rule:
.specials {—card-bgcolor: #ccc;—card-text-color: black;
}
NOTE: If no value is set for a custom property (variable) on an element, the value of its parent/ancestor is used. In the examples so far, the parent/ancestor was the :root element. By redeclaring variables on .special, the cards within .special will use these new values (which override the :root values).
-
Save the file, then reload the page in Chrome.
The bottom 2 product cards should now have a different text and background color than the top 2 cards (black text on a gray background).
Browser Support
Support for CSS variables is very good in modern browsers, but you should know that older browsers (like internet Explorer) do not support them. In many cases, variables are not simply progressive enhancement and may degrade poorly in older browsers, so make sure you don’t need to support those older browsers before choosing to use variables. You can see more about browser support at caniuse.com/#feat=css-variables
CSS Variables, Preprocessors, & JavaScript
One of the powerful things about CSS variables (especially when compared to preprocessor variables like Sass) is that they are accessible via JavaScript. JavaScript can change CSS variables at any time (or based on a user’s interaction), which then updates the appearance of a page.
For example, imagine allowing users to change the font. JavaScript could update our CSS font variable and all the places using it will change. Powerful!
To learn more, read Smashing Magazine’s Strategy Guide To CSS Custom Properties tinyurl.com/css-var-strategy
