Improve your Cinema 4D skills by learning how to edit textures, import 3D models, locate missing texture files, and create shadow passes in this comprehensive tutorial.
This exercise is excerpted from Noble Desktop’s Cinema 4D Lite training materials and is compatible with Cinema 4D updates through 2023. To learn current skills in Cinema 4D with hands-on training, check out our Cinema 4D in After Effects Bootcamp, Motion Graphics Certificate, and video editing classes in-person and live online.
Topics Covered in This Cinema 4D Tutorial:
Editing Textures, Importing a 3D Model, Locating Missing Texture Files, Creating a Shadow Pass
Exercise Preview
Exercise Overview
In this exercise you’ll learn how to add textures to your Cinema 4D objects.

Previewing the Final Video
Let’s see a preview of what you’ll be making. If you’re in After Effects, keep it open but switch to your Desktop.
On the Desktop, navigate to Class Files > C4D in AE Class > AE Text to C4D > Preview Movie and double–click Hard Candy Animation.mp4.
-
Notice the following:
- The text in the scene has a shiny, metallic texture to it.
- The 3D models are casting shadows on the ground.
Replay the video if you need to, and close it when done.
Getting Started
If You Did Not Do the Previous Exercises
If a project is open in After Effects, go to File > Save, then File > Close Project.
- Go to File > Open Project and navigate to Desktop > Class Files > C4D in AE Class > AE to C4D > Finished Projects.
- Double–click on Hard Candy—Editing Textures.aep.
Go to File > Save As > Save As. Name the file Your Name—Hard Candy.aep and save it to Desktop > Class Files > C4D in AE Class > AE to C4D (replacing the file if it’s already there).
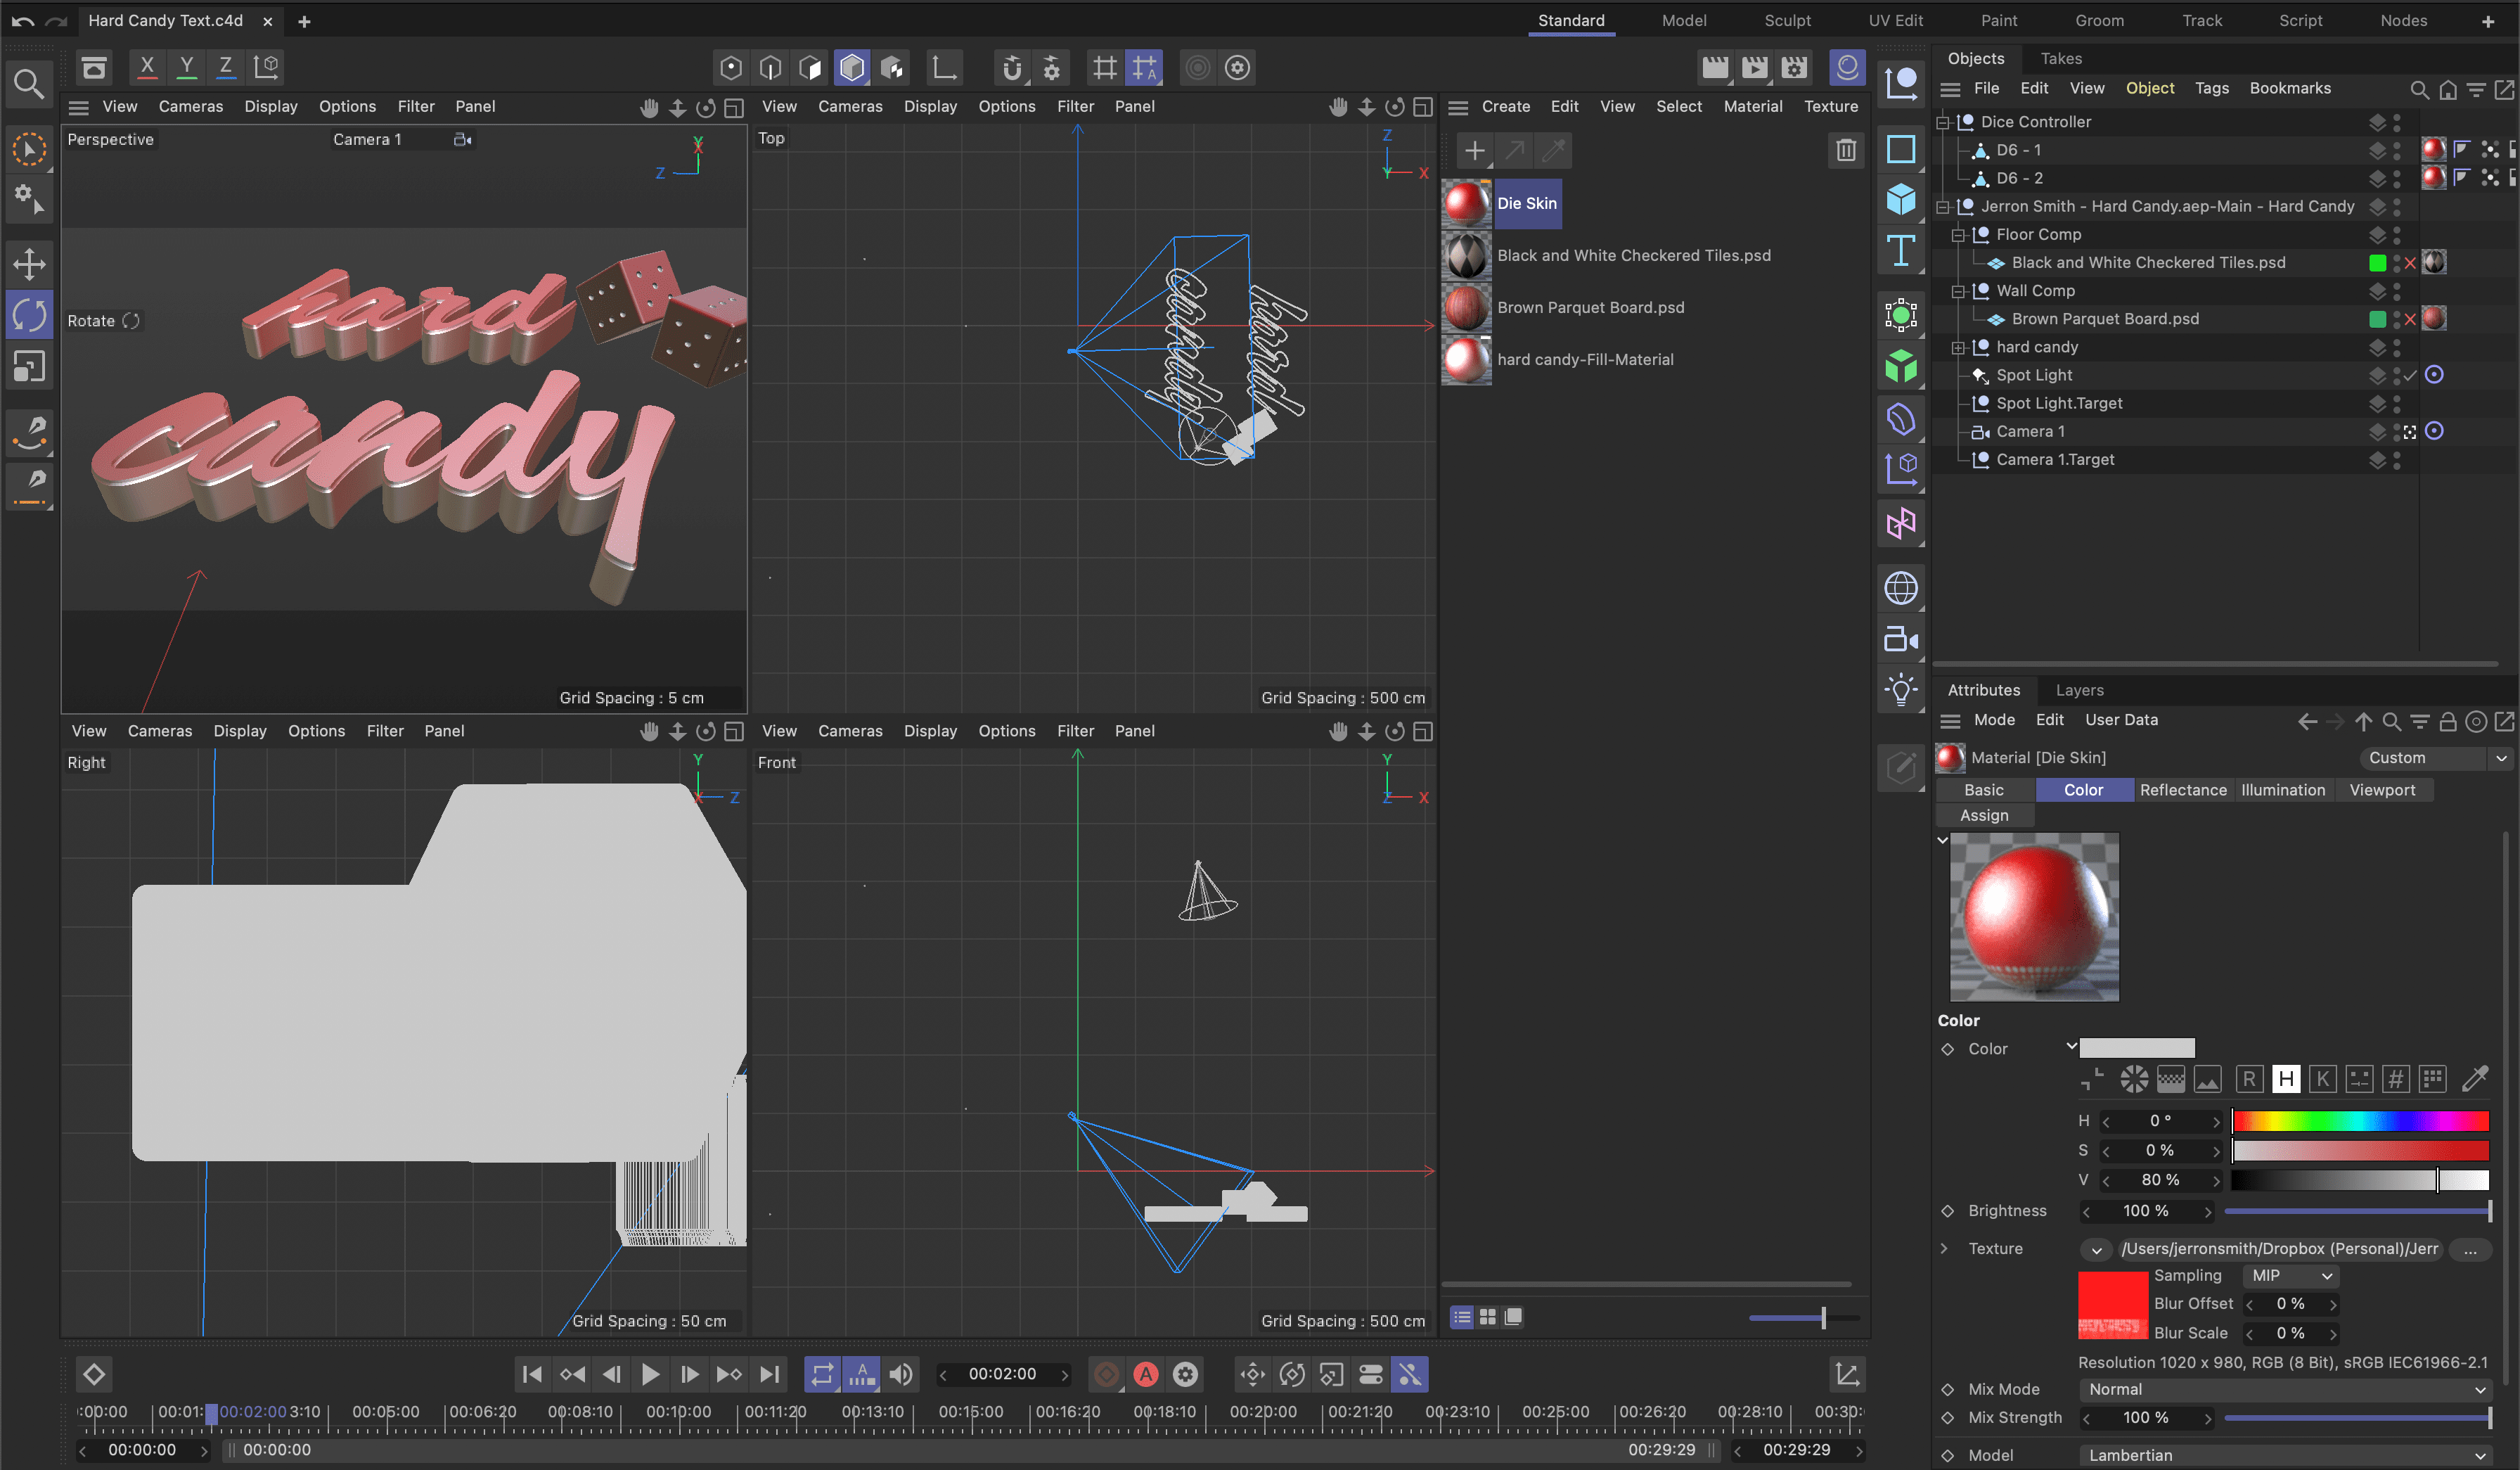
Editing a Texture in C4D
The appearance, colors and images (on 3D layers) were converted to materials for the C4D export. We can adjust them in Material Editor if we need a different look for our 3D models. In this part of the lesson, we are going to create a plastic material in
-
With the Your Name—Hard Candy.aep open in After Effects, return to the Hard Candy Text.c4d file in Cinema 4D.
Note: If you closed C4D or started from the intermediary project above you can highlight the .c4d layer in After Effects and press Cmd–E (Mac) or CTRL–E (Windows) or choose Edit > Edit Original.
-
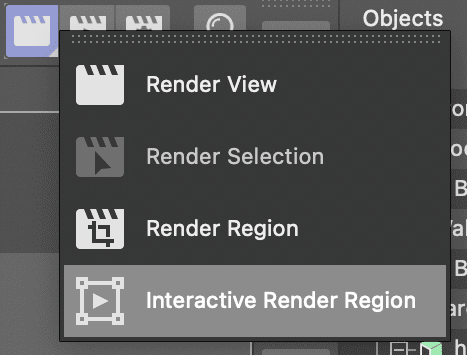
Long press on the Render View button and choose Interactive Render Region.
-
Click on the Material Manager
 button or press Shift–f2.
There was a default texture applied to the extrude object when the file was created. We’ll edit this to produce a more reflective plasticy texture.
Double–click on the hard candy-Fill-Material to open the Material Editor
Click on the Reflectance channel from the list on the left.
-
Click the Remove button on the top right of the editor.
The material comes with a default specular shader, we’ll remore this so we can build a new reflectance shader from scratch.
-
Click Add and choose Beckman from the list.
NOTE: This will make the text outside of the render area look like chrome, but the text inside will be nearly impossible to see.
-
If necessary, click on the arrow for the Layer Fresnel group to reveal it and make the following changes:
- Fresnel : Dielectric
- IOR : something between 6 & 7 ( we used 6.85)
-
In the Layer 1 group change:
- Attenuation : Additive
- Roughness : Something between 50 & 70 (we used 66)
- Reflection Strength : Around 90
- Specular Strength : Around 60
Close the Material Editor.
Click on the Material Manager
button or press Shift–f2 to toggle it closed.Click the Interactive Render Region button to disable it.
Press Cmd–S (Mac) or CTRL–S (Windows) or choose File > Save Project.
Return to After Effects
In Effect Controls change the Renderer in the Cineware effect to Current.
-
Preview the finished animation by pressing Spacebar on your keyboard.
We now have 3D text with a nice reflectivey plastic texture in After Effects.
Press Cmd–S (Mac) or CTRL–S (Windows) or choose File > Save to save your After Effects project.
Navigating the Viewports in C4D
When working in C4D you have a choice of different viewport configurations. You interact with a viewport using the controls located at the top right.
 Move Camera: Drag this button to move the viewport camera up and down.
 Scale Camera: Drag this button to move the viewport camera in and out.
 Orbit Camera: Drag this button to orbit the viewport camera around the scene.
 Toggle Active View: Press this button to switch between single and multiple viewport layouts.
Importing a 3D Model
One of the great features of C4D Lite is that it can be used as a platform to import 3D models made in other applications into After Effects. In this workflow, you can have someone else create a model in Cinema 4d, Blender, Maya, 3DS Max or just about any other 3D program and you can use Lite to import it.
If You Did Not Do the Previous Exercises
If a project is open in After Effects, go to File > Save, then File > Close Project.
Go to File > Open Project and navigate to Desktop > Class Files > C4D in AE Class > AE Text to C4D > Finished Projects.
Double–click on Hard Candy—Importing 3D Models.aep.
Go to File > Save As > Save As. Name the file Your Name—Hard Candy.aep and save it to Desktop > Class Files > C4D in AE Class > AE to C4D (replacing the file if it’s already there).
In After Effects, click on the Hard Candy Text.c4d layer to select it.
Press Cmd–E (Mac) or CTRL–D (Windows) or choose Edit > Edit Original to open your model in Cinema 4D Lite.
In Cinema 4D Lite, move the playhead to 02;00
-
In the Object Manager turn the Black and White Checkered Tiles.psd Plane back on to reveal the floor object.

Choose File > Merge Project or press Cmd–Shift–O (Mac) or CTRL–Shift–O (Windows).
In the dialog box, navigate to Class Files > C4D in AE Class > AE Text to C4D > Media > C4D > Dice.
-
Double–click on the D6-Production.c4d to import it.
NOTE: If you receive a missing plugins message just click OK to continue.
Two new models will be added to the scene, D6—1 and D6—2. You should be able to barely seem then at the edge of the Perspective view.
Click the Toggle Active View
button at the top right of the Perspective panel to reveal all four viewports.-
Click on the Top viewport and press H to frame all objects in your scene.
Repeat this for the two other viewports.
In the Object Manager click on the D6—1 object, hold Shift and click on the D6—2 object to select them both.
Press Opt–G (Mac) or ALT–G (Windows) to group them into a new null object. This will allow us to transform both of them at the same time.
-
Double–click on the new Null and rename it Dice Controller.
Press Return (Mac) or Enter (Windows) to finalize the name change.
-
Click on the Move
 tool to activate it.
NOTE: You can also press E on the keyboard to activate the Move tool.
-
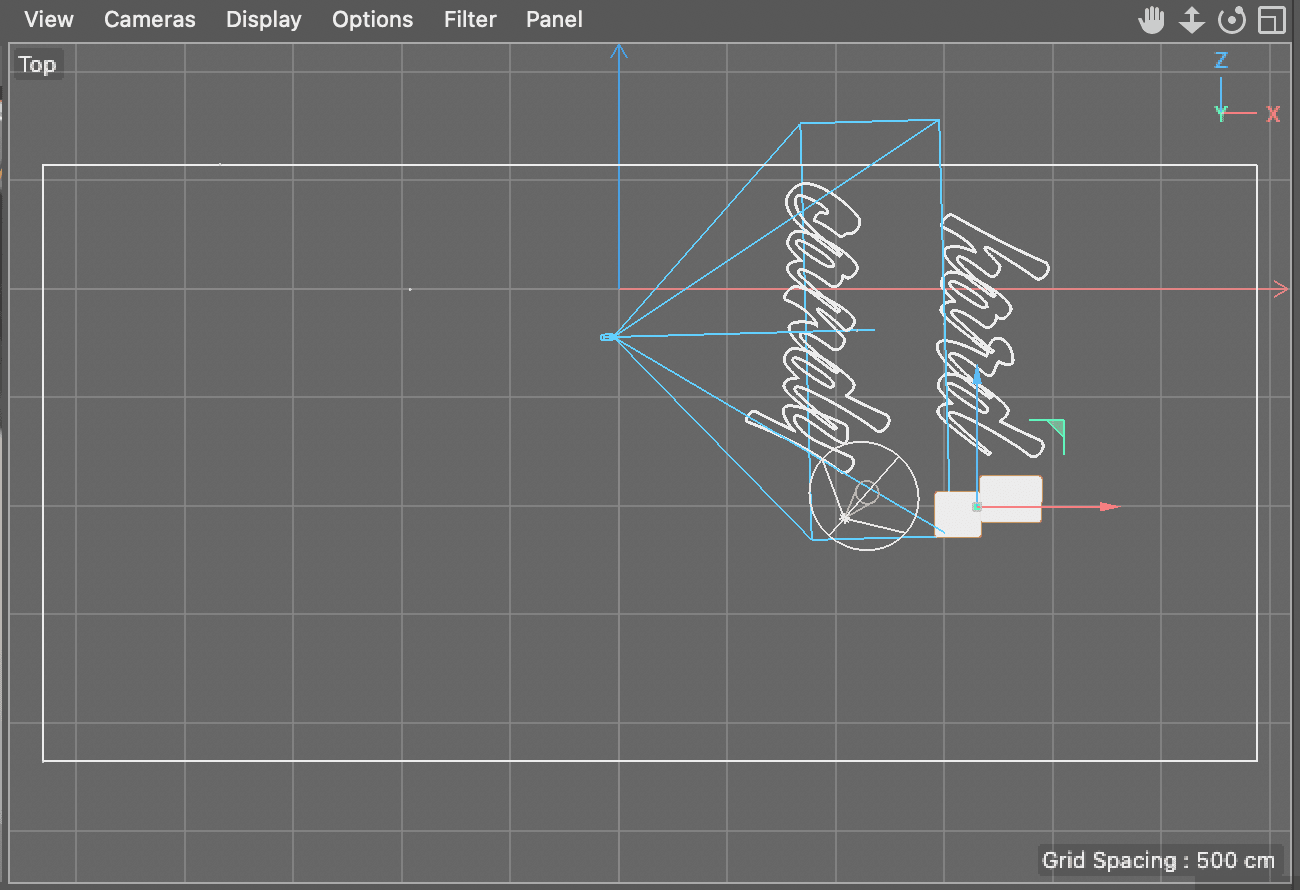
In the Top viewport drag the Dice Controller until the Dice are located next to the word Hard.
-
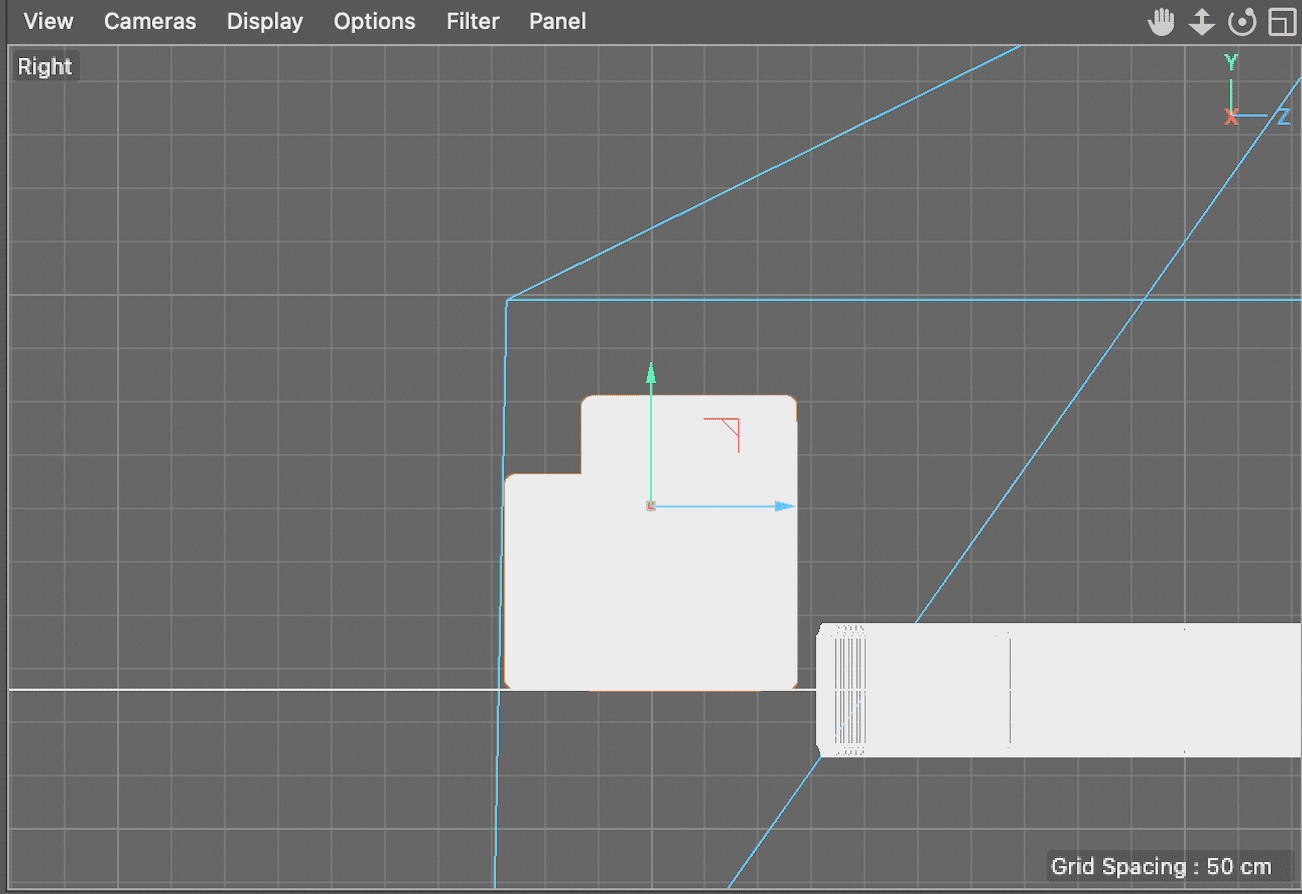
Click in the Right viewport to activate it and use the Move Camera
and Scale Camera controls until you can see the dice models better.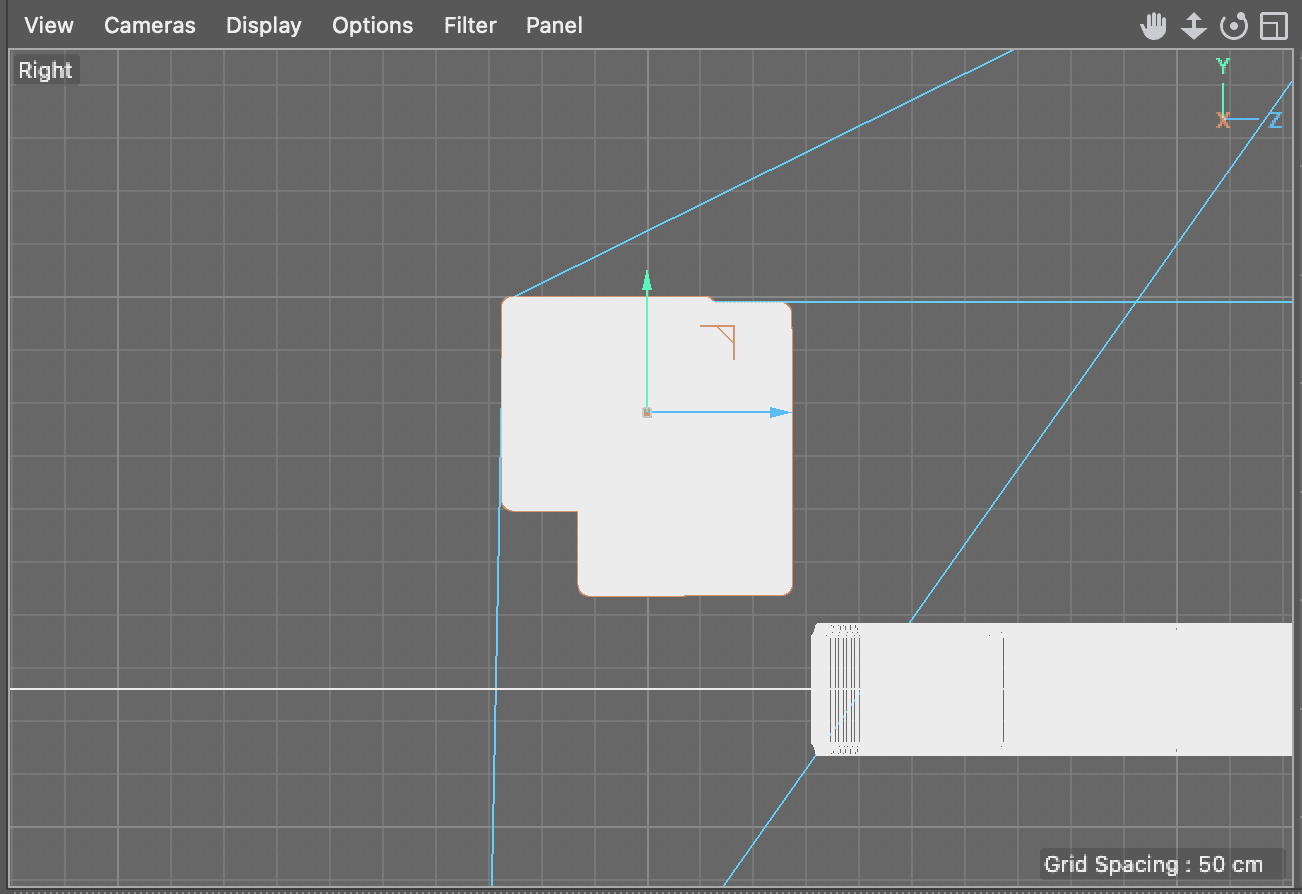
With the move tool
drag the Dice Controller down until the first die is lined up with the floor.In the Object Manager click on the expand switch for Dice Controller
Click on D6—1 to select it.
-
In the Right viewport drag the model down until it also sits on the floor object.
In the Object Manager click back on the Dice Controller null.
-
Click on the Rotate
 tool to activate it.
NOTE: Press R on the keyboard to activate the Rotate tool.
-
In the Top viewport use the inner rotate ring to rotate the null until the dice create an interesting composition in the Perspective view.
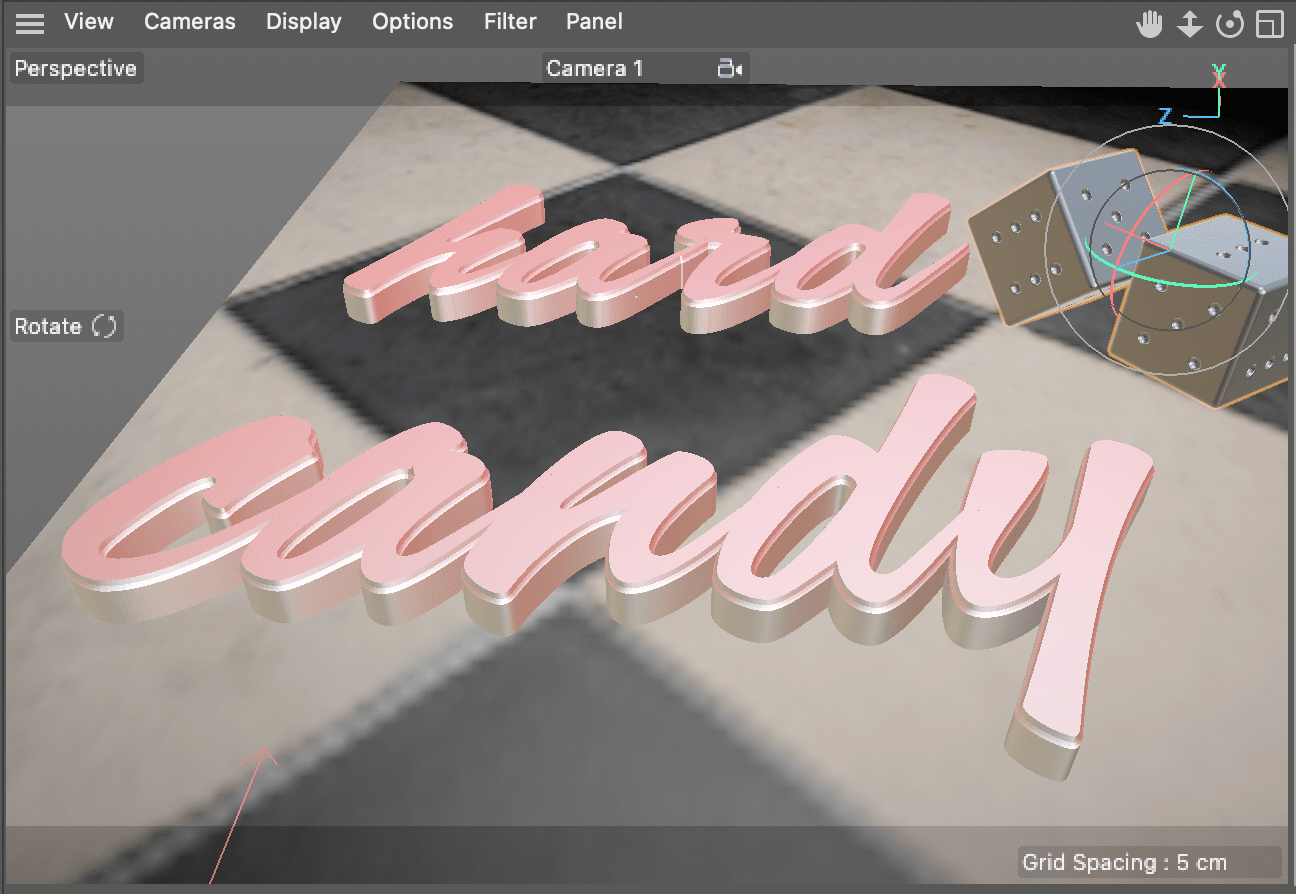
Click in the Perspective view and press Cmd–R (Mac) or CTRL–R (Windows) to render the view port.
Click Cancel in the Asset Error alert. You received an error message because the dice material is missing a texture. We need to reconnect it before we can proceed.
Press Cmd–S (Mac) or CTRL–S (Windows) or choose File > Save Project to save your C4D project.
The C4D Asset Browser
The Asset Browser in Cinema 4D is a tool that allows you to easily manage, organize, and access different assets (such as materials, objects, scenes, and more) used in your projects. The Asset Browser provides a central location to store and retrieve assets, making it easier to work on large and complex projects. With the Asset Browser, you can preview the assets, create folders to categorize them, and even search for specific assets using keywords. In addition, you can drag and drop assets from the Asset Browser directly into your scene, saving time and streamlining your workflow. Cinema 4D Lite includes a series of free, downloadable assets that you can use in your own projects. Just choose Window > Asset Browser and use the handy search field, tabs or folders to search for the assets you are looking for.
Locating a Missing Texture File
When you use custom textures files in your materials C4D writes a link to them. If the material file or the model is moved around this link can be broken.
-
Open the Material Manager
 by clicking the button next to the Render controls.
NOTE: You can also open the Material Manager by press Shift–f2 on the keyboard.
Double–Click on the Die Skin material to open the Material Editor. This should automatically place you in the color texture.
Click on the Die Material.psd button next to Texture
In Shader Properties click on the button … next to the File field.
Navigate to Media > C4D > Dice > Mats.
Double–click Die Material.psd to select it.
Click No in the dialog that asks you to create a copy of the file.
Close the Material Editor by clicking Red button at the upper left (Mac) or X at the upper right (Windows).
Click in the Perspective view and press Cmd–R (Mac) or CTRL–R (Windows) to render the view port.
In the Object Manager turn off the Black and White Checkered Tiles.psd plane by clicking the green checkbox to its right.
Press Cmd–S (Mac) or CTRL–S (Windows) or choose File > Save Project to save your C4D project.
Return to After Effects
Preview the finished animation by pressing Spacebar on your keyboard.
Press Cmd–S (Mac) or CTRL–S (Windows) or choose File > Save to save your After Effects project.
Working with Shadows
The 3D model is now visible and has replaced the original text that was created in the After Effects scene. And it’s been textured so it look pretty cool. But the overall scene is still a little flat, maybe some shadows would help make the scene a little more realistic.
If You Did Not Do the Previous Exercises
If a project is open in After Effects, go to File > Save, then File > Close Project.
Go to File > Open Project and navigate to Desktop > Class Files > C4D in AE Class > AE Text to C4D > Finished Projects.
Double–click on Hard Candy—Working with Shadows.aep.
Go to File > Save As > Save As. Name the file Your Name—Hard Candy.aep and save it to Desktop > Class Files > C4D in AE Class > AE to C4D (replacing the file if it’s already there).
In After Effects, click on the Hard Candy Text.c4d layer to select it.
Press Cmd–E (Mac) or CTRL–D (Windows) or choose Edit > Edit Original to open your model in Cinema 4D Lite.
In the Object Manager locate the hard candy null object.
CTRL–click (Mac) or Right–click (Windows) on the hard candy null
 and choose Render Tags > Compositing.
In the Attribute Manager click on the Object Buffer tab.
-
Click the first Enable switch and confirm the buffer is set to 1
NOTE: If you don’t see the Object Buffer tab in the Attribute Manager click on the Compositing tag located to the right of the object name.
-
Still in the Object Manager locate the Dice Controller null object and:
-
CTRL–click (Mac) or Right–click (Windows) on the Dice Controller null and choose Render Tags > Compositing.
- In the Attribute Manager click on the Object Buffer tab.
- Click the first Enable switch and confirm this buffer is also set to 1
-
CTRL–click (Mac) or Right–click (Windows) on the Dice Controller null
-
In the Object Manager click off the red X switch next to the Black and White Checkered Tiles.psd plane to show it.
NOTE: we have to turn the visibility of the floor plane back on so the shadows that it recieved can be seen in AE.
-
Click the Edit Render Settings
 button or choose Render > Edit Render Settings
NOTE: The keyboard shortcut to open Render Settings is Cmd–B (Mac) or CTRL–B (Windows).
On the left side of the dialog click on the Multi-Pass switch.
Click on the Multi-Pass selector button and choose Object Buffer from the list.
On the right side of the dialog, confirm that the Group ID for the object buffer is set to 1
Close the Render Settings dialog.
Press Cmd–S (Mac) or CTRL–S (Windows) or choose File > Save Project to save your C4D project
Return to After Effects.
Revealing C4D Shadows in AE
In order to show shadows from C4D models in After Effects not only do you have to set up the Cinema 4D project properly, you also have to do a little work in AE as well.
In After Effects, click on the Hard Candy Text.c4d layer to select it.
-
Rename this layer Base Model.
NOTE: You can rename a layer by CTRL–click (Mac) or Right–click (Windows) on the layer and choosing Rename from the menu or highlight the layer and press the Return (Mac) or Enter (Windows) key.
-
Duplicate the Base Model layer twice.
NOTE: you can duplicate a layer by choosing Edit > Duplicate or by pressing Cmd-D (Mac) or CTRL–D (Windows).
Rename the first copy (it should be named Base Model 2) Model Matte.
Rename the second copy (it should be named Base Model 3) Shadows.
Click off the eye
 icon for the Shadows layer to hide it.
Click on the Model Matte layer to select it.
-
Click on the Effect Controls panel to reveal it.
NOTE: If the Effect Controls panel is hidden you can reveal it by choosing Window > Effect Controls. The name of the currently active layer will be listed next to Effect Controls on the menu.
In the Cineware Effect, locate the Multi-Pass section and click on Cinema 4D Multi-Pass.
-
Click the Set Multi-Pass button and:
- Choose Object Buffer in the Cinema 4D Multi-Pass dialog.
- Click OK.
NOTTE: The C4D object buffer creates a black and white matte where the visible model/models appear as white.
-
In the Timeline click on the Base Model layer to select it and if necessary reveal the layer modes pane.
NOTE: If you can’t see the layer modes click on the Toggle Switches/Modes button at the bottom of the Timeline or press F4.
Choose Luma Matte Model Matte from the TrkMat menu.
Click on the Shadows layer and turn its visibility back on.
In the Effect Controls panel, click on the Cinema 4D Multi-Pass switch for the Shadow layer.
-
Click the Set Multi-Pass button and:
- Choose Shadow from the menu.
- Click OK to close the dialog.
Change the Shadow layer’s Mode menu to Multiply.
-
Drag the Shadows layer below Base Model.
One of the advantages of using the Multi-Pass features is the ability to color correct different layers individually,
CTRL–click (Mac) or Right–click (Windows) on the Shadows layer and choose Effect > Color Correction > Curves
In the Effect Controls panel, locate the Curves effect.
Drag the left controller (Shadows) towards the right until the shadows are darkened to your liking.
Preview the finished animation by pressing Spacebar on your keyboard.
-
Press Cmd–S (Mac) or CTRL–S (Windows) or choose File > Save to save your After Effects project.
You can now close this project we are done with this part of the lesson.