Here’s how to install SQL Server Management Studio, the free app you use to run SQL queries. Behind the scenes, it uses Visual Studio (VS), so don’t be surprised when you see that mentioned during the install.
Download & Install the Free App: Microsoft SQL Server Management Studio
- Go to the Download SQL Server Management Studio page.
- Click Download SSMS 22 (it should be in the "Step 2" section).
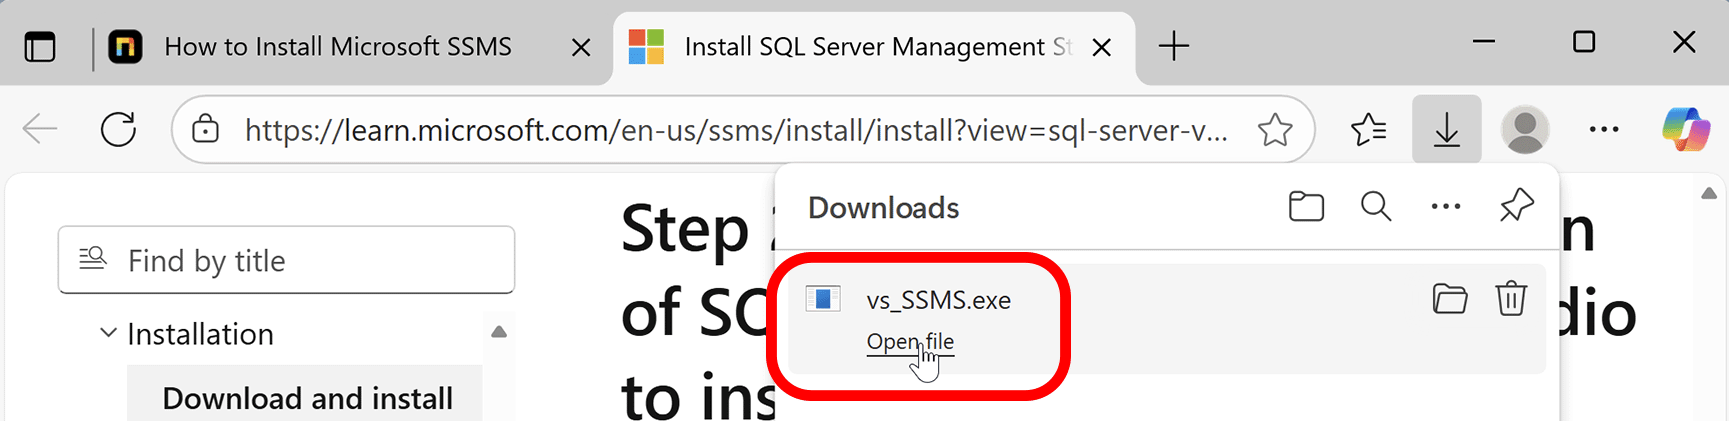
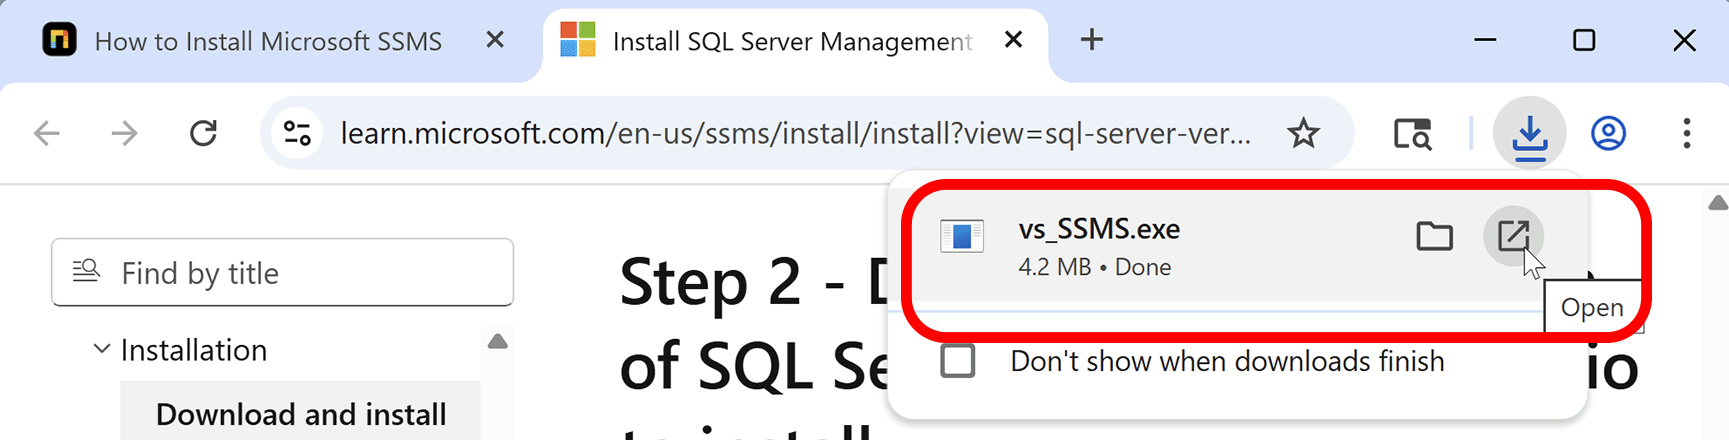
- Open the downloaded file. How you do that depends on the web browser you use, but it’s usually in the Downloads panel. Here’s how it may look:
- If asked to allow this app to make changes to your device, click Yes.
- If the Visual Studio Installer says it needs to set up a few things, click Continue.
- You should now see the install screen. The 4 options listed are all optional, but you may want AI Assistance and Code tools, so you could check those on (you may need to scroll down to see it). None are required, though.
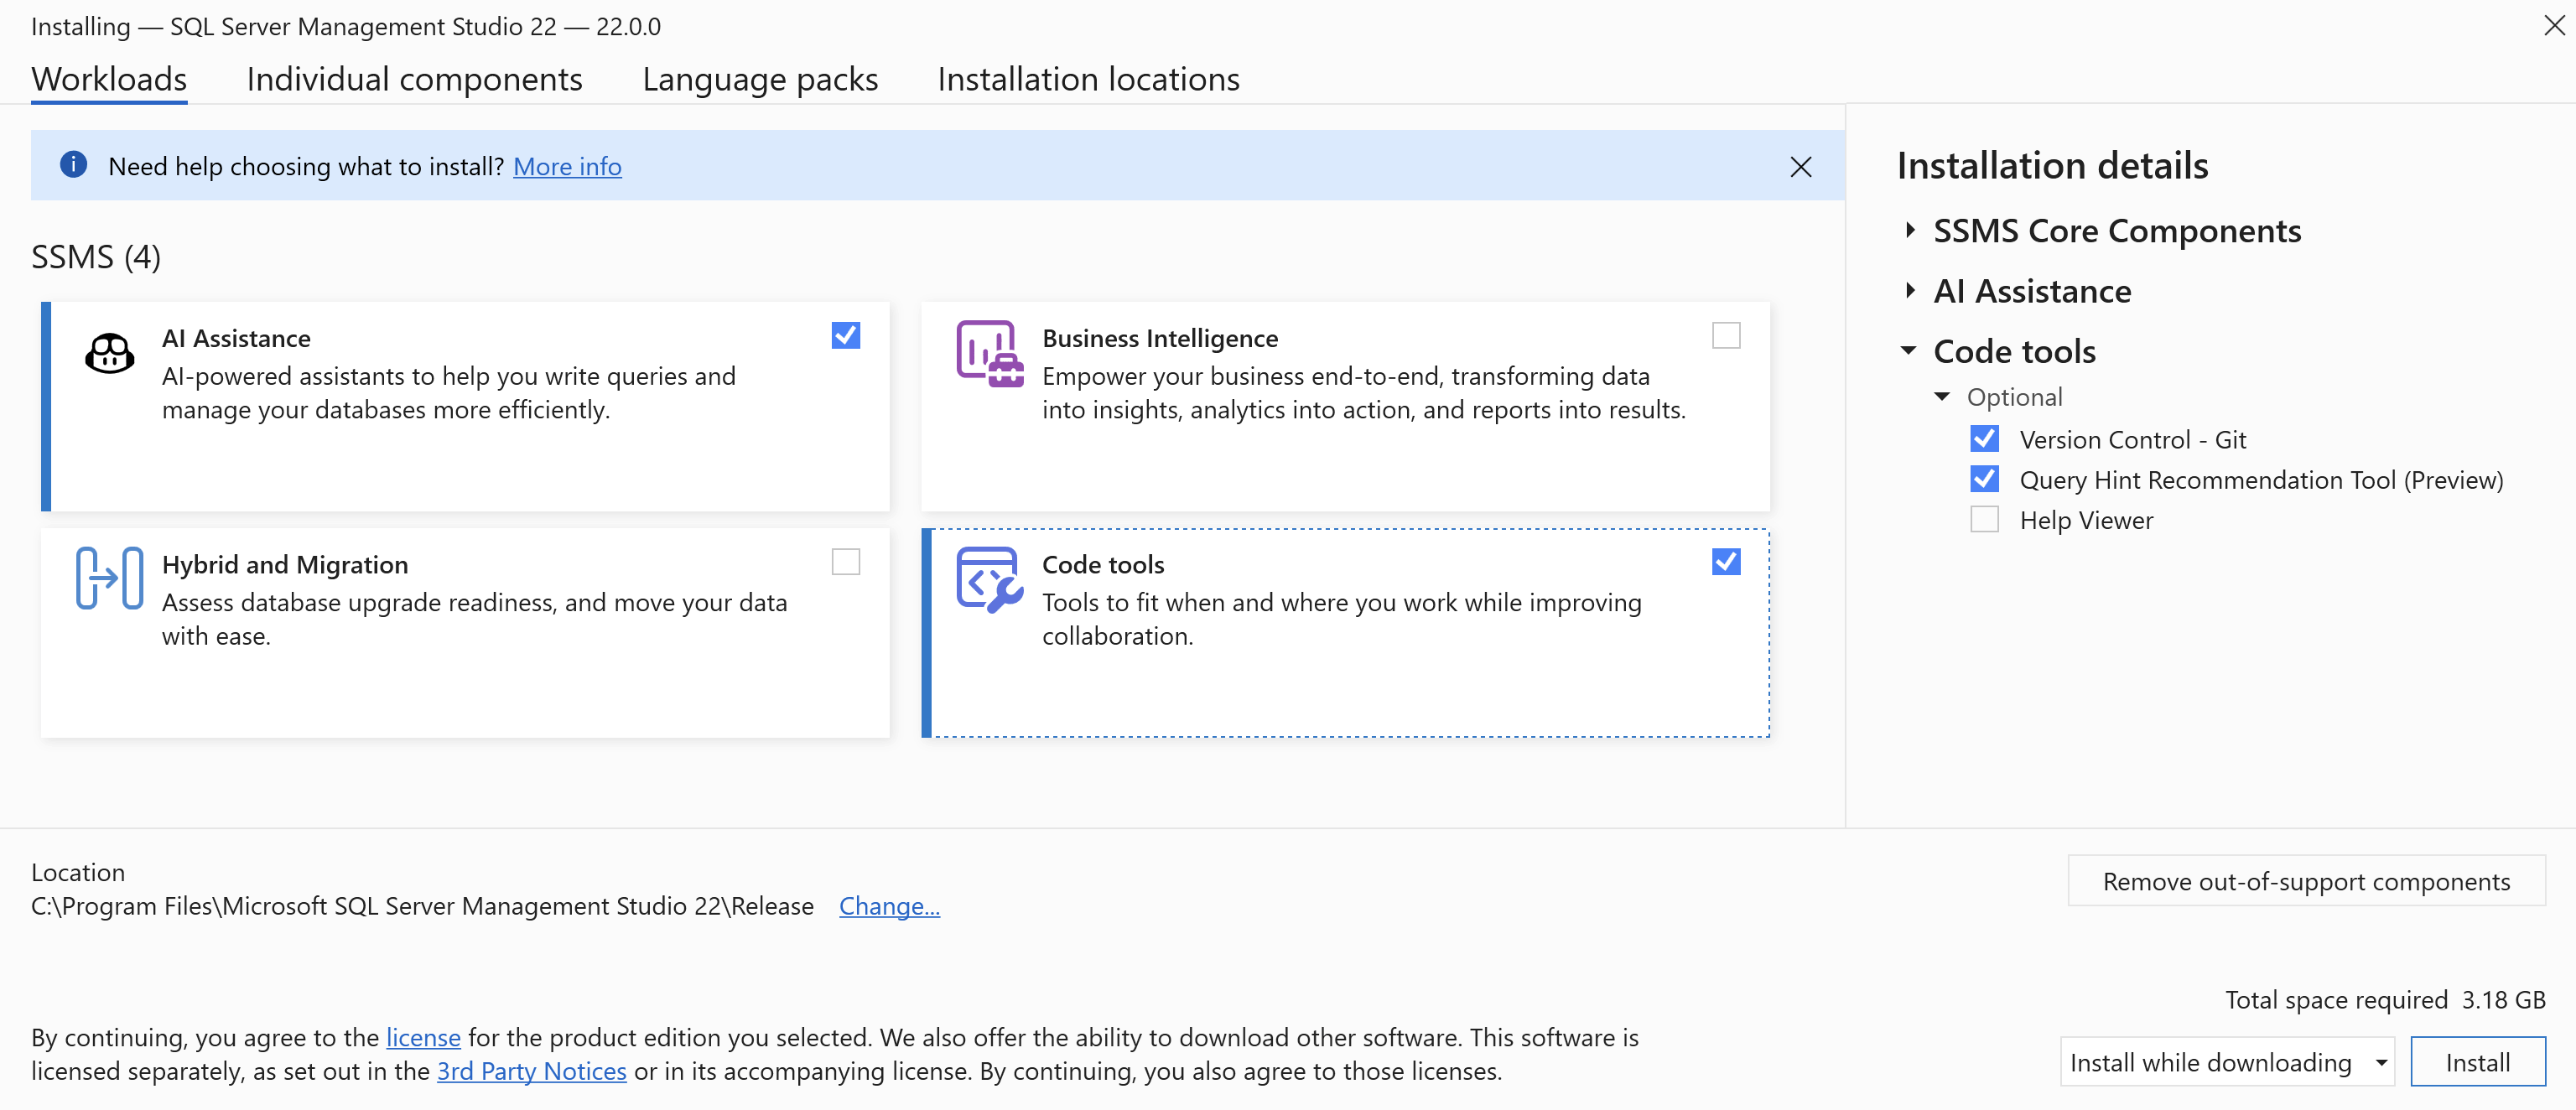
- Click Install.
- If asked to allow this app to make changes to your device, click Yes.
- Once the install is done, if it says a restart is recommended you do not have to. Otherwise, just close the installer.
Launch the SQL Server Management Studio App
To make sure your installation was successful, open the app by doing the following:
- Go into your
 Windows Start Menu and in the list of All apps, go into the Microsoft SQL Server Tools folder and click on SQL Server Management Studio.
 - If asked to sign in, click Skip and add accounts later.
- You should now be in the SQL Server Management Studio app, which looks like this:

- Congratulations, you are done!
To close the app, you can click Cancel and then close the window.
For more information and training on the use of SQL Server Management Studio, consider enrolling in Noble Desktop’s SQL Server Bootcamp or search for a local SQL class using the Classes Near Me tool.