There are many ways to retouch skin in Photoshop, some more advanced than others. Since each method provides different results, it’s important to know where the image will be published. For example, if you’re retouching the skin in an ad related to food, perhaps the client wants something more natural and with a little retouching, but if you retouch skin for the cosmetic industry, the client likely prefers perfection while keeping some texture, with an appearance of porcelain-like skin.
First Steps
Having the proper tools and work environment will minimize time spent working and yield the best results. Consider these elements and ensure you have the tools you need before starting a career as a professional retoucher.
Monitor
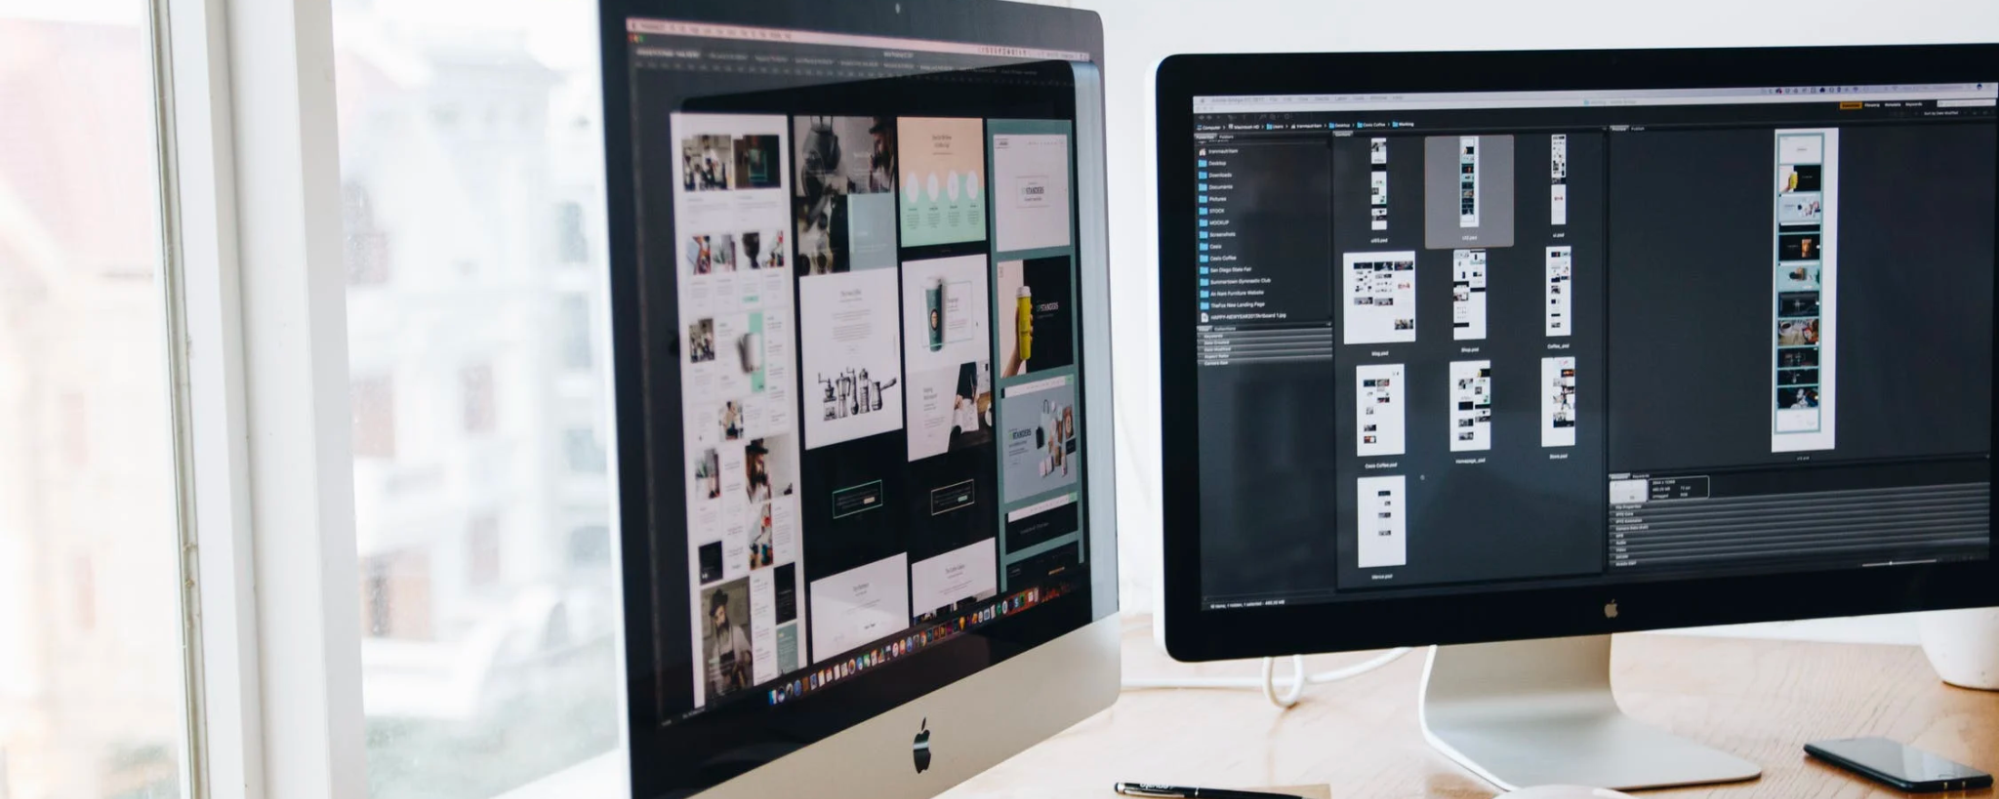
To work with accurate colors and ensure what you see on the monitor is what you get in the finished product, you must select the correct monitor. For example, some monitors cannot display all the colors that can be printed on glossy paper. Others can produce accurate colors and contrast and you can do a soft proofing (view an accurate representation of a digital file on a monitor before printing) of the final paper result.

Color Management classes at Noble Desktop teach the importance of working with a professional monitor and keeping it calibrated. Students taking these courses will learn how to calibrate monitors using a spectrophotometer.
Tablet
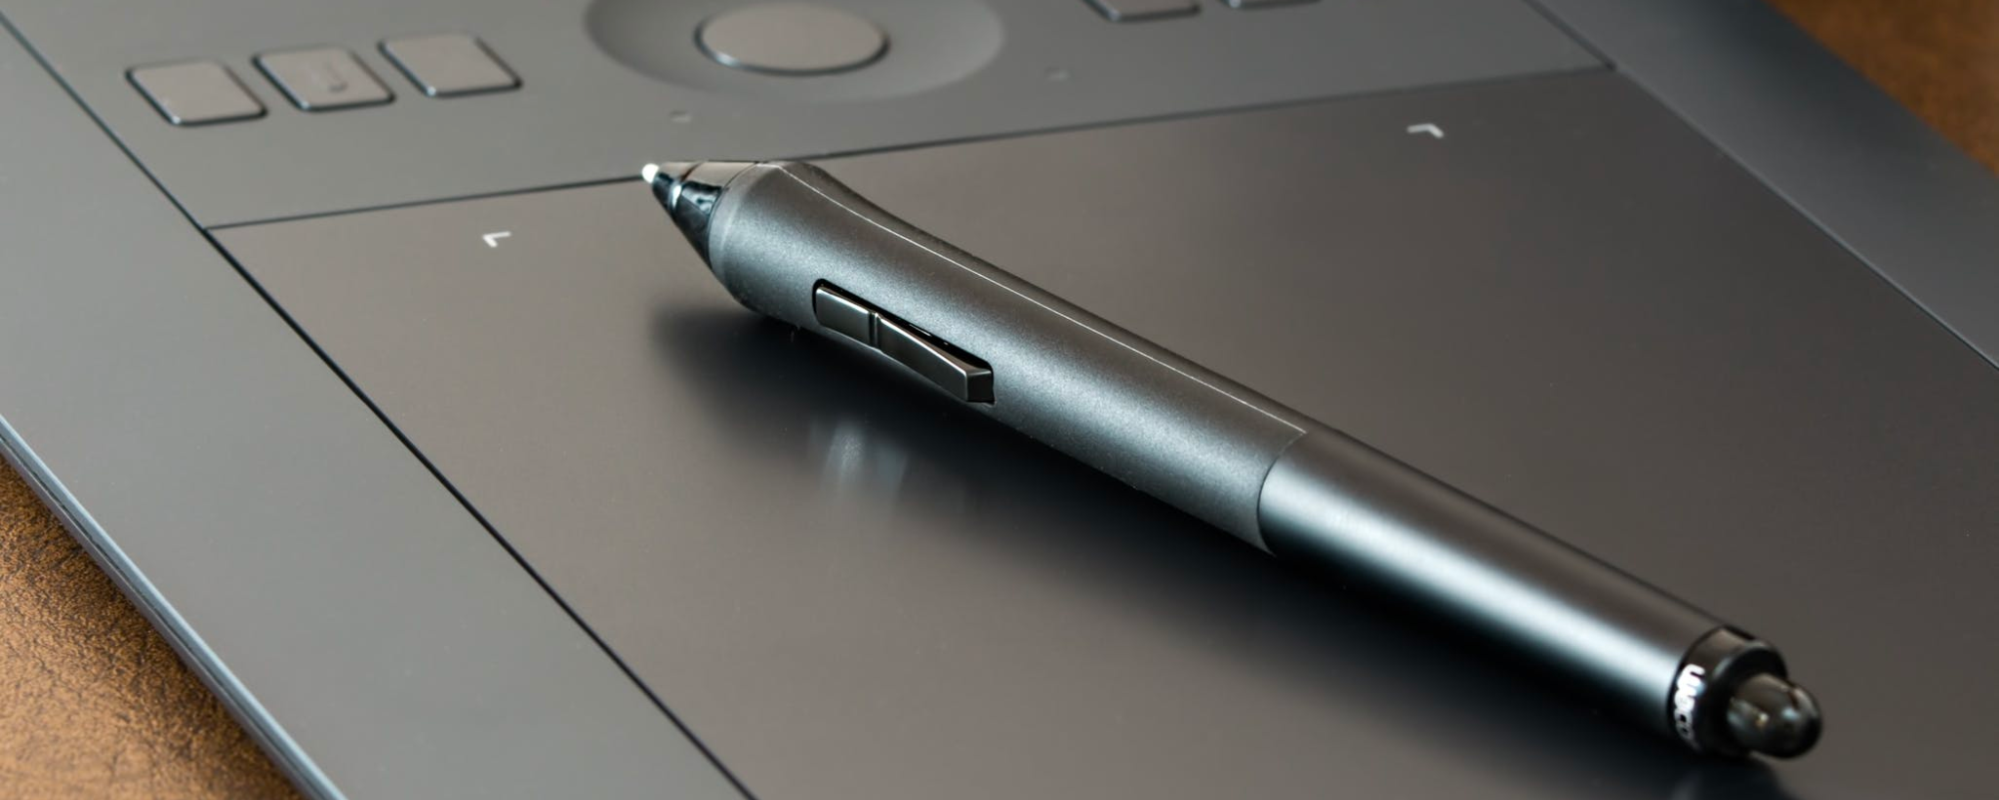
Using a tablet such as the Wacom provides greater agility and better results when applying tools over the skin. Although using this tablet is not mandatory, it will help with versatility.
Skills
To learn professional retouching skills, you’ll need to have previous Photoshop knowledge and have some familiarity with the Photoshop panels, commands, and tools used in retouching. Although the Advanced Retouching course explains step-by-step how to use each tool and panel used in the process, having previous experience in Photoshop is crucial.
Output
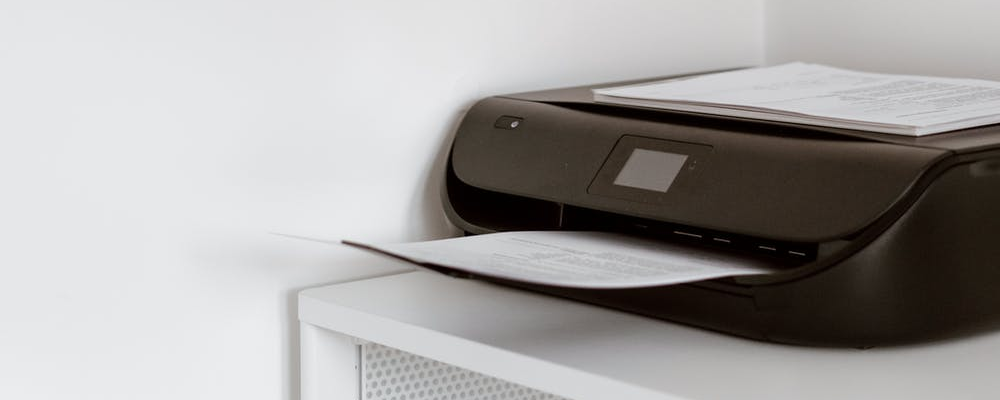
Knowing if your work will be published digitally (on a screen or the web) or in print (in a newspaper or paper magazine) is important as well. In the Color Management part of the course, students will learn the ranges that can be reached according to the output.
Images Resources
When retouching images, the better resolution and quality of the original image, the better results you’ll get. Having files in Camera Raw format is much better than starting with a JPEG (Joint Photographic Experts Group) format. Try to get the best quality image to start and avoid working with pictures in JPEG format. Clients should be aware that they won’t have a perfect result working with images that don’t have enough resolution or in formats that are heavily compressed like JPEG.
Photoshop versus Workflow in Camera Raw
Using Photoshop Lightroom or Camera Raw dialog box in Photoshop can produce better results in color correction and skin cleaning. This course reviews the workflow in Photoshop, using powerful software that offers several ways of applying techniques depending on the image and provides excellent results.
Workflow in Photoshop for skin retouching
For each project of designing or retouching, begin by searching keywords online such as “before-after retouching,” “beauty retouching,” and “fashion retouching,” to see other retouchers’ quality of work.
Justifying working hours

If you’re retouching skin for a magazine, you can spend less time than if you’re doing it for an image that will be used in an advertising campaign.
Retouching Skins Basic Level
Retouching can be applied to images of any quality. It is most commonly used on images for websites or printed media without the main goal of excellent retouching quality. First and foremost, you need to know what the client wants. Then, open the image to analyze the points to correct.
Here are some of the elements to discuss with the client:
Skin Colors
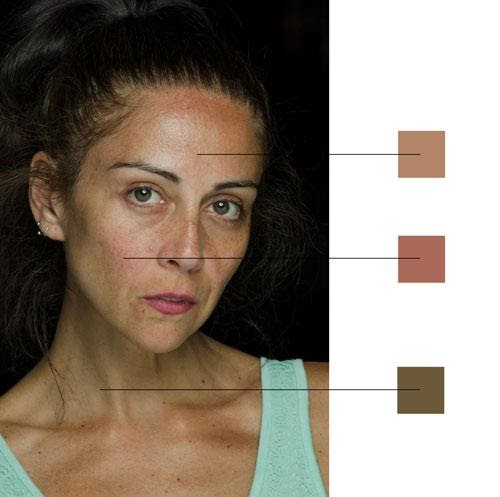
When looking at an image in detail, you’ll see that the skin has many colors. Some areas will be in the range of red, others in yellow, and some even green. Usually on the cheeks and chin is where you’ll see major changes, while on the forehead is a much more uniform color.
Skin Lighting
If the photograph was taken inside a studio, photographers commonly use more than one light source, so there will be different levels of light and shadows in the picture.
Imperfections
Wrinkles, moles, bags under the eyes, and other imperfections are some of the main areas that retouchers work on. However, removing all the lines of the eyes can lead to the image looking fake because you’ll be removing natural features.
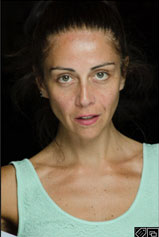
Analyzing an Image Before and After
When searching for keywords “before-after Photoshop” online, it’s common to see these types of images:
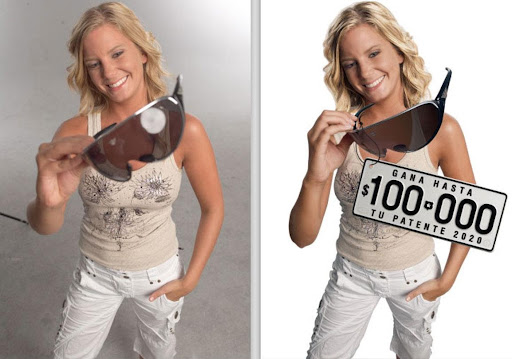
In the left image, the skin has various colors and in the right one, there is one predominant color. Notice that imperfections like wrinkles were removed and that filters were applied to stylize the hair and body shape. Also, the lights and shadows were corrected, adding more detail, and giving a smoother style to the surface of the skin.
For this type of retouching, here are the basic steps:
Before starting, keep in mind that you can work in a destructive or non-destructive mode. If you apply the commands of adjustments, you can do it from the Image/Adjustments menu (destructive) or the Adjustment Layers (non-destructive). Some adjustments are not available as adjustment layers; in this case, work using smart objects or duplicate layers.
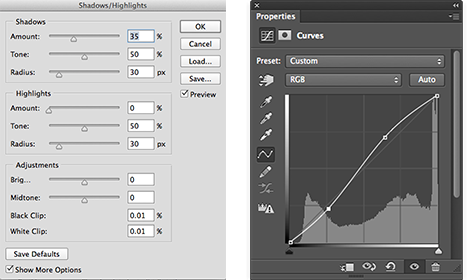
Step 1: Adjusting Highlights and Shadows
Apply the Curves adjustment and even the Shadows and Highlights to adjust the lights in the image. For this example, use Curves to distribute the histogram within the range of illumination.
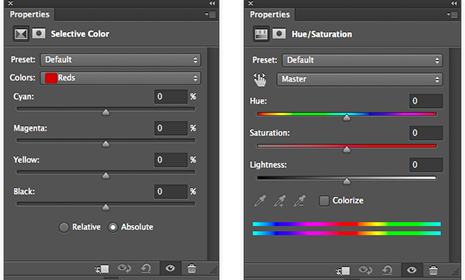
Step 2: Adjusting the tonal range
For this example, use the Hue and Saturation or Selective Color adjustments. Both are powerful tools for adjusting colors.
Step 3: Liquify
Since there are several layers with various settings, it’s a good idea to apply the Liquify filter before working on the retouching. Using this filter can give better shape to the elements on the image that need to be retouched. Sometimes, you have to give better shape to the nose, lips, ears, or any other feature. The advertising industry and magazines seek stylized bodies. When retouching for an ad that does not require stylizing (for example, an elderly person) if we stylize parts of the body that produce an image with more acceptable shapes, it creates a better and more uniform final result.
Step 4: Skin cleaning

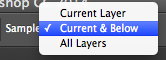
The Spot Healing Brush tool can remove moles, wrinkles, and other imperfections. Depending on what you want to remove, the Clone tool might also be useful. Working in the “Non-Destructive” mode and using the controls on the Control bar can create a new layer and set the tools to act in the lower layers.
For example, this works well after retouching the bags under the eyes and you need to erase the areas where you applied too much effect.
Step 5: Colorizing the skin
In this process follow these steps:
-
Create a new layer
-
Choose the Eyedropper tool

-
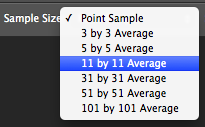
Since the Eyedropper tool is configured to select one pixel, set it up to take a sample of 5x5 or 11x11. If you select several pixels, you can get an average of the color that makes it more accurate for skin color.
-
Choose the Brush tool

Set up the size and the borders of the Brush tool so that it makes it suitable for painting on the skin.
-
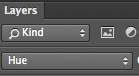
Change the Blending Mode layer to Hue. There will be a subtle change that will remove the color deviations of the lower layer.
-
Paint over the layer in the areas where the skin has color deviations. The changes cannot be seen, but if you hide the layer to see the before and after, you will see the changes.
Step 6: Skin Smoothing
In this process follow these steps:
-
Duplicate the layer where the model is (command J in MAC – Control J in PC)
-
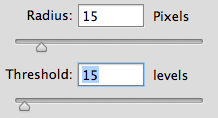
Apply the Surface Blur filter, inside the menu Filter/Blur. Try different values to obtain a porcelain-like appearance.
-
Create a Layer Mask
 by clicking on the icon found on the lower part of the Layer panel
 -
Switch the White Layer to Black by double-clicking on the Layer Mask and clicking on the Invert button.

-
Choose the Brush tool and paint with the Layer Mask activated. With this, you can see in which layer you’re applying the Surface Blur effect. Don’t worry if the effect is too strong on the skin; you can decrease the opacity of the layer, to reveal the texture of the lower layer.
-
Once you’ve finished revealing all the skin of the lower layer, decrease the opacity to approximately 40%.
-
Sometimes you’ll get better results by adding texture to the Blur layer from the Filter menu. Select Noise and then Add Noise, between 2-3 pixels, and switch to Monochromatic mode.
Using these quick and simple steps for retouching, you can get good results for images for web output. To learn professional high-end techniques for the fashion industry or advertising and print, check out Noble’s Advanced Photoshop classes. These courses teach more advanced ways to retouch skin for better results in different scenarios.


