Enhance your skills in Sketch by learning about vector graphics, grouped objects, layer opacity, and much more in our comprehensive tutorial.
This exercise is excerpted from Noble Desktop’s past web design training materials and is compatible with Sketch updates through 2021. Noble Desktop now teaches Figma as the primary tool for web and UX & UI design. To learn current skills in web design, check out our Figma Bootcamp and graphic design classes in NYC and live online.
Topics Covered in This Sketch Tutorial:
Importing & Modifying Vector Graphics, Making Grouped Objects Easily Selectable, Layer Opacity Vs. Fill Opacity, Aligning & Distributing Layers, Copying & Pasting Appearance, Adding a Drop Shadow
Exercise Preview
Exercise Overview
In this exercise, you’ll learn about importing, creating, and styling vector elements.

Getting Started
- In Sketch, go to File > Open Local Document.
-
Navigate into Desktop > Class Files > Sketch Class > NYC and double–click on About Page—Ready for Graphics.sketch to open it.
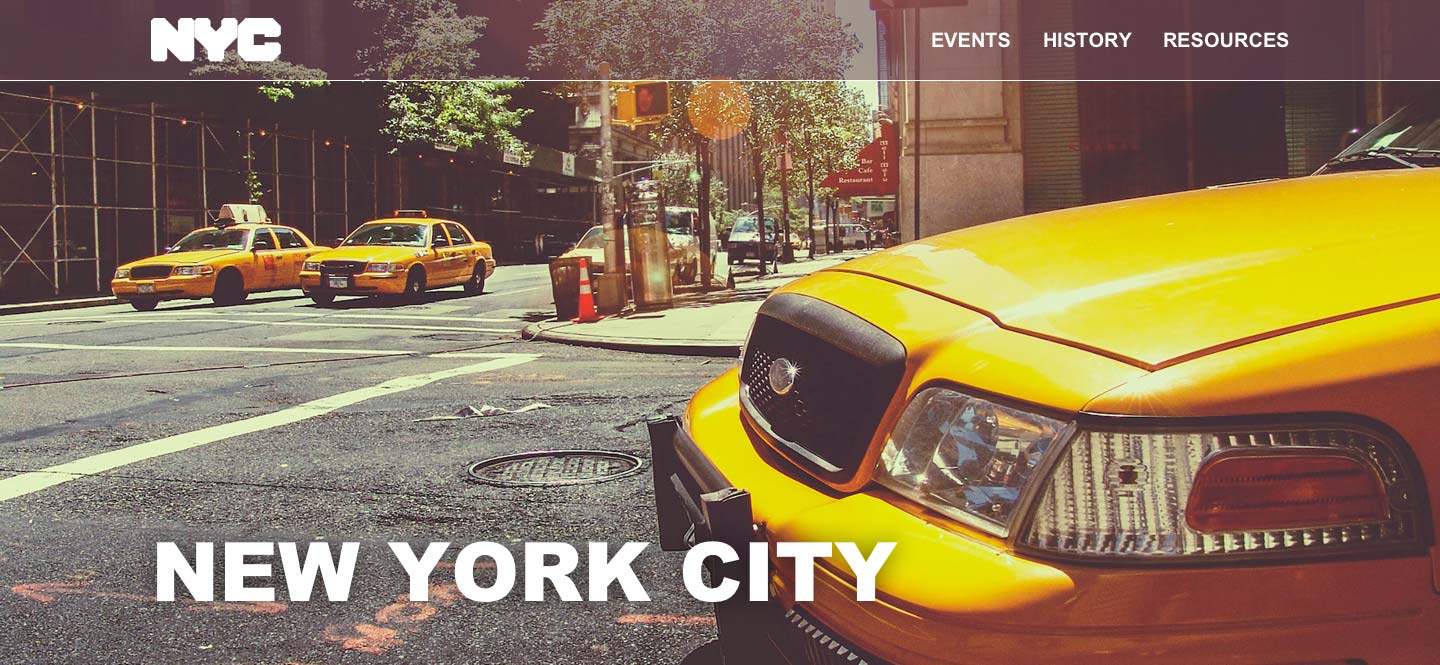
This design is a little further along than the previous exercise. We want to finish the navigation at the top by adding a logo and a semi-transparent background to distinguish the navbar area from the rest of the page.
- Let’s prevent ourselves from accidentally moving the cab photo. Select the cab photo in the artboard or Sidebar.
-
Go to Arrange > Lock Layer.
TIP: You can also do this in the Sidebar. Hover over the layer you want to lock. Hold Option and click the lock icon
 that appears.
 Before we import the logo, in the Sidebar select the top layer (RESOURCES) so our art will be added on top (in front) of everything currently in the design.
Importing & Modifying Vector Graphics
We need to add the NYC logo to the top left of the artboard.
- In the Toolbar at the top, click the Insert button
 and select Image.
 -
Navigate into Desktop > Class Files > Sketch Class > NYC.
There are three versions of the NYC Logo. Notice that the Adobe Illustrator file (NYC Logo.ai) is grayed out. While you can’t import Illustrator files this way, you can copy in Illustrator and then paste into Sketch and it will maintain editable vectors. While you can drag and drop Illustrator files onto Sketch, that converts them to pixels so that’s not recommended.
- Notice there are also .pdf and .svg versions of the logo. These both support vector graphics. Let’s try the PDF first. Double–click on NYC Logo.pdf to import it.
- In the Sidebar, expand the NYC Logo group to see it contains 3 vector shapes. Each letter is a separate layer, but names like Fill 3 aren’t very descriptive.
- Hit Cmd–Z to undo the import (so the logo disappears).
- Let’s try the SVG (S calable V ector G raphic). In the Toolbar at the top, click the Insert button and select Image.
- Double–click on NYC Logo.svg.
-
In the Sidebar, expand the NYC Logo group to see it also contains 3 vector shapes, but the layers have better names (such as N) than the PDF did.
NOTE: We’ve found that SVG files exported from Illustrator CC 2015 and later are best at maintaining layer names, but the quality can sometimes be worse than the corresponding PDF. (SVG files created from other apps may act differently.) Be sure to test different file types to see which works best for you. There is no difference in quality for this logo, so we’ll use the SVG because it has better layer names.
- Let’s make the logo white. In the Sidebar, click on the N layer to select it.
- Shift–click on the C so all three letter shapes are selected.
- In the Inspector, under Fills, click the color box and set the color to white.
- Hit Esc to close the color picker.
-
In the Sidebar, close up the NYC Logo group.
TIP: Another way to change the color of the vector layers within a group is to ungroup, change the color, then regroup. That could be dangerous because you lose the group’s name (and export options) that were already set. You can also hold Command when dragging a selection on the artboard to reach through the group and select one or more of its child layers.
- Hit CTRL–L to show the layout grid.
-
As shown below, drag the logo so its left edge aligns with the first column. Leave a little bit of space between the top of the logo and the top of the artboard, but don’t worry about an exact amount as we’ll tweak it soon.

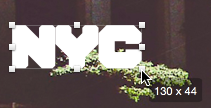
- Let’s make the logo smaller. Go to View > Zoom To > Actual Size (or hit Cmd–0).
-
Hold Shift (to maintain the aspect ratio) and drag the bottom-right handle to make the logo approximately 130px wide:
Creating a Navbar Background
Let’s darken the area behind the logo and navigation text links so they stand out more.
- To zoom out to see the entire artboard, go to View > Zoom To > Fit Canvas (or use the keyboard shortcut Cmd–1).
- Hit CTRL–L to hide the layout grid.
- Press the R key to start inserting a rectangle (you won’t see anything appear until the next step).
-
As shown below, drag a rectangle across the entire top portion of the artboard. Extend the rectangle slightly off the left and right sides to ensure it completely covers the artboard:

-
In the Inspector on the right, set the following:
H (Height): 80 Y (Position): 0 - Under Fills, set Hex to 6b4656 and hit Return to apply it.
-
We want to add a border on the bottom of the rectangle. In the Inspector, set the following Border options:
Color: Click the color swatch and choose White Position: Outside (the third icon) Width: 1 NOTE: If the border were inside the shape, we would also see a top border. We placed the border outside so our top, left, and right borders are hidden.
- In the Sidebar, Rectangle should be selected. Hit Cmd–R and rename it nav bg.
Drag the nav bg layer below the EVENTS text (the last item in the navigation).
Making Grouped Objects Easily Selectable
While we’re in the Sidebar, let’s group the navbar elements for organization.
- In the Sidebar, click on the NYC Logo group.
- Shift–click on the nav bg layer.
- Hit Cmd–G to group. (You could also click the Toolbar’s Group button
 .)
.) - The new Group will be selected, so hit Cmd–R to rename.
- Type nav and hit Return.
- Let’s make the navbar semi-transparent. Click on a blank area of the canvas to deselect the group.
- On the artboard, click on the navbar background to try to select it.
- Look in the Sidebar and see that the entire nav group is selected. This means the nav bg we want to edit is not selected. Pretty annoying when grouping is meant primarily for organization.
- We can double–click on a group to select a layer inside, but there’s a better way. With the nav group selected, in the Inspector check on Select group’s content on click.
- Click on a blank area of the canvas to deselect the group.
-
Click on the navbar again.
Now your click should have reached through the group and directly selected the nav bg layer! The group is also automatically expanded in the Sidebar.
Layer Opacity Vs. Fill Opacity
Anywhere you use a color in CSS, you can specify opacity (using RGBA). Sketch offers the same control, so we can set different opacities on the layer, fill, and border.
- With the nav bg layer still selected, go to the Inspector, and just below the No Layer Style menu, drag the Opacity slider to see that it affects both the fill and the white border.
- We want the border to stand out to better delineate the content, so we only want to change the fill’s opacity. Put Opacity back to 100%.
- Under Fills, locate the Opacity setting.
- Set it to 50%.
-
Notice the fill is now transparent, but the white border is still fully opaque.
NOTE: To set the border’s opacity click its color box and change Alpha (transparency) in the color picker.
Aligning & Distributing Layers
- Hit Cmd–0 to see the design at actual size.
- Scroll to the top right of the page so you can see the navbar’s text links.
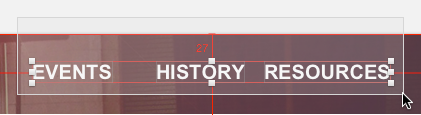
- Notice the space between them is not even? Let’s fix that. Try selecting the EVENTS, HISTORY, and RESOURCES links by dragging a selection over them (start dragging above the artboard).
- Look in the Sidebar. The three links should be selected, but so is the nav bg. We only want to select the links, so let’s try again. (You don’t need to deselect.)
-
To select only the elements that are fully inside the selection box (instead of everything the selection box touches), you can hold Option while dragging. As shown below, Option–drag a selection that completely surrounds the text links (once again, start dragging above the artboard):
- Only the 3 text links should be selected.
- At the top left of the Inspector, click the Distribute Horizontally icon
 to evenly space out the text.
 - We want to vertically center all the navbar elements. If part of the NYC logo is positioned below the bottom of the navbar background, the alignment won’t work. Make sure the NYC logo is completely inside the navbar background before proceeding.
-
To select everything in the nav group, do the following in the Sidebar:
- Open the nav group if it isn’t already and make sure the NYC Logo group is closed (so we don’t select its child elements).
- Click on the NYC Logo, then Shift–click on the nav bg.
To vertically center all the elements to each other, at the top of the Inspector click the Align Vertically icon
 (the second icon from the right).
Copying & Pasting Appearance
We often use the same appearance throughout a design. Let’s see how Sketch can help us reuse the fill, border, etc. we’ve previously used in this design.
- Click on a blank area outside the canvas so nothing is selected.
- Select the navbar’s background color (the rectangle shape).
-
Choose Edit > Copy > Copy Style.
NOTE: A regular copy would also work.
- Scroll down to the bottom of the artboard and find the gray footer. Let’s change this to the same appearance we used for the nav background.
- Click on the gray footer rectangle on the artboard.
- Choose Edit > Paste > Paste Style.
- On the artboard notice that the footer is the same exact fill and border we used in the navbar.
We don’t want the transparency here, so in the Inspector, to the right of the Fill color set Opacity to 100.
Adding a Drop Shadow
Let’s add a drop shadow to the NEW YORK CITY heading to make it stand out more from the taxicab photo behind it.
- Scroll up and select the large NEW YORK CITY heading.
-
In the Inspector, to the far right of Shadows, click the plus button to add a shadow and reveal the options shown below:

- Hover over the word Blur and drag right and left to see the shadow gets softer as the number increases.
- When done experimenting, set Blur to 25.
- To vertically move the shadow, drag over the Y.
-
When done, set Y to 0.
NOTE: We like this subtle effect, but you can click the Shadow’s color box and change the Alpha value to adjust the shadow’s transparency.
Optional Bonus: Grouping Layers for Organization
- We can unlock the taxicab photo now. In the Sidebar, click on the lock icon next to the cab layer.
- Select the NEW YORK CITY layer.
- Shift–click on the cab layer.
- Hit Cmd–G to group (or click the Toolbar’s Group button ).
- The new Group will be selected, so hit Cmd–R to rename.
- Type hero and hit Return.
- We’re grouping mainly for organization, so in the Inspector check on Select group’s content on click.
- Back in the Sidebar, select the UNLIKE ANY OTHER CITY text layer.
- Shift–click on the bridge group.
- Hit Cmd–G.
- Hit Cmd–R and rename it main.
- In the Inspector, check on Select group’s content on click.
- Just one more folder to go. Select the Source: Wikipedia layer.
- Shift–click on footer bg.
- Hit Cmd–G.
- Hit Cmd–R and rename it footer.
- In the Inspector, check on Select group’s content on click.
- Hit Cmd–S to save. Now we have a clean file in which elements are easy to select.
- Close the file.
