Delve into this comprehensive Sketch tutorial, covering topics like importing photos, cropping a photo (masking), and customizing the amount of rounding for each corner, complete with step-by-step instructions and helpful images.
This exercise is excerpted from Noble Desktop’s past web design training materials and is compatible with Sketch updates through 2021. Noble Desktop now teaches Figma as the primary tool for web and UX & UI design. To learn current skills in web design, check out our Figma Bootcamp and graphic design classes in NYC and live online.
Topics Covered in This Sketch Tutorial:
Importing Photos, Cropping a Photo (masking), Customizing the Amount of Rounding for Each Corner
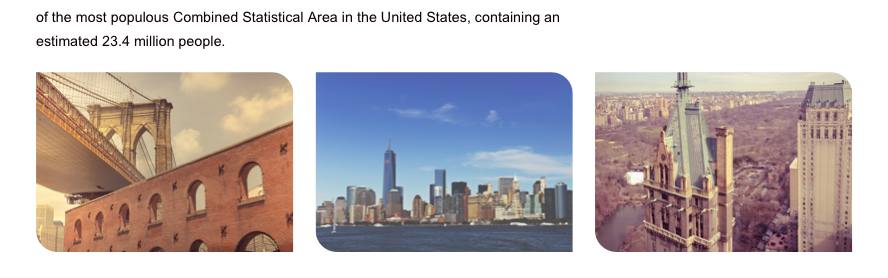
Exercise Preview
Exercise Overview
In this exercise, you’ll learn how to insert photos and crop (mask) them.

Importing Photos
- In Sketch, go to File > Open Local Document.
-
Navigate into Desktop > Class Files > Sketch Class > NYC and double–click on About Page—Ready for Photos.sketch to open it.
This is a more developed version of the desktop design you’ve been working on in previous exercises. Let’s place an image into the empty space at the top.
- Choose View > Zoom To > Fit Canvas to see the entire artboard.
- In the Toolbar at the top, click the Insert button
 and select Image.
 - Navigate into Desktop > Class Files > Sketch Class > NYC > NYC Photos and double–click on cab.jpg to choose it.
- Let’s scale down the photo. In the Inspector on the right, set W (Width) to 1440 (the width of the artboard) and hit Return.
- Drag the image into position at the artboard’s top-left corner.
- The image is covering the NEW YORK CITY heading. Choose Arrange > Send to Back.
- Select the large NEW YORK CITY heading.
- In the Inspector, to the right of Paragraph, click on the color box
 and choose white.
 - Hit Esc to close the color picker.
- Let’s add some photos at the bottom of the artboard. We could use Insert > Image, but this time let’s use drag and drop instead. Keep Sketch open and switch to the Finder (your Desktop).
- Arrange the Finder window so you can see it and the bottom of the Sketch artboard.
- Navigate to Desktop > Class Files > Sketch Class > NYC > NYC Photos.
-
Drag bridge.psd onto the empty bottom of the Sketch artboard and see that it imports.
NOTE: Sketch imports a Photoshop file (.psd) as a flattened pixel-based image.
TIP: Drag and drop also works with multiple photos/graphics!
If you can’t see the whole photo, move it on the artboard so you can see the entire photo (exact position does not matter yet).
Cropping a Photo (Masking)
- We want to be able to see the left half of the artboard while drawing a rectangle we’ll use to crop the phot. Move the photo over to the right half, and do not worry if it’s not completely visible.
- Show the layout grid by hitting CTRL–L.
- In the Toolbar, click the Insert button and select Shape > Rectangle.
-
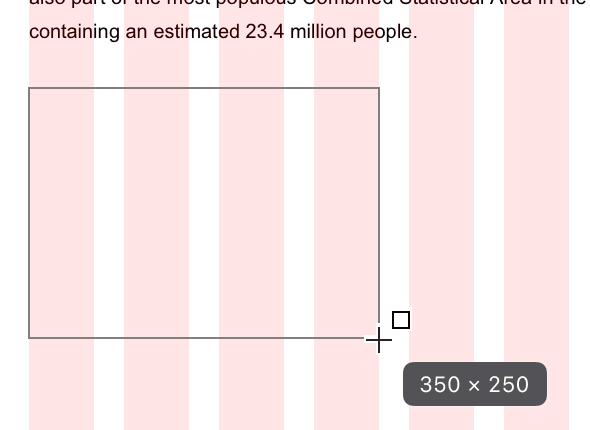
We want 3 photos side-by-side. To evenly distribute them across the 12-column grid, let’s make the shape span 4 columns. As shown below, drag a rounded rectangle that is 4 columns wide, and approximately 250px tall:
- To see things better, hit CTRL–L to hide the layout.
-
We’d like to put our photo into a rounded rectangle. In the Inspector, drag the Corners slider to adjust the corner roundness.
- Hover over the rectangle on the artboard and white dots will appear inside each corner. Drag on any of those dots to change the corner roundness.
- When done experimenting, in the inspector set Corners to 45.
NOTE: As you drag one of the white corner dots, you can hold Cmd to change only that one corner! Each corner can a different amount of roundness.
- Let’s put the bridge photo into the rounded rectangle. Drag the photo so it’s behind the rounded rectangle (we imported the photo first, so it’s behind the shape).
-
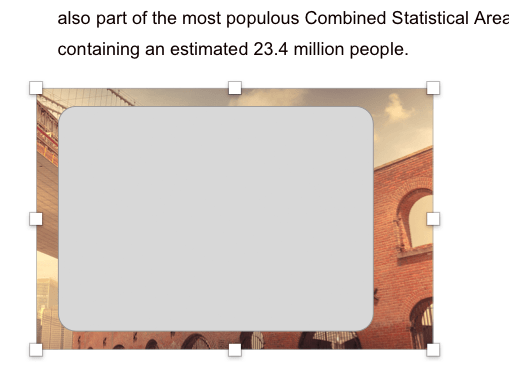
As shown below, drag any of the photo’s corner handles to scale it down so it’s a little bigger than the rounded rectangle (you do NOT need to hold Shift to constrain the photo’s proportions):
- Drag a selection box over both elements (or click on one, then Shift–click the other).
-
To create the mask:
- In macOS Big Sur & later: In the Toolbar, click the Tools button
 and then choose Mask.
 - Prior to macOS Big Sur: In the Toolbar, click the Mask button
 .
.
NOTE: It does not matter whether the photo is in front or back. If you prefer to use a menu to create the mask, you can choose Layer > Mask > Mask with Selected Shape.
- In macOS Big Sur & later: In the Toolbar, click the Tools button
- Click on an empty part of the artboard to deselect.
-
To fine-tune the photo and mask:
- Double–click the photo to select it. Now you can scale or move it within the mask.
- To edit the mask, in the Sidebar select Mask. Now you can change the height or Corners (in the Inspector), but keep the current width (so it matches the grid).
TIP: Once the photo inside a mask group is selected, you can switch back and forth between the photo and its mask by pressing Tab.
- When done, click on an empty part of the artboard to deselect.
- We next need 2 more photos with the same size and shape. Because we’ve already masked and sized this photo, let’s duplicate it and then swap in the new photos. Before we do this, hit CTRL–L to show the columns.
-
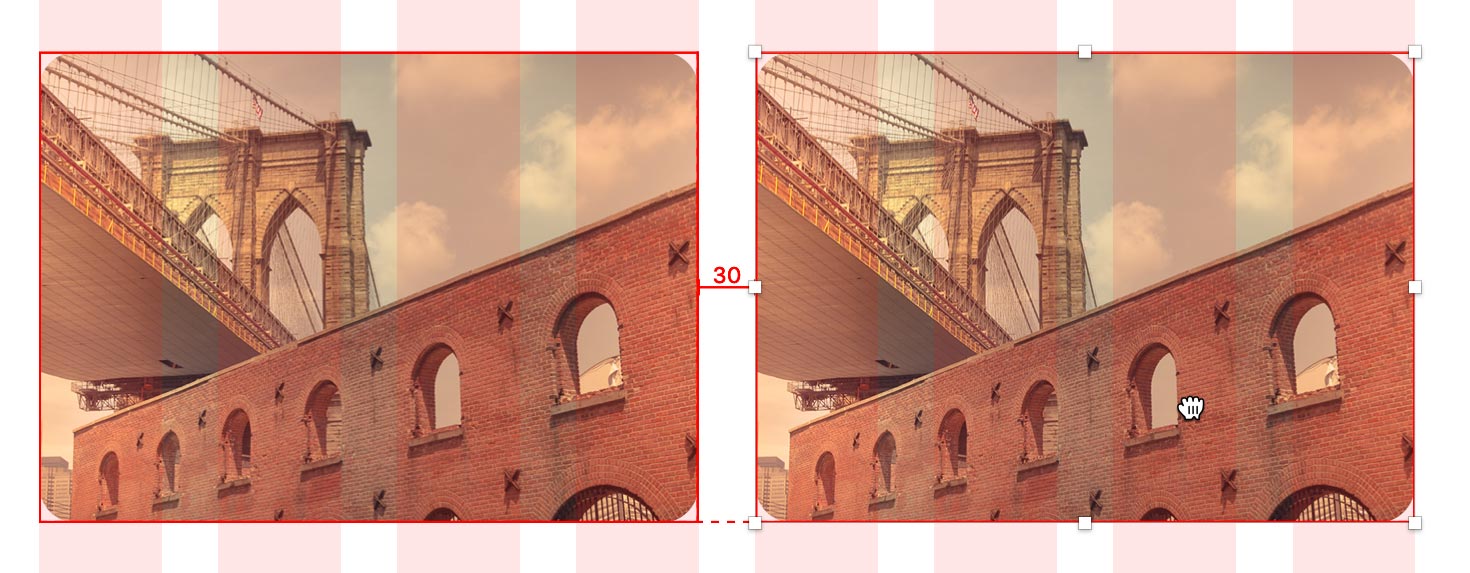
As shown below, hold Option–Shift and drag a copy to the right, releasing the mouse when its left edge aligns with the 5th column:
NOTE: Option creates the copy. Shift ensures it moves in a straight line.
- With the 2nd photo still selected, hit Cmd–D (Edit > Duplicate) to repeat the transform. The 3rd photo should end up horizontally aligned with the other 2 photos and span the remaining columns.
- Hit CTRL–L to hide the layout grid.
- Let’s swap out the photos. Double–click on the 2nd photo to select it.
- Right–click (or Control–click) on the photo and choose Replace Image.
- If you’re not already in the NYC Photos folder, navigate into Desktop > Class Files > Sketch Class > NYC > NYC Photos.
- Double–click on skyline.tif (Notice that Sketch supports importing TIFF files.)
- With the skyline photo still selected, adjust the position and scale within the rounded rectangle.
-
Repeat the process on the 3rd photo:
- Double–click on the 3rd photo.
- Right–click (or Control–click) on the photo and choose Replace Image.
- In the NYC Photos folder, double–click on Central Park.jpg.
- Adjust the position and scale as needed.
Customizing the Amount of Rounding for Each Corner
Now that we have all the photos, let’s change the roundness of their corners.
- In the Sidebar, expand the 3 bridge groups.
- Under the top bridge group, select Mask.
- Hold Command and click on the other 2 Mask layers, so all 3 are selected.
- In the Inspector, drag the Corners slider to see all the masks update live. Cool!
-
Web developers can code different amounts of rounding for each corner. We can do this in Sketch too. In the Inspector’s Corners section, to right of the Rounded menu click the individual corners button

-
To the right of Corners, there are now 4 boxes (one for each corner). Set them to:

-
Notice that the top-left and bottom-right corners are now rounded.
Feel free to try other values, so as making the top 2 values 0 and the bottom 2 values 30, so the top it straight and the bottom is rounded.
Optional Bonus: Renaming Layers
- To keep the file organized, let’s name the layers appropriately. In the Sidebar, make sure all the bridge groups are still expanded.
- Double–click on the bridge copy 2 group to make the name editable.
- Name it central-park and hit Tab to select the name of the photo layer within the group.
- Rename the photo to photo.
- On the artboard, select the middle skyline photo.
- In the Sidebar, notice the bridge copy group should be selected.
- Hit Cmd–R to rename it.
- Type in skyline and hit Tab to jump to the photo within that group.
- Rename the photo to photo.
- Close all the groups in the Sidebar to make it less cluttered.
- Hit Cmd–S to save the file.
- Close the file.
How to Remove an Unwanted Mask
- In the Sidebar, the expand the group containing the mask and select the Mask shape.
- Press the Delete key to remove the mask.
- The photo is still in a group that’s no longer needed. In the Sidebar, select that group.
-
Hit Cmd–Shift–G to ungroup it.
NOTE: This can also be done by choosing Arrange > Ungroup or clicking the Ungroup button
 in the Toolbar.
