Learn how to create color variables and layer styles in Sketch with this tutorial, which will guide you through the process of creating a layer style, saving color swatches for easy reuse, and globally updating colors throughout a file.
This exercise is excerpted from Noble Desktop’s past web design training materials and is compatible with Sketch updates through 2021. Noble Desktop now teaches Figma as the primary tool for web and UX & UI design. To learn current skills in web design, check out our Figma Bootcamp and graphic design classes in NYC and live online.
Topics Covered in This Sketch Tutorial:
Creating & Using Color Variables (Color Swatches), Creating a Layer Style, Making a Style to Darken Full-width Background Photos, Renaming, Grouping, & Deleting Styles,
Exercise Preview
Exercise Overview
To globally updates colors throughout a file, we can use color variables. When we want multiple objects to have the same styling (fill color, border, drop shadow, etc.), we can use layer style. You’ll learn about both of these in this exercise.

Creating a Color Variable (Color Swatches)
- In Sketch, go to File > Open Local Document.
-
Navigate into Desktop > Class Files > Sketch Class > iTastify and double–click on iTastify Ready for Layer Styles.sketch to open it.
This webpage design is for an iPhone app called iTastify.
- Below the navigation, click on the peach background rectangle (under the Be Your Own Food Critic heading and iPhone photo).
- In the Sidebar, notice that the iphone-mockup group is selected.
-
In the Inspector notice that Select group’s content on click is not checked.
This group contains an image with a mask, so it’s not grouped solely for organizational purposes. We want to select the mask because that has the background color, but we don’t want to enable select group’s content.
- Instead of going into the Sidebar and selecting the Mask, we can hold Cmd to temporarily click-through a group and select an item inside! Cmd–click on the peach colored area to the left of the hand image.
- In the Sidebar, make sure the iphone-mockup group’s Mask is selected.
- In the Inspector, notice the fill color is the peach color.
- We want to save this color so we can easily reuse it elsewhere (and globally update it). In the Inspector, under Fills, click the color box
 to open the color picker.
 - Near the bottom of the color picker, click Create Color Variable.
- A name field will appear. Name it section bg and hit Return to apply.
- To close the color picker, press Esc or click anywhere outside it.
- Scroll down the page and find the sky blue section with three circular photos.
- Click on the blue background to select it.
- To make it the same peach color we used above, in the Inspector, under Fills, click the color box to open the color picker.
-
At the bottom of the color picker (you may have to scroll down to see it), under This Document click on the peach colored swatch.
The blue background should now have changed to peach.
Editing a Color Variable
Now that we can see the peach color in multiple places, we’ve decided to change it to gray instead. One of the reasons to use a color variable is that editing it will globally update all places you’ve used that color!
- With the peach colored testimonials-bg still selected, if you closed the Fill color picker, re-open it.
- Towards the bottom of the color picker click Edit Variable.
- Change Hex to ebebeb and hit Return to apply it (or click Update).
- To close the color picker, press Esc.
- Scroll back up to the top of the page and notice that the background color under Be Your Own Food Critic has also changed to the gray! That’s because it’s linked to the same color variable.
Making a Layer Style
When you want to save the appearance of more than just a color (such as fill, border, shadows, etc.) you’ll want to use a layer style.
-
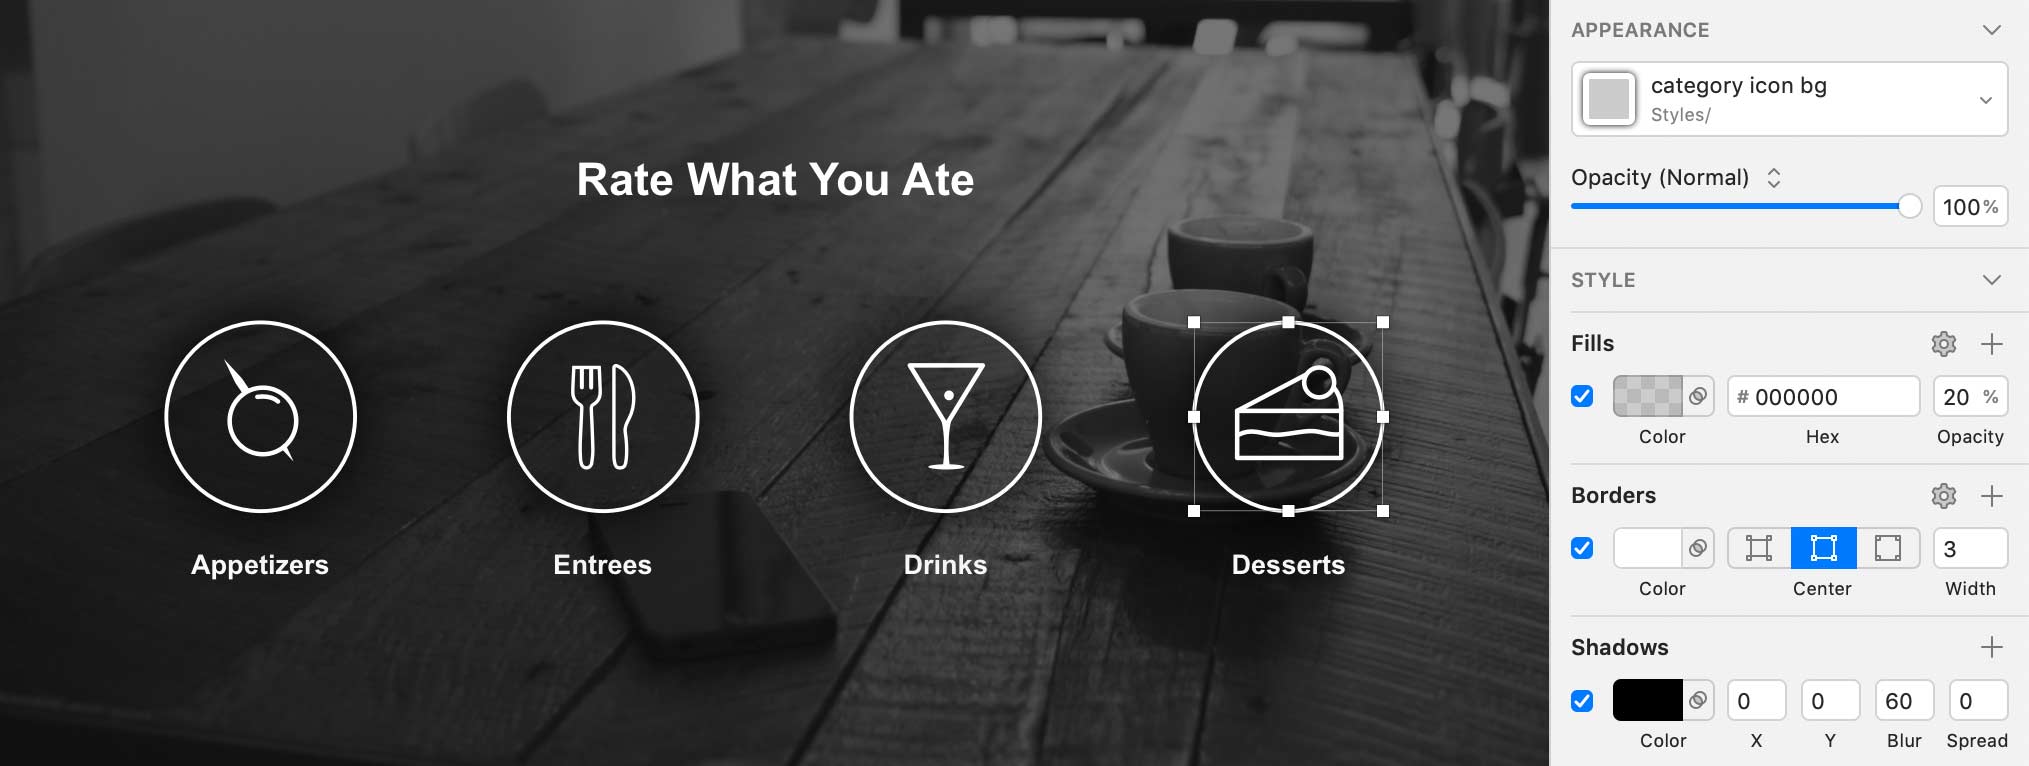
Scroll down to the Rate What You Ate section with 4 icons with circle borders.
These icons are a bit hard to see over the photo background. Let’s make them stand out a bit more.
- Click on the circle for the Appetizers icon.
- In the Sidebar, notice it too is in a group.
-
As shown below, hover over the Appetizers icon’s circle border and Cmd–click when it is highlighted in blue. This should select only the Oval shape.

-
In the Inspector, under Fills:
- Check on the checkbox to turn the fill on.
- The color should be solid white. To the right of the fill, set Opacity to 20%.
- In the Inspector, find the menu that says No Layer Style.
- Below that menu click the Create button
 to create a style.
 - Name it category icon bg and hit Return to apply.
-
Let’s apply the style to the other circle. To select them:
- Cmd–click on the Entrees circle.
- Then Cmd–Shift–click on the other circles (Drinks and Desserts).
- In the Inspector, click on the No Layer Style menu and choose This Document > category icon bg style.
- Click on a blank area of the canvas to deselect everything.
- Now we want to make a change to the style. Cmd–click on any of the circles. Because they’re all associated with the style, it does not matter which one you select.
-
Let’s try a dark background instead of the current light background. Click the Fill color box and:
- Set the color to black.
- Change Alpha (transparency) to 50.
- Close the color picker when done.
- In the Inspector to the right of Shadows, click the plus button.
-
Change the following options:
Y: 0 Blur: 60 - Click the Shadows’ color box , then change Alpha to 100.
- Close the color picker when done.
- In the Inspector, below the category icon bg menu click the Update button
 .
. - Let’s make the border thinner. Under Borders, click into the Width field to put the cursor there.
- Hit the Down Arrow key to reduce the Width value to 2.
-
In the Inspector, click the Update button
or hit CTRL–S (for Sync).NOTE: If you do not update the style, the individual layer will appear different from the style, but only if you never update that style again! If a layer is not in sync with the style, it will still be updated (and become in sync with the style) the next time you update the style (even if you update the style from a different layer). If you really want a layer to be different from the style, click the Detach button
 below the style’s menu.
Rounded Corners Are Not Part of a Layer Style
Please note that Corners setting (for rounding corners) cannot be saved into a layer style. In the Inspector, only the options in the Style section are saved into a style. While rounded corners cannot be saved as a style, we can make reusable buttons using symbols (which you’ll learn about in a later exercise).
Making a Style to Darken Full-Width Background Photos
- Make sure you can see the Rate What You Ate section with 4 icons with circle borders.
- To select the photo within its mask, double–click on the photo behind the icons.
- In the Inspector, to the right of Fills, click the plus button.
- Set the color to black.
- Set Alpha to 40.
- Close the color picker.
- Below the No Layer Style menu click the Create button .
- Name it darken image and hit Return to apply.
- Scroll down near the bottom of the page and under Start Remembering Now.
- Double–click on the full-width photo background (to select the photo in the mask).
- In the Inspector, click on the No Layer Style menu and select This Document > darken image.
- Let’s also make the photos black and white. At the bottom of the Inspector, check on Color Adjust.
- Reduce Saturation to -100% and notice the photo has become black and white.
- To update (sync) the style click the Update button or hit CTRL–S.
- Scroll up to the Rate What You Ate section to see that its photo background has also changed to black and white.
- Nice! Save and close the file.
Renaming, Grouping, & Deleting Styles
-
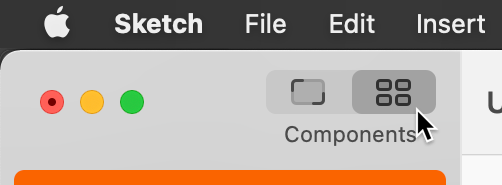
At the top-left of the Toolbar, click on the Components button
 .
.
- In the middle of the Toolbar, click on the Colors button
 .
. - Here’s where you can manage color variables (delete, rename, group, etc.).
- In the middle of the Toolbar, click on the Layers button
 .
. - Select the category icon bg style.
- In the Inspector on the right, change the name to rating icon and hit Return.
- Let’s put these styles into a group. Select the darken image style.
- Hold Shift and click on rating icon so both styles are selected.
- Choose Arrange > Group.
-
In the Sidebar on the left, double–click on the Group name and change it to Backgrounds
NOTE: To delete a style, select it and press the Delete key, or Right–click (or Control–click) on a style and choose Delete.
-
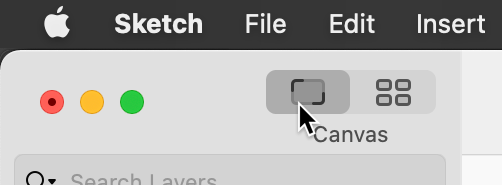
At the top-left of the Toolbar, click on the Canvas button
 .
.
Hit Cmd–S to save the file.
Reset Layer Style
If an object with a layer style has overrides (meaning it now looks different from the layer style), you can remove the overrides using either of these methods:
- Hit CTRL–Option–S
- In the Inspector, below the style’s menu, click the More button
 and choose Reset Style.
This will reset the object’s appearance to how the layer style looks.
