Master the art of photo editing with our comprehensive Lightroom tutorial, covering topics such as comparing images side by side, flagging and rejecting photos, and more.
This exercise is excerpted from Noble Desktop’s past Lightroom training materials and is compatible with Lightroom updates through 2020. To learn current skills in Lightroom, check out our Photo Retouching Certificate and graphic design classes in NYC and live online.
Topics Covered in This Lightroom Tutorial:
Grid View & Loupe View, Comparing Images Side-by-side, Flagging & Rejecting Photos, Stacking Photos
Exercise Preview
Exercise Overview
In this exercise, you will learn about Grid View, Loupe View, and how to select and compare multiple images. You’ll also learn how to flag, reject, and delete photos.

Looking at Images in Grid View & Loupe View
If you have not completed the previous exercise (1A), finish it before proceeding with this exercise.
-
To get started, make sure you’re working in the Library module. In the panel at the top of the screen, click on Library if it isn’t already highlighted in white.
NOTE: If the top panel is hidden, click on the arrow at the top center of Lightroom to anchor it and make it visible.
At the bottom of the Library, click the Grid View button
 or press G to enter Grid View if you are not already there.
Press Tab to hide the side panels.
-
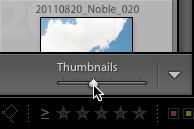
As shown below, adjust the thumbnails slider in the lower-right corner to change the size of the thumbnails in Grid View to your liking. (If you don’t see it, go to View > Show Toolbar.)
Press Tab again to make the side panels reappear.
Let’s make sure the images’ filenames are showing. Go to View > View Options.
Under Compact Cell Extras, make sure Top Label is checked.
From the Top Label menu, choose Copy Name or File Base Name if it isn’t already selected.
Close the window.
Notice that the filenames are shown at the top of each thumbnail.
Click on the second lighthouse image (20090503_YourName_002) to select it.
Press E or double–click the image to enter Loupe View.
Let’s use the Navigator panel located in the left side panels to experiment with different zoom levels. Expand the Navigator panel if it is not already open.
At the top of the Navigator panel, click on the triangles
 to the far right and select 8:1. This changes the zoom level to 8 times the original size.
Click on the zoom level triangles
again and select 3:1. Notice the image zoomed out and is now only 3 times the original size.In the Navigator panel, move the box over the image around to view different parts of the enlarged image. This makes it easy to navigate to the part of the image we want to see when we are zoomed in.
At the top of the Navigator panel, click on 1:1 to view the image at 100%. The image is still pretty big on our screen at this size.
At the top of the Navigator panel, click on FIT to fit the whole image on the screen.
Return to Grid View by clicking the Grid View button
or pressing G.
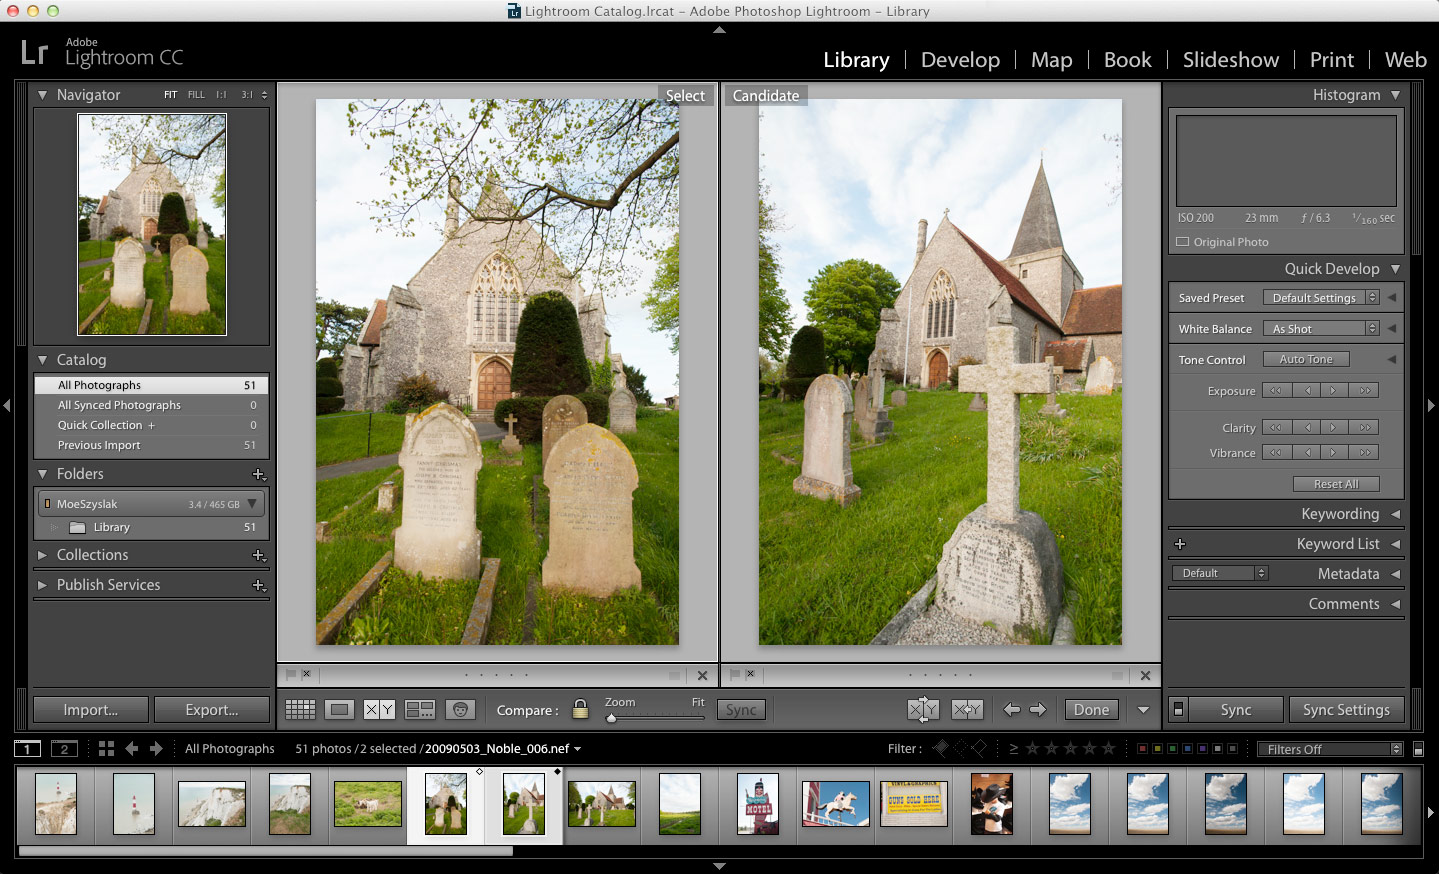
Comparing Images
Click on the first image of the graveyard (20090503_YourName_006) to select it.
Cmd–click (Mac) or CTRL–click (Windows) on the second graveyard image (20090503_YourName_007) to select both.
-
At the bottom of the Library, click the Compare View button
 or press C.
Now you can view the two images side by side.
-
In the Navigator panel, click FIT if it isn’t already highlighted.
NOTE: If clicking on FIT took you back to the Library, it had already been selected before you clicked it. In that case, press C to return to Compare View. FIT will be highlighted.
Press Tab to hide the side panels. Now you have more space to compare photos.
Press G to go back to Grid View.
Press Tab to get the side panels back.
Click on the first sky photo (20110820_YourName_014).
Shift–click on the fourth sky photo (20110820_YourName_017). A total of four photos should be selected.
At the bottom of the Library, click the Survey View button
 or press N to compare the selected images.
Press Tab.
Press L to dim the lights making everything but our images slightly darker.
Press L one more time to completely turn off the lights, making the background fade completely so you only see the photos.
Press L again to return to Lightroom.
Click the Grid View button
.Press Tab to redisplay the side panels.
Flagging & Rejecting Photos
Select the first lighthouse photo (20090503_YourName_001).
Notice there is a flag at the top-left corner of the box that contains the image.
Click the flag to mark this photo as flagged.
Select the second cliff image (20090503_YourName_004) and click on its flag.
Select and flag the second graveyard image (20090503_YourName_007).
Select the photo of the sheep (20090503_YourName_005) and press P. This is another way to flag photos.
Click the second lighthouse image (20090503_YourName_002) and press X to mark it as rejected.
Go to Photo > Delete Rejected Photos. In the dialog box that appears, hit Cancel. We didn’t really want to delete the rejected photos. We only wanted to show you the option.
Stacking Photos
When a group of photos is similar it may be preferable to stack them to declutter the thumbnail window. The sky photos, for example, are all the same picture taken at different exposures and will be stacked.
Select the first sky photo (20110820_YourName_014) in the group.
Shift–click the last sky photo (20110820_YourName_020) in the group to select all of the sky photos.
-
CTRL–click (Mac) or Right–click (Windows) and select Stacking > Group into Stack.
The selected photos are now displayed as a stack with the first photo in the group on top and vertical lines to the left and right of the photo. The number of photos in the stack is displayed in the upper-left corner of the top image—in this case there are seven.
To unstack the photos CTRL–click (Mac) or Right–click (Windows) the stack and select Stacking > Unstack.
To restack the photos, select all the photos again and CTRL–click (Mac) or Right–click (Windows) and select Stacking > Group into Stack.
To expand the stack and see all of the photos, click either of the vertical lines to the left or right of the photo.
To choose a new top photo, CTRL–click (Mac) or Right–click (Windows) the photo you would like to be at the top of the stack and select Stacking > Move to Top of Stack. This moves the selected photo to the top of the stack.
To collapse the stack, click the vertical line to the left of the photo.
