Delve into this comprehensive guide on Lightroom, specifically focusing on utilizing keyword tags to specify folders in collections, generating nested keywords, and using keywords in library filters.
This exercise is excerpted from Noble Desktop’s past Lightroom training materials and is compatible with Lightroom updates through 2020. To learn current skills in Lightroom, check out our Photo Retouching Certificate and graphic design classes in NYC and live online.
Topics Covered in This Lightroom Tutorial:
The Keywording Panel, Filtering by Keywords, Nested Keywords
Exercise Preview
Exercise Overview
In this exercise, you will learn how to use keyword tags to specify folders in the collections you created in a previous exercise.

Keyword Lists
If you have not completed the previous exercises (1A–1D), do them before proceeding with this exercise.
Make sure you’re in the Library module.
In the Folders panel, select the England subfolder. (If you don’t see it expand the Library folder.)
If you are not in Grid View, press G.
Press Cmd–A (Mac) or CTRL–A (Windows) to select all the photos.
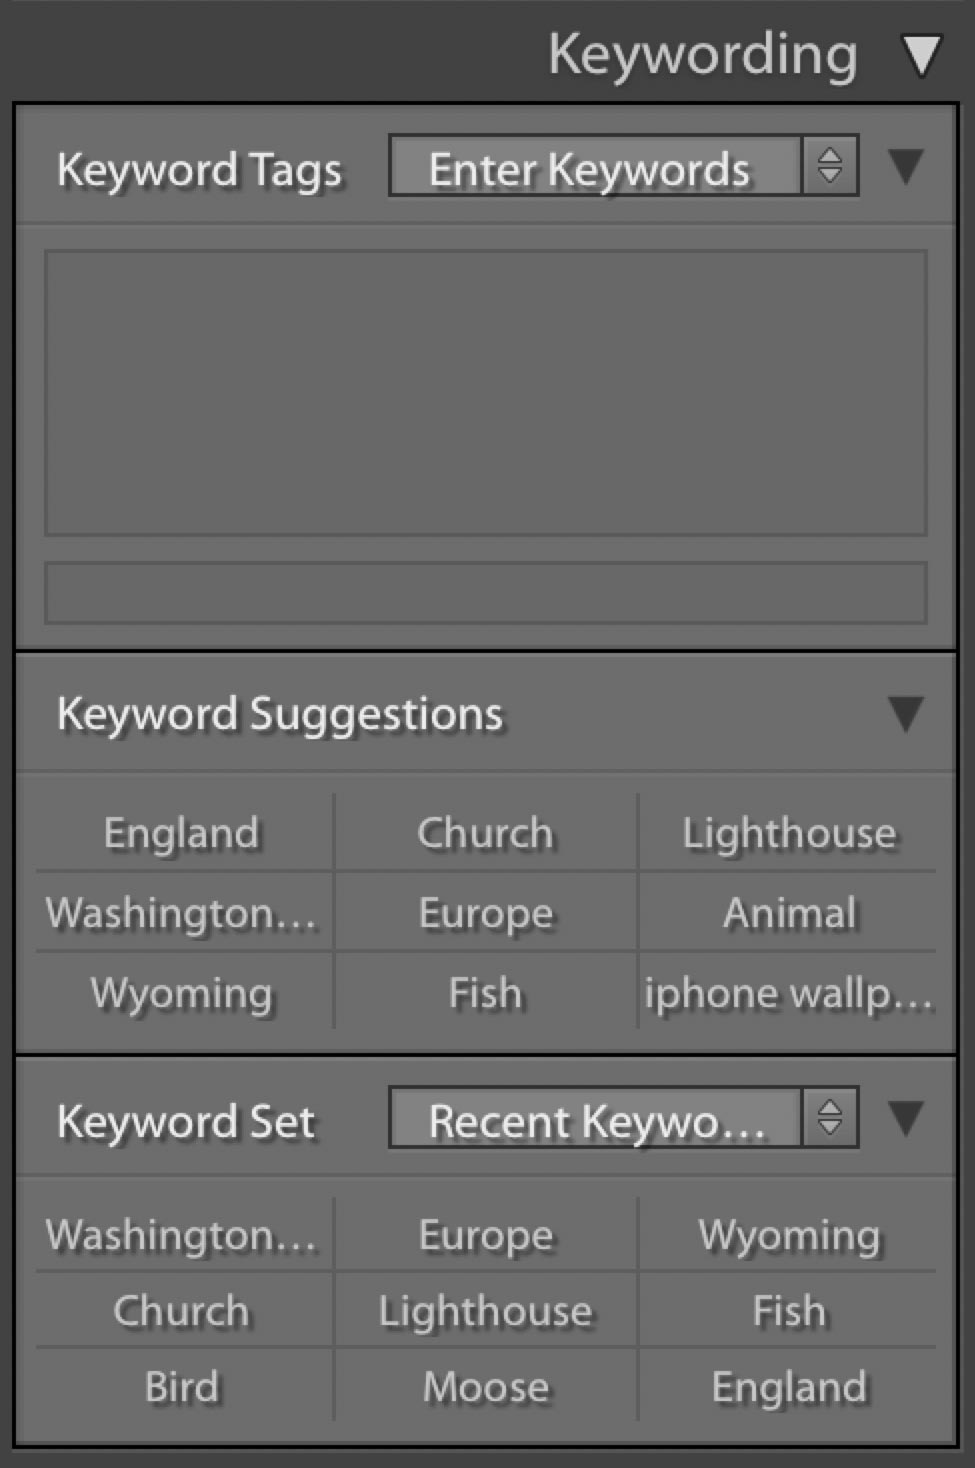
Expand the Keywording panel located in the side panel on the right if it isn’t already.
In the Keywording panel, click in the smaller bottom text field (not in the field above it that says Animal).
Type England.
Press Return (Mac) or Enter (Windows).
In the Folders panel, select the Wyoming subfolder.
Press Cmd–A (Mac) or CTRL–A (Windows) to select all the photos.
In the Keywording panel, click in the smaller bottom text field.
Type Wyoming.
Press Return (Mac) or Enter (Windows).
In the Catalog panel on the left, click on All Photographs.
We can use the Keyword List panel located in the right side panels (you may have to scroll down to see it) to pull up photos with specific keywords applied. Expand the Keyword List panel if it isn’t already.
-
Mouse over England, then click on the arrow that appears on the far right.
All the photos labeled England are pulled up.
-
In the Keyword List panel, mouse over Wyoming, then click on the arrow.
Lightroom displays all the photos labeled Wyoming.
Keywords in Library Filters
At the top of the Library in the Library Filter panel, click on the None tab.
Still in the Library Filter panel, click on the Text tab.
From the first menu (currently set to Any Searchable Field), select Keywords.
From the second menu, select Contain.
-
In the text field to the right of the menus, type Wyom.
Just the first few letters are enough to bring up only the photos tagged with Wyoming.
-
In the text field, replace the current text with Eng.
Now we see only the photos tagged England.
Nested Keywords
The Keyword List can start to get long and may need to be organized into meaningful sets. We will add Keyword Sets to match the two Collection Sets that you created in Exercise 1C: Europe and USA.
In the Keyword List panel, click the Create New Keyword Tag button
 .
.- In the Create Keyword Tag dialog box that pops up:
- For Keyword Name type Europe.
- Under Creation Options, uncheck all of the options.
- Click Create.
Repeat the previous step, but for Keyword Name type USA.
In the Keyword List panel, drag the England keyword into the Europe keyword to nest it inside.
-
Drag the Wyoming keyword into the USA keyword to nest it inside.
England is now nested inside Europe and Wyoming is nested inside USA. Let’s organize the Keyword List even more. We’ll start by adding some more keywords to our photos.
At the top of the Library, click the None tab.
Click on the first moose photo (20110826_YourName_031) to select it.
Expand the Keywording panel on the right if it isn’t already.
In the Keywording panel, click in the bottom text field.
Type Moose then hit Return (Mac) or Enter (Windows).
In the Library, select the bird photo (20110831_YourName_038).
In the Keywording panel, click in the bottom text field.
Type Bird then hit Return (Mac) or Enter (Windows).
In the Library, select the fish photo (20110824_YourName_027).
In the Keywording panel, click in the bottom text field.
Type Fish then hit Return (Mac) or Enter (Windows).
In the Keyword List panel on the right, notice we now have the Moose, Bird, and Fish keywords listed.
-
Drag each of the keywords you just added (Moose, Bird, Fish) into the Animal folder.
The Moose, Bird and Fish keywords are now nested inside the Animal folder which makes the keyword list shorter and easier to navigate. Awesome!
