Master the art of creating and exporting a slideshow presentation in Lightroom with this comprehensive tutorial, covering everything from the Slideshow module, creating intro & ending screens, to exporting your final product.
This exercise is excerpted from Noble Desktop’s past Lightroom training materials and is compatible with Lightroom updates through 2020. To learn current skills in Lightroom, check out our Photo Retouching Certificate and graphic design classes in NYC and live online.
Topics Covered in This Lightroom Tutorial:
The Slideshow Module, Creating Intro & Ending Screens, Exporting a Slideshow
Exercise Preview
Exercise Overview
In this exercise, you’ll create and export a slideshow presentation from a collection of photographs.

Creating a Slideshow
Make sure you’re in the Library module.
On the left, expand the Collections panel if it’s not already expanded.
Click on Washington DC. (If you don’t see this collection, complete the first part of Exercise 4G: Creating a Basic Web Gallery to import the photos and create the collection.)
At the top right, click on Slideshow to switch to the Slideshow module.
On the left, in the Template Browser panel, expand Lightroom Templates.
Click on Simple to select it.
On the right, expand the Overlays panel if it’s not already expanded.
At the bottom right of the Identity Plate (the box with a gray checkerboard background), click the arrow
 and from the menu, select Edit.
In the Identity Plate Editor dialog that appears, delete the current text and replace it with YourName.
Select the YourName text.
Change the Font Size to 36.
Click the color box to the right of the font size.
Choose a red color.
Click OK to set the color (or dismiss the dialog if there’s no OK button).
-
Click OK to finish editing the Identity Plate.
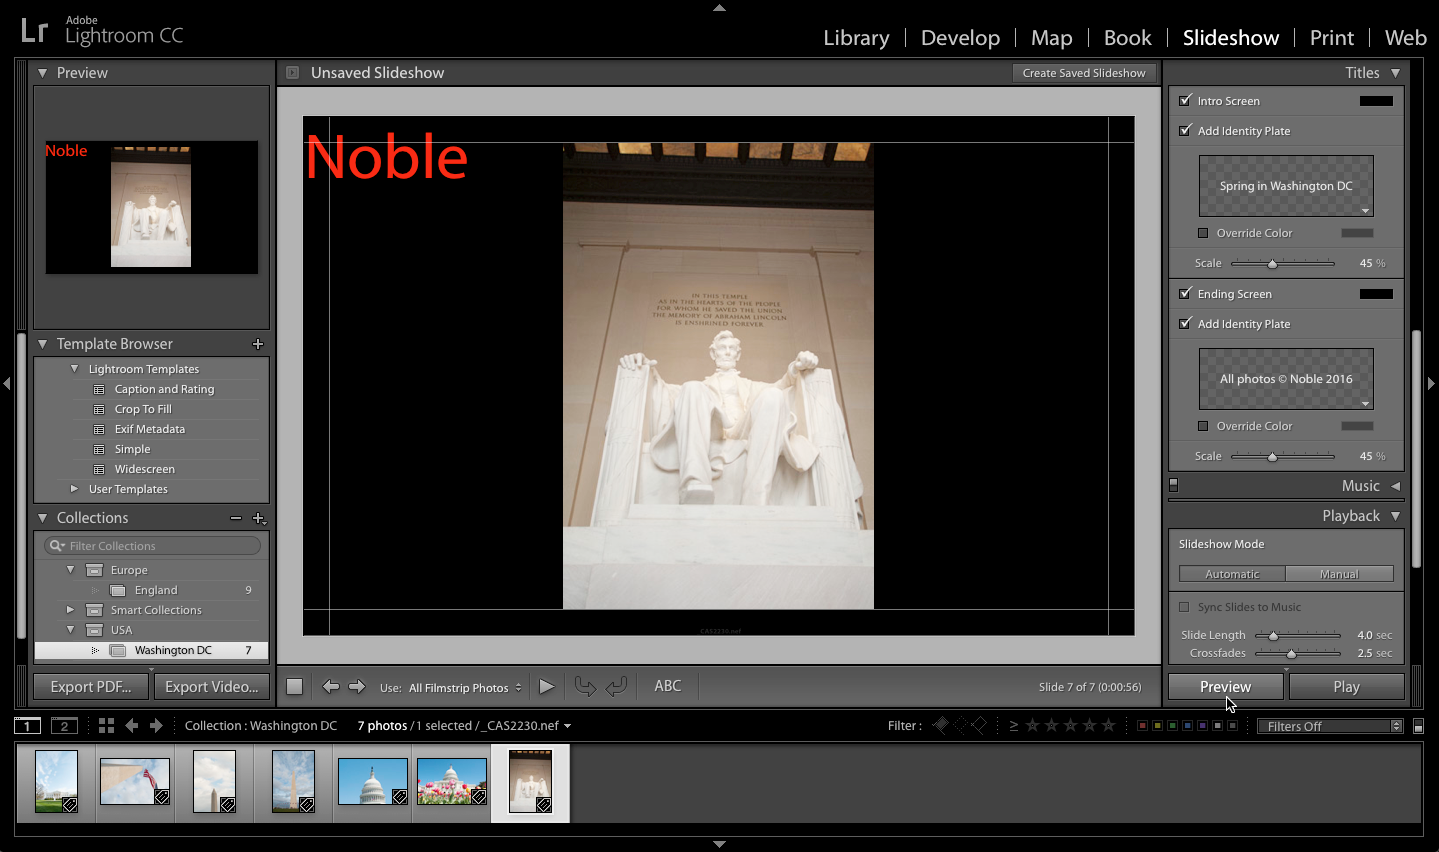
The Identity Plate has been added to the top-left corner of the slideshow. Right now, it’s very small. Let’s scale it up.
In the Overlays panel, under Identity Plate, set Scale to 20%.
The Introductory Slide
On the right, expand the Titles panel if it’s not already expanded.
Check Intro Screen to add a slide before all of the photos, which will each be on their own slide.
Below Intro Screen, make sure Add Identity Plate is checked. This adds text to the first slide.
At the bottom right of the Intro Screen’s Identity Plate, click the arrow
and from the menu select Edit.-
In the Identity Plate Editor dialog that appears, delete the current text and replace it with Spring in Washington DC.
NOTE: You may have to resize the Identity Plate Editor dialog window to see all the text you typed in.
Click OK.
In the Titles panel, underneath the Identity Plate, set Scale to 45%.
Adding an Ending Screen Identity Plate
Let’s add an Ending Screen Identity Plate.
In the Titles panel on the right, make sure Ending Screen and Add Identity Plate are both checked.
At the bottom-right corner of the Ending Screen’s Identity Plate, click the arrow
and from the menu select Edit.-
In the Identity Plate Editor dialog that appears, delete the current text and replace it with All photos © YourName Year.
NOTE: To type the copyright © symbol, use Opt−G (Mac) or ALT−0169 (Windows)
Click OK.
In the Titles panel, underneath the Ending Screen’s Identity Plate, set Scale to 45%.
Previewing a Slideshow
On the right, make sure the Playback panel is expanded.
In the Playback panel, make sure Repeat Slideshow is NOT checked, so that the slideshow only plays once.
At the bottom of the right side panel, click the Preview button to preview the slideshow.
Looks great! At the top-right corner of the slideshow window, click Create Saved Slideshow.
In the dialog that appears, set the Name to Spring in Washington DC.
We don’t want to put the slideshow inside any existing collection, so uncheck Inside if it isn’t already.
We’re all set! Click Create.
At the bottom of the left side panel, click the Export Video button.
With the save options expanded, navigate to Desktop > Class Files > Lightroom Class.
Name the file yourname-slideshow.
From the Video Preset menu, choose 480 X 270 (16:9).
Notice there is a description below the Video Preset menu that tells you what the different presets are good for. Sweet!
Click Export (Mac) or Save (Windows). The video will start exporting. You can see the progress at the top left next to the Lightroom logo.
