Explore the 5 critical Adobe Illustrator tools and a menu option essential for designing impactful logos, including the Direct Selection tool, Pen tool, Type tools, Shape tools, and the Shape Builder tool.
When designing logos in Adobe Illustrator, here are 5 tools (and one menu option) you’ll find essential:
- Menu: Type > Create Outlines
- Direct Selection tool
- Pen tool
- Type tools
- Shape tools
- Shape Builder tool
Creating Outlines
In the Type menu there’s a Create Outlines option Cmd–Shift–O (Mac) or CTRL–Shift–O (Windows). Although this isn’t a tool, it is a feature that is extremely important in logo design. Once you’ve converted your type into an outline it’s no longer editable as typed text. Instead, it becomes a series of shapes that can be altered like any other shape in Illustrator. It’s also a best practice to outline type before handing off your design to a client. This is because it makes your design unable to be edited and it allows your design to be opened on computers that don’t have the same font(s) installed.
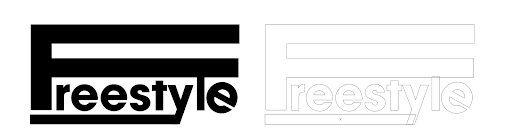
In the example above the word Freestyle was typed, then converted to outlines so it could be altered further. The left example shows the type with a black fill, and the example on the right shows the same text viewed in outline mode.

The Direct Selection Tool (‘A’ is the Keystroke for This Tool)
It may see too obvious to mention, but everything begins with the Selection tools in Illustrator. The Selection tool comes in several varieties, including the Direct Selection tool, the Lasso tool, the Group Selection tool, and the Magic Wand tool but you’ll mostly be using the main Selection tool (V) and the Direct Selection tool (A). This distinction is very important, especially when creating logos.
The Selection tool allows you to select complete objects (and groups), while the Direct Selection tool allows you to select individual anchor points and line segments which gives you the power to customize and fine-tune shapes, images, and type.
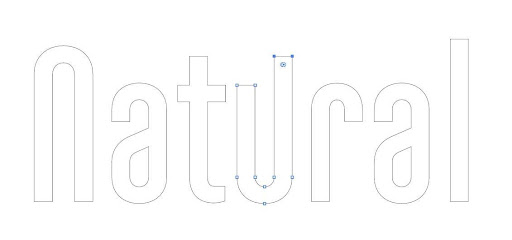
In the example above the text was converted into outlines and the Direct Selection tool (A) was used to extend the right side of the ‘U’.
The Pen Tool (P)
The Pen tool is the heart of Illustrator because it allows you to draw with precision and create any shape imaginable. It has a steeper learning curve than many of the other tools but it’s well worth the effort. Once you master this tool you can create any shape you want. With the Pen tool it’s important to know how to draw paths, add and remove anchor points, and create curves. It’s also important to know how to manipulate curves with the anchor point handles. It will take some practice to get comfortable with these techniques, but in time it can become second nature.

In the examples above, the Pen tool was used to draw the coffee beans on the logo on the left, and draw the lines for the waves for the logo on the right.
The Type Tool (T)
If you’re making a logo, you’ll likely be using type, either in the main logo or for supplemental assets. Unlike typing a document, however, you might need your type to curve around a circle or go in a vertical direction. The Type tool allows you to do so with the Type on a Path or Vertical Type tools. You can also kern and track type or change fonts when working with the Type tool.
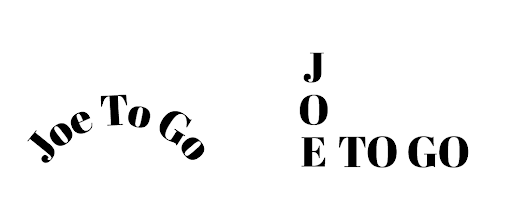
In the example above, the name on the left is typed along a curve. The example on the right shows vertical as well as horizontally typed text.
Bonus: Touch Type Tool
The Touch Type tool lets you move, scale, and rotate individual letters in a piece of type without having to convert to outlines! This can be extremely useful when exploring options before you settle on a specific typeface, because the text is still live text so you can change the font.
Shape Tools
The shape tools are a series of tools that include Rectangle, Ellipse (circle), Rounded Rectangle, Polygon, and Star tools. Holding Shift while you drag, constrains the proportions of shapes and allows you to create a perfect circle or square. Using the shape tools brings an element of geometry to your work that can be very helpful.
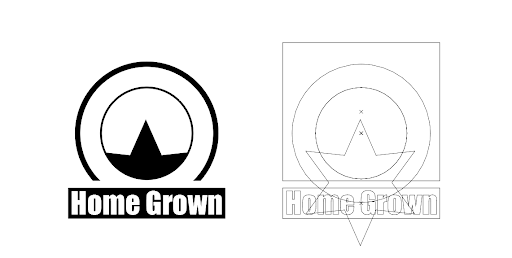
Many of the best logos can be broken down into simple geometric shapes. In the example above the logo on the left was created with a series of geometric shapes but are partially hidden by clipping masks. The image on the right is the same logo shown in outline mode to show how the shapes overlap.
Shape Builder Tool (Shift + M)
The Shape Builder tool is used in conjunction with the shape tools. Though it’s possible to find alternative methods to accomplish the same objective (like the Pathfinder), the Shape Builder tool makes it easy to unite, subtract, or separate shapes, with a few clicks and drags. It can really help speed up your workflow once you get the hang of it.
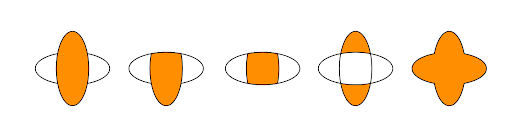
Some logos include an abstract mark or symbol. In the examples above, the same two overlapping ovals were used to create a series of shapes using the Shape Builder tool. There are other ways to arrive at this result in Illustrator, but the Shape Builder tool can do it very efficiently.
Conclusion
Illustrator has many tools, but familiarizing yourself with these 5 tools, plus the Create Outlines menu option for outlining type, can help you create an efficient workflow so you can focus your creativity on designing the logo.