Dive into this AutoCAD tutorial to enhance your understanding of using Tool Pallets to apply saved Hatches to drawings, with a step-by-step exercise and visual aids provided.
This exercise is excerpted from Noble Desktop’s past AutoCAD training materials and is compatible with Photoshop updates through 2020. To learn current skills in AutoCAD, check out AutoCAD Bootcamp and AutoCAD classes in NYC and live online.
Topics Covered in This AutoCAD Tutorial:
Hatch Tool Pallets
Exercise Preview
Exercise Overview
In this exercise you will learn how to use Tool Pallets to apply saved Hatches to drawings.

Hatch Flooring
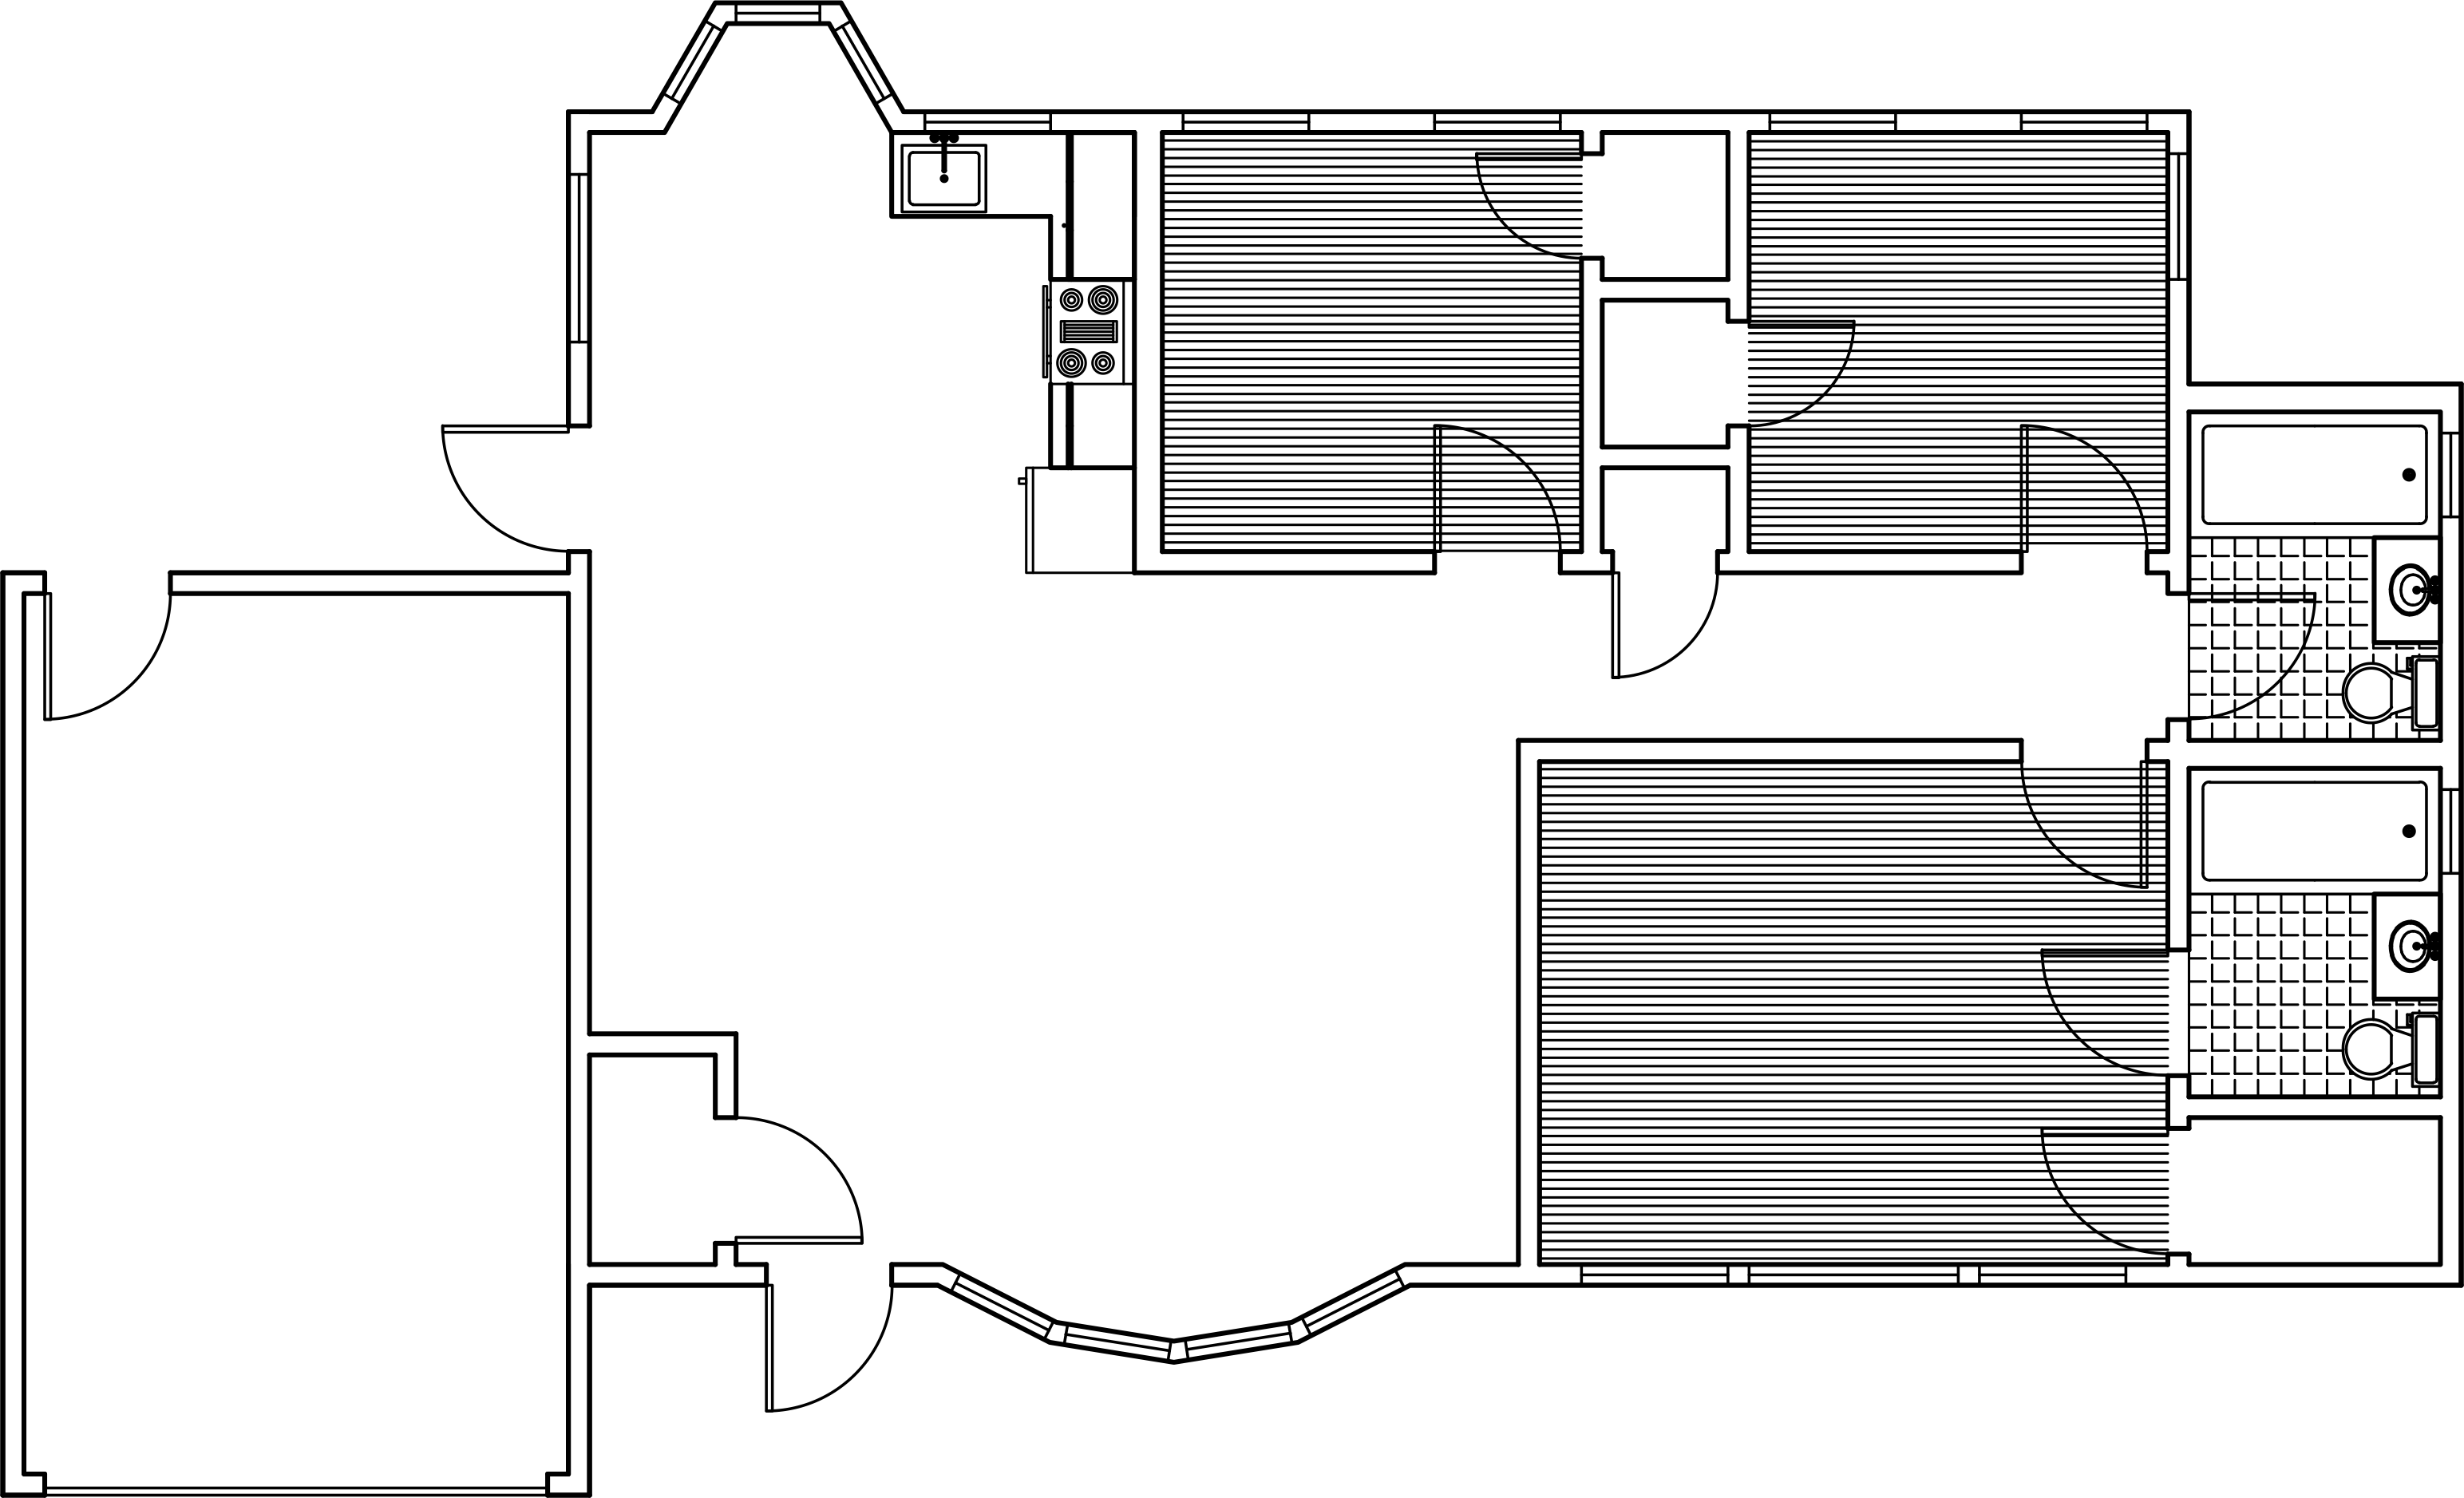
Open the file Hatch-Ranch.dwg.
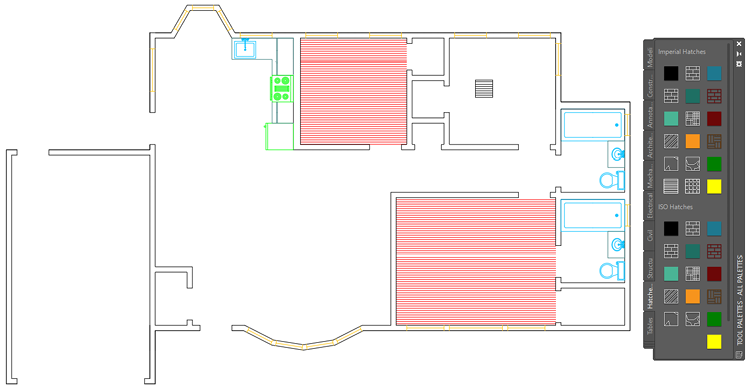
Start the Layer Freeze (LAYFRZ) tool and click on and of the doors to freeze the A-Doors layer.
-
In the Hatch tab in the Tool Pallets Window, Click the ANSI31 hatch that you useD for hardwood flooring and dragged into the Pallet in the last exercise. Click inside one of the empty square bedrooms to place the hatch. Repeat the process to place the hatch in the other two rooms as shown below. The hatches will retain the settings you entered in the last exercise, including the Gap Tolerance, so you are able to place the hatch in open areas as long as the openings are within the Gap Tolerance.
-
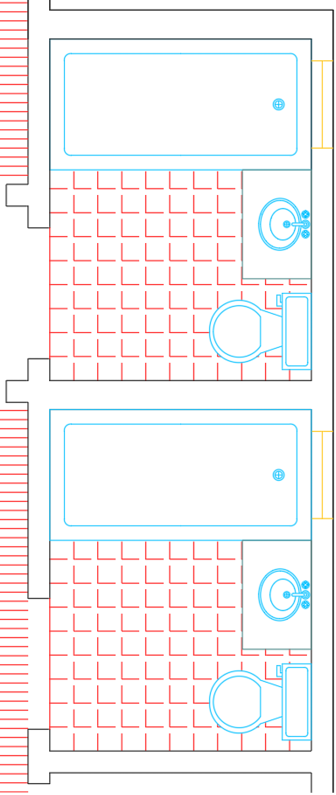
In the Hatch Tool Pallet Tab click on the ANGLE hatch you used to make the tiled floor in the last exercise and place it in the master bathroom in the bottom right corner. Even though this hatch has a Gap Tolerance, the objects in the room make the hatch area too irregular, so the hatch will be incorrect. Delete the hatch.
-
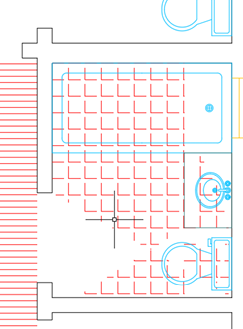
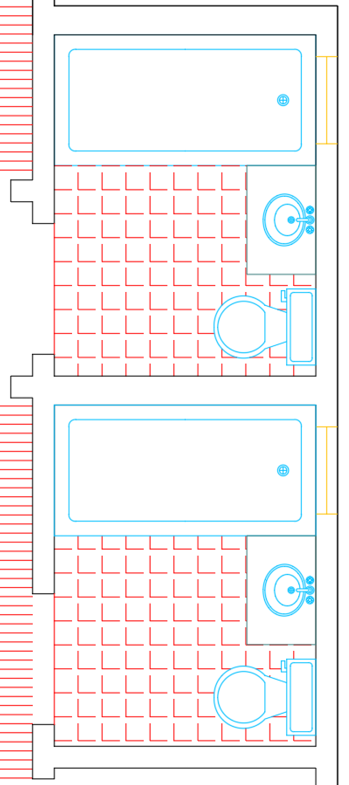
You will need to close the areas of the bathrooms to place the hatch. Start the Make Objects Layer Current (LAYMCUR) and click on one of the hatches you already places to make the Hatch layer current. Start the Line tool and draw two lines to close the bathroom doorways as shown below to create a close area to apply the hatches.

-
From the Hatch Tool Pallet, place the tile hatch into both bathrooms. Because you closed both areas with the line tool, the hatches will fill the areas properly.
-
Use Set Origin and click in the lower left corner of each bathroom to reposition the hatches so that the patterns are better aligned with the walls.
Save and close the file.